First post of the New Year! I hope everyone enjoyed the holidays. We recently celebrated my daughter’s 1st birthday and I’m so excited to share all the details and decor. I love planning and hosting so naturally I had to go all out!
For invitations we used Vistaprint.com. They have a great selection of invitations that can be printed from your home or printed and mailed to you. I chose to have them printed and mailed and they did a really great job! Everyone loved them. I’ve linked them below.


Here’s the style I used. There are 3 different color options and I chose the pink. You are able to edit the wording, pictures, etc. however you like. I took the photo insert off so I could have one large snowflake and we edited the wording under Winter Wonderland to say: Oh what fun! Our little snowflake is turning One! They came with white envelopes for free or the option of matching envelopes for an additional cost. I found a coupon code online and ended up paying around $.60 cents per invite with free shipping.
I created all the decorations using the Recollections Strawberry Cream cardstock value pack from Michaels craft store. It has 5 different shades, comes with 50 sheets total, and It’s priced at an everyday value at $2.00! I’ve linked it here for you.

*I found a 25 pack of snowflake cutouts also from Michaels but these were seasonal and are no longer available.
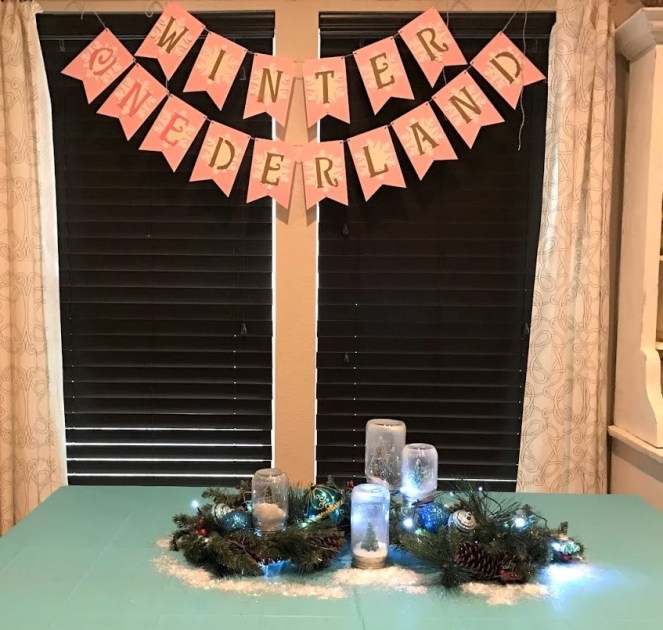
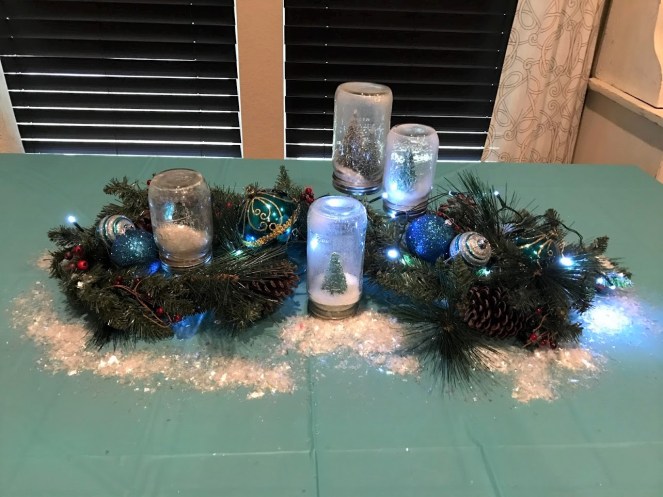
Check back a few posts to see how you can make these magical snow globes I used in my table centerpiece!

I always decorate my kitchen with gingerbread during Christmas and this was just so cute with all the other decorations.
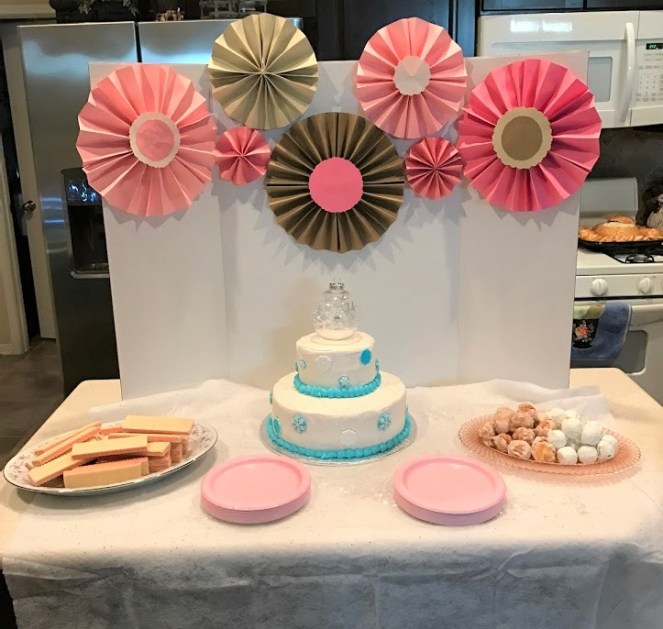
For this backdrop I used the cardstock to create some paper fans and glued them to a white back drop from Dollar Tree.

In keeping with the theme I chose a white cake with white butter cream icing and some edible snowflake accents. I ordered from our Wal-Mart bakery and it was so moist! The cake topper was a clear ornament filled with faux snow and a dye cut snowflake from some of the leftovers I had. You can wipe the bottom off and it becomes a keepsake ornament. Just add the birth details with a sharpie and hang it on your tree with some pretty ribbon!

I saved the tutu from our cake smash photo session and used it as the high chair skirt.


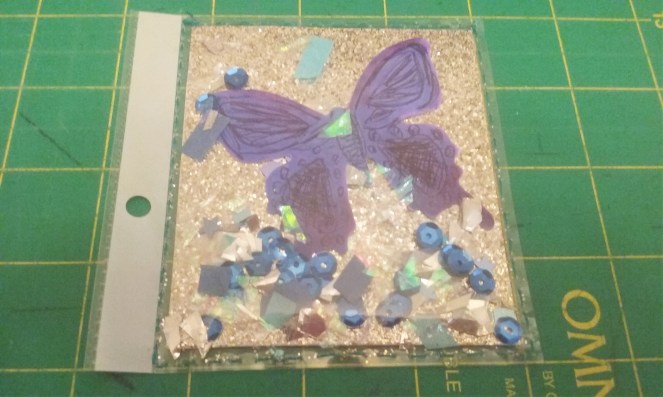
I put together these dainty little sitting table centerpieces with the Recollections silver glittered die cut snowflakes and clear rhinestones I found at Michaels. They were 12 in a pack, with a mix of large and small. I’ve linked the exact ones below.

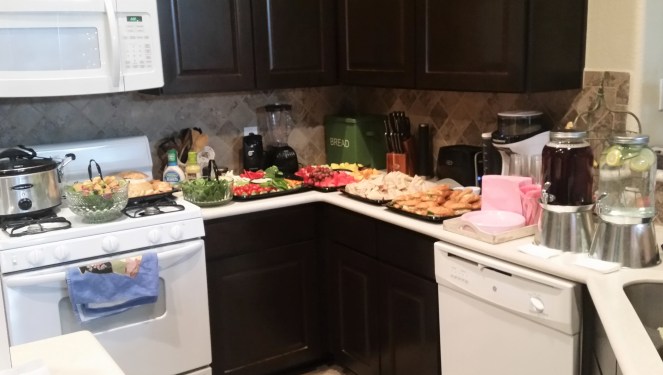

I wanted a deli style lunch so we had a mixture of catered and homemade goodies. From the Kroger deli I ordered mini chicken salad croissants, assorted ham and turkey tea sandwiches, a fruit tray, a veggie tray, and a spinach and artichoke dip bread bowl.
I ordered a couple of gallons of the Zuppa Tuscono soup from Olive Garden for something warm and I have to give many thanks to my stepmother for bringing one of her friends awesome cheese balls (this is so good everyone is literally asking for it at every party I’ve had), cranberry chili meatballs, and these delicious salads!
We had cake for dessert along with strawberry wafer cookies and donut holes.
For the drink station I used my cute little mason jar drink dispensers that I found this summer at a discount shop. They really came in handy for the sweet tea and cucumber lemon water I served.
I used an old chippy tray to hold all the napkins and serving ware right next to the food.

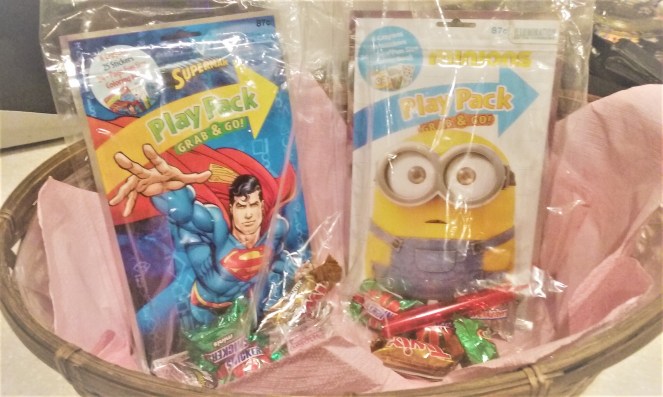
For our party guests I put together these goodie bags with Grab n Go Play Packs, a few pieces of chocolate candy, and a snowflake bubble wand. The play packs are really handy and they come with an activity book, a sticker sheet, and a small set of crayons. You can find these at Wal-Mart, Target, etc. in a variety of characters. They’re relatively inexpensive at $1.00 each. I just lined a basket with some tissue and arranged the goody bags here for the kids to grab.
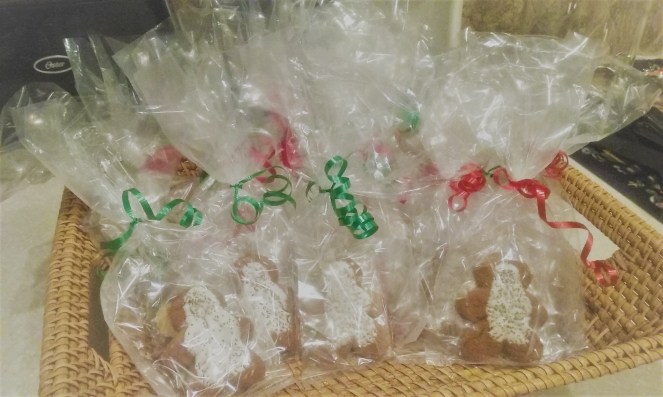
I used the Little Debbie gingerbread snacks as party favors. All you need is some loot bags and decorative ribbon and you have a cute, in-expensive favor. Arrange them in a basket and put them near the door so when your guest leave they can take one with them.

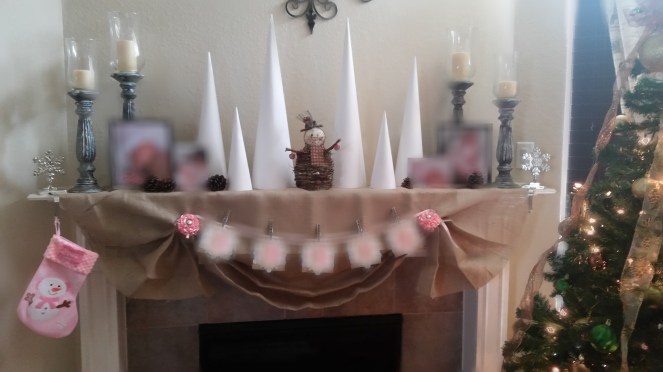
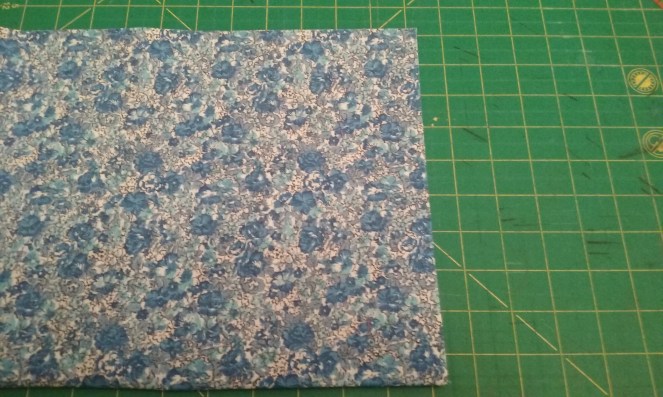
For the fireplace I used the Wal-Mart Creative Cuts 2 yd. piece of burlap as an overlay. I then added baby photos, pinecones, DIY poster board tree cones, and a name banner pinned with flower ribbon brooches.
A few fun game ideas we used that you can play too!


We are so thankful for this little blessing and couldn’t be happier! Thanks for reading along and I hope this gives you some inspiration for your next party.
~The Dimestore Gypsy