Hello all! So my brother and sister-in-law found out they were expecting again and I got the honor of hosting their gender reveal party! Here’s a few pics from the big day.
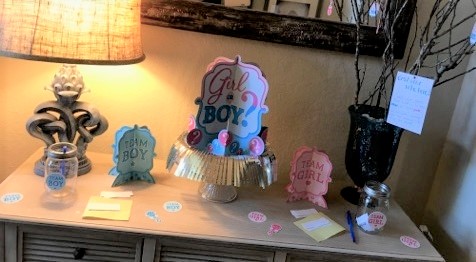
For my entry table I made a voting station for the guests. We had them write their name on a piece of paper and then place it in the jar of their guess. Once the reveal was done, we picked a name from the winning jar for a door prize.
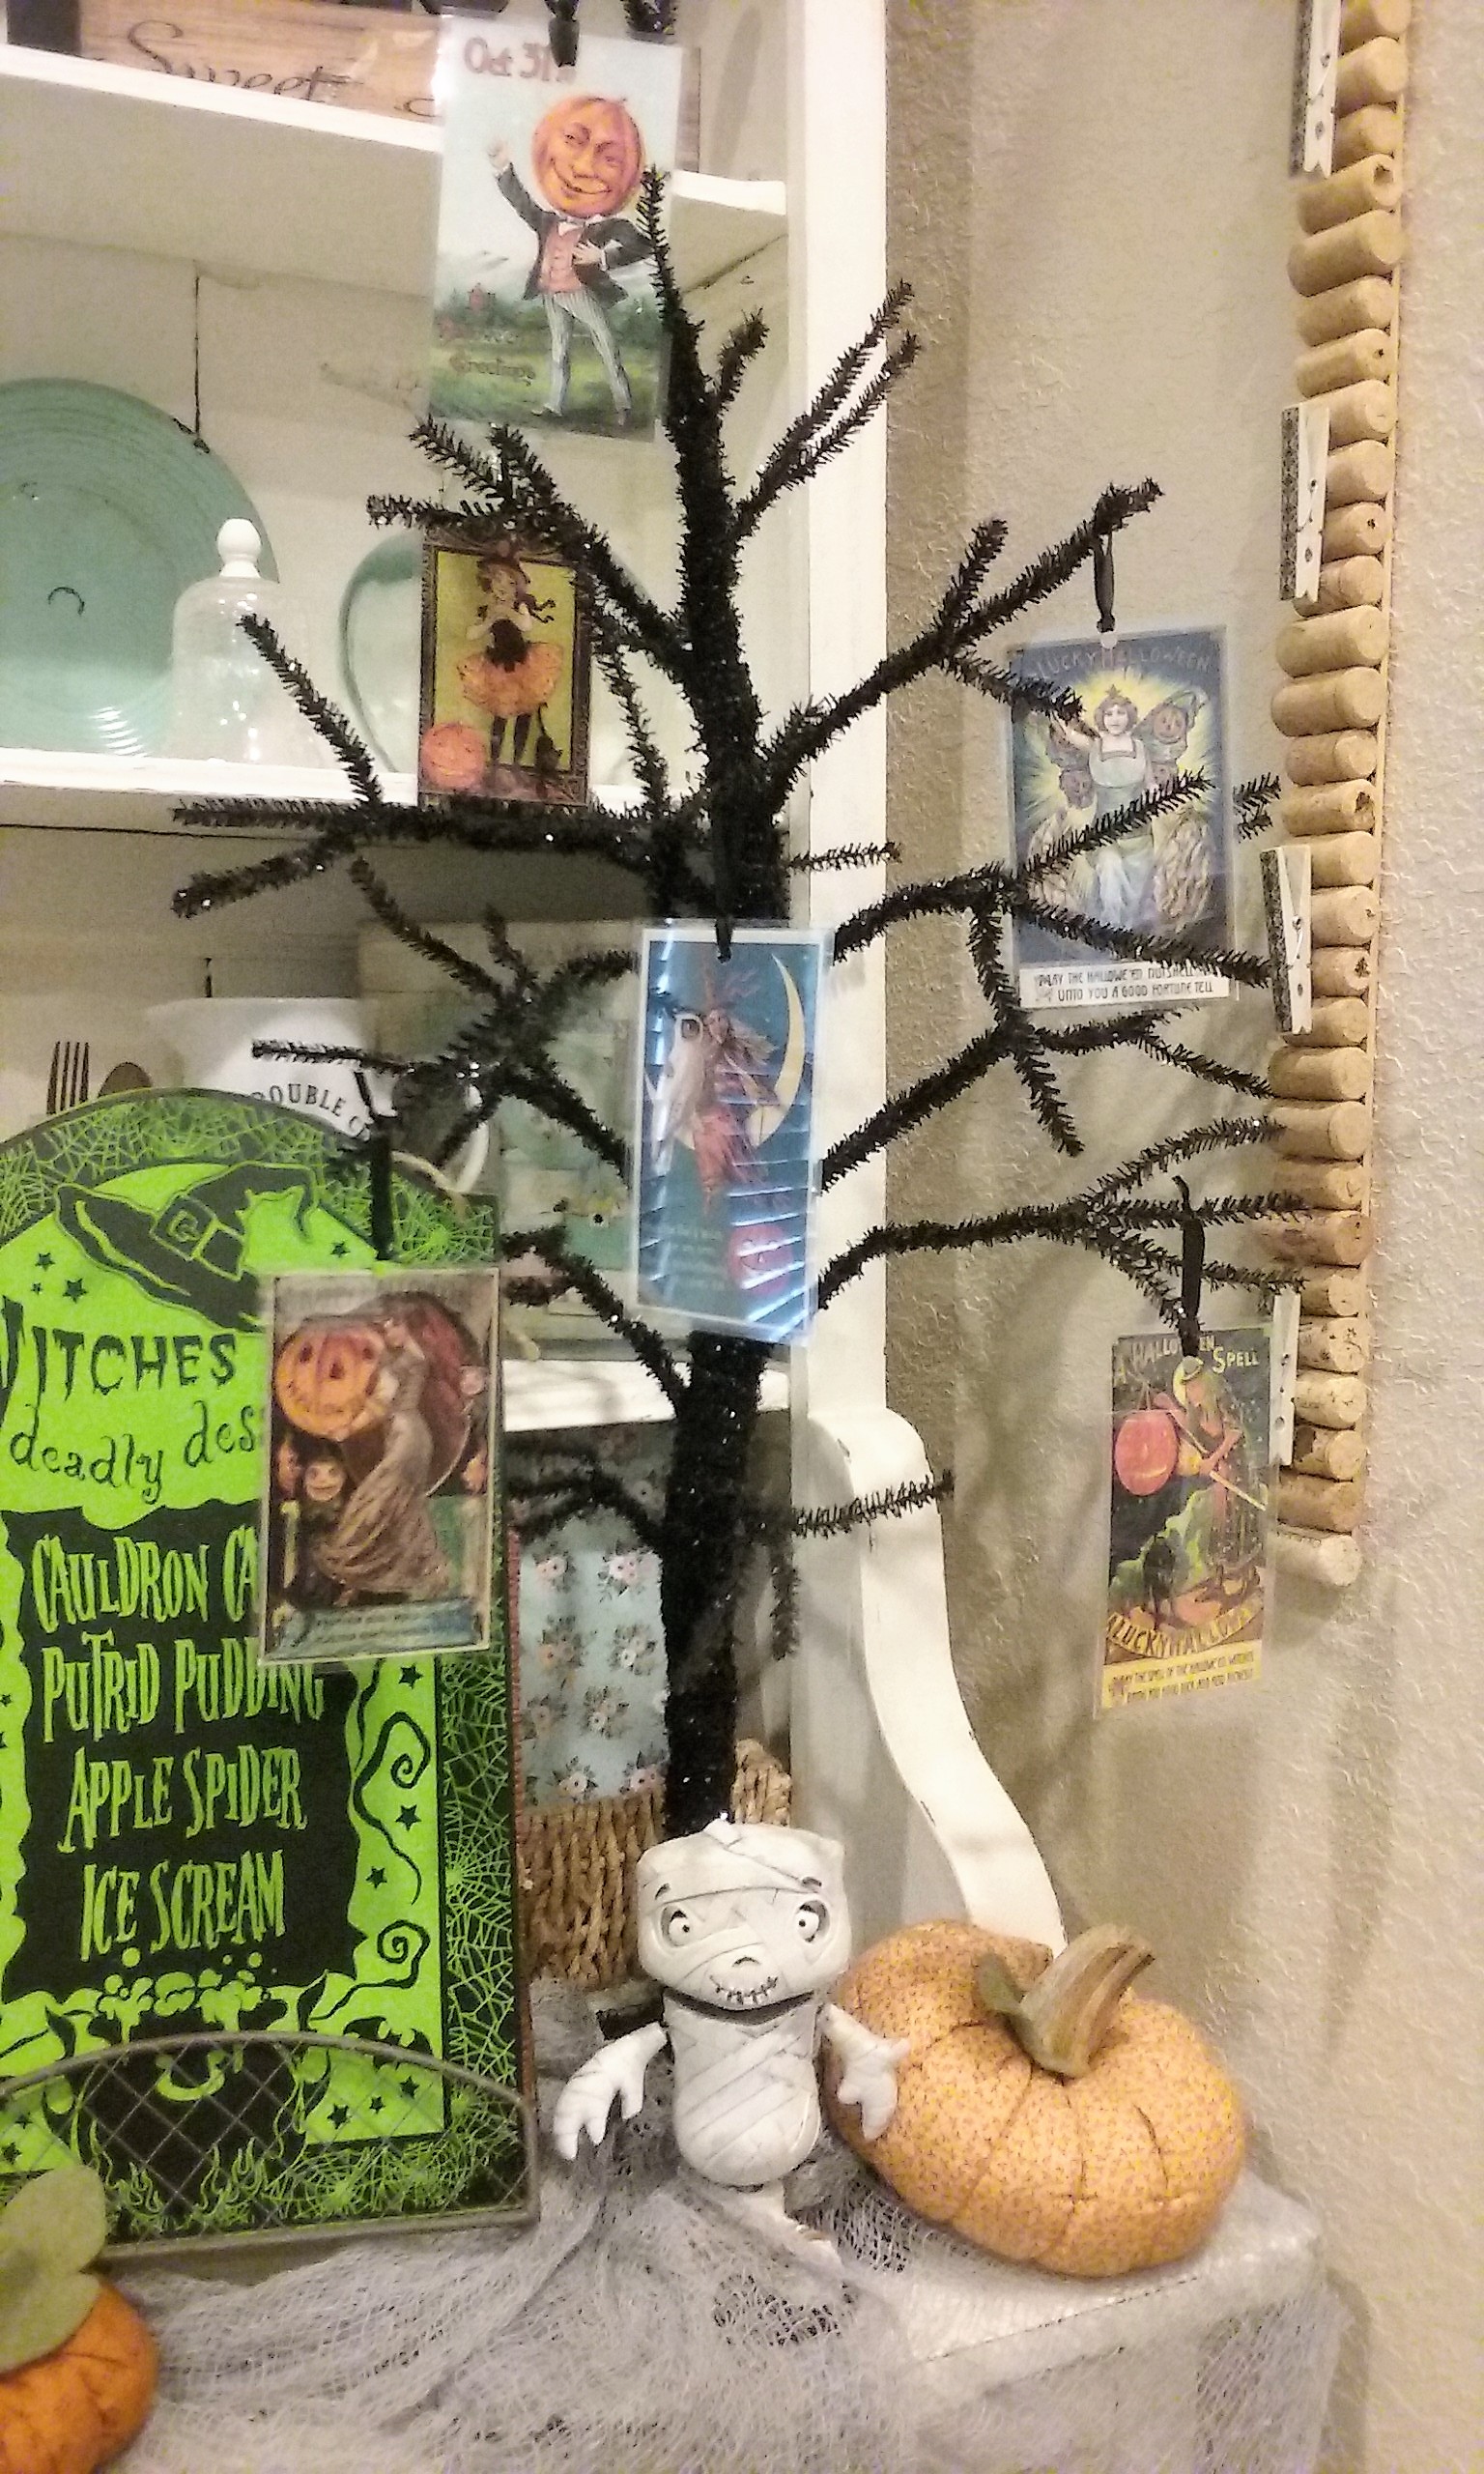
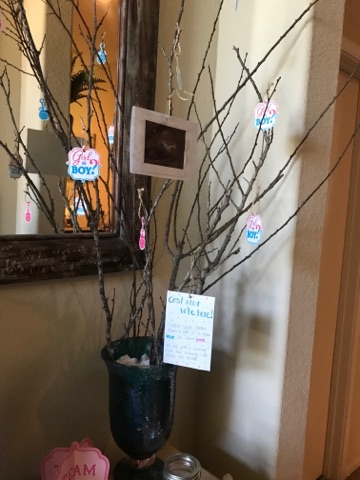
I hung an ultra sound pic and some pink and blue confetti from my branches I keep here year round.
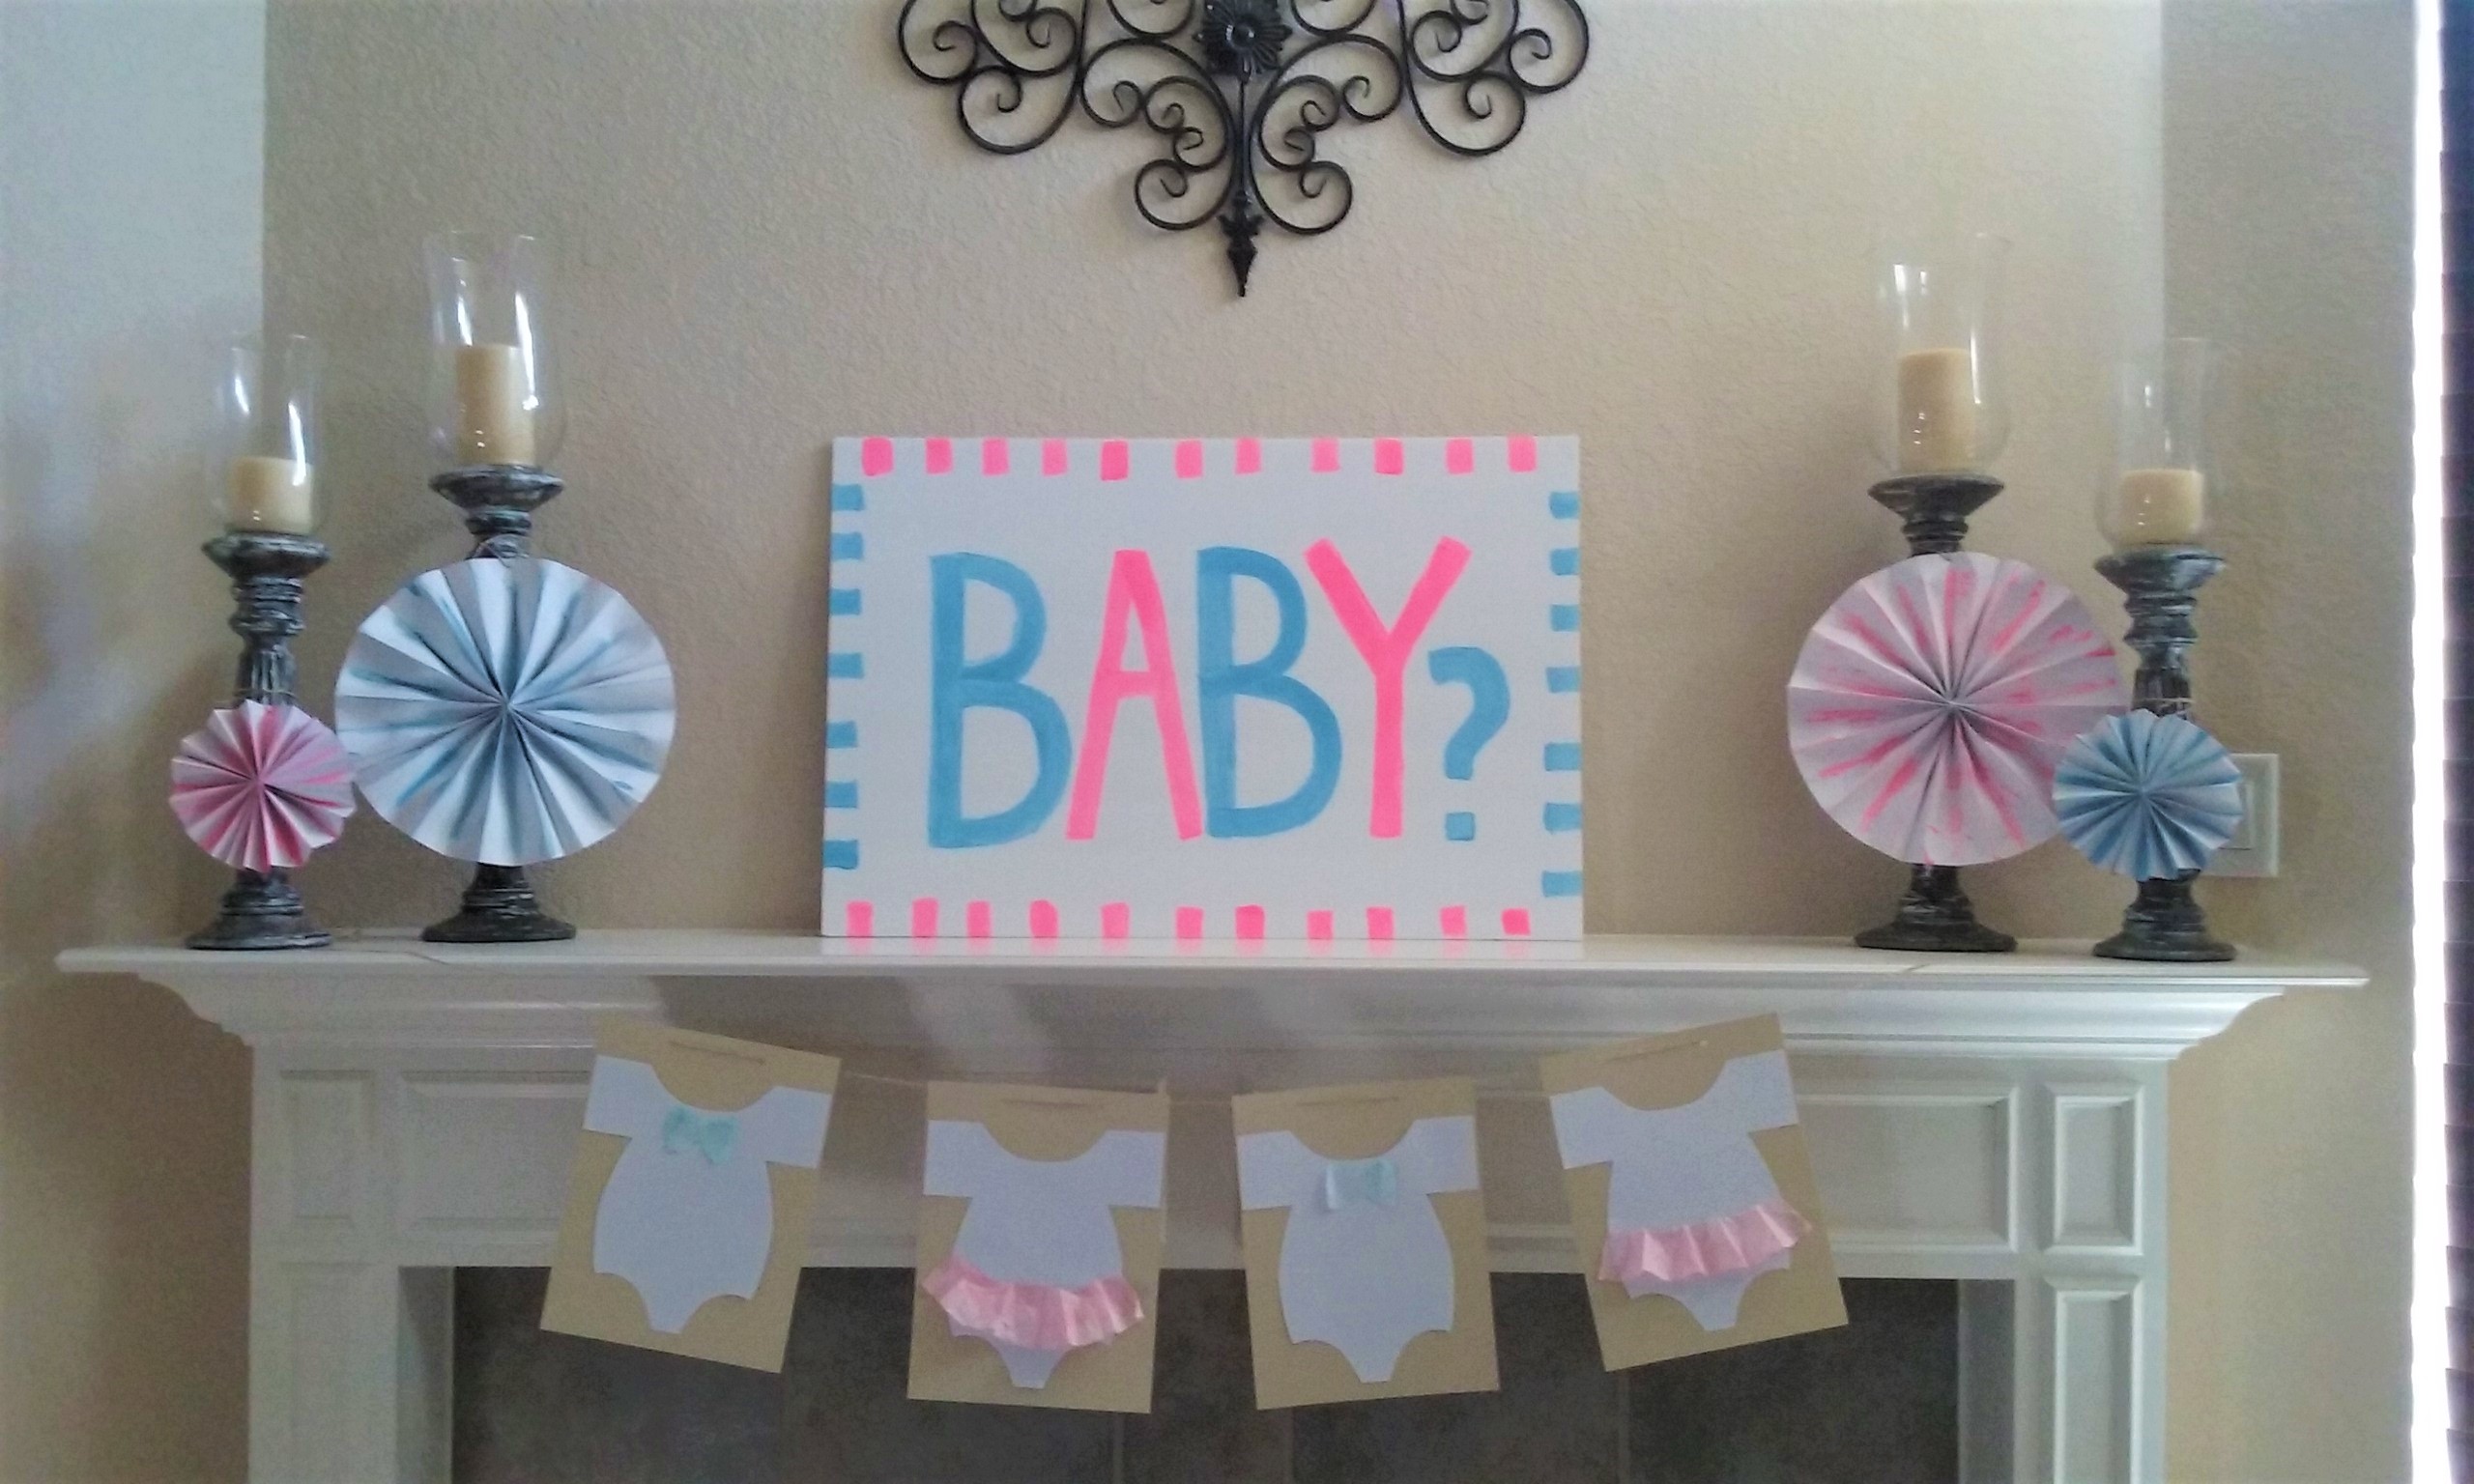
For the mantle I made this cute onesie banner and paper fans from scrapbook paper. The “BABY?” sign is from a piece of dollar store foam board and craft paint.
I found some cute tissue paper fans from the dollar store and hung those in my kitchen for a colorful, festive display.
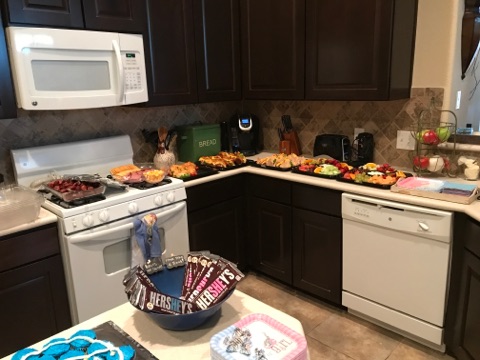
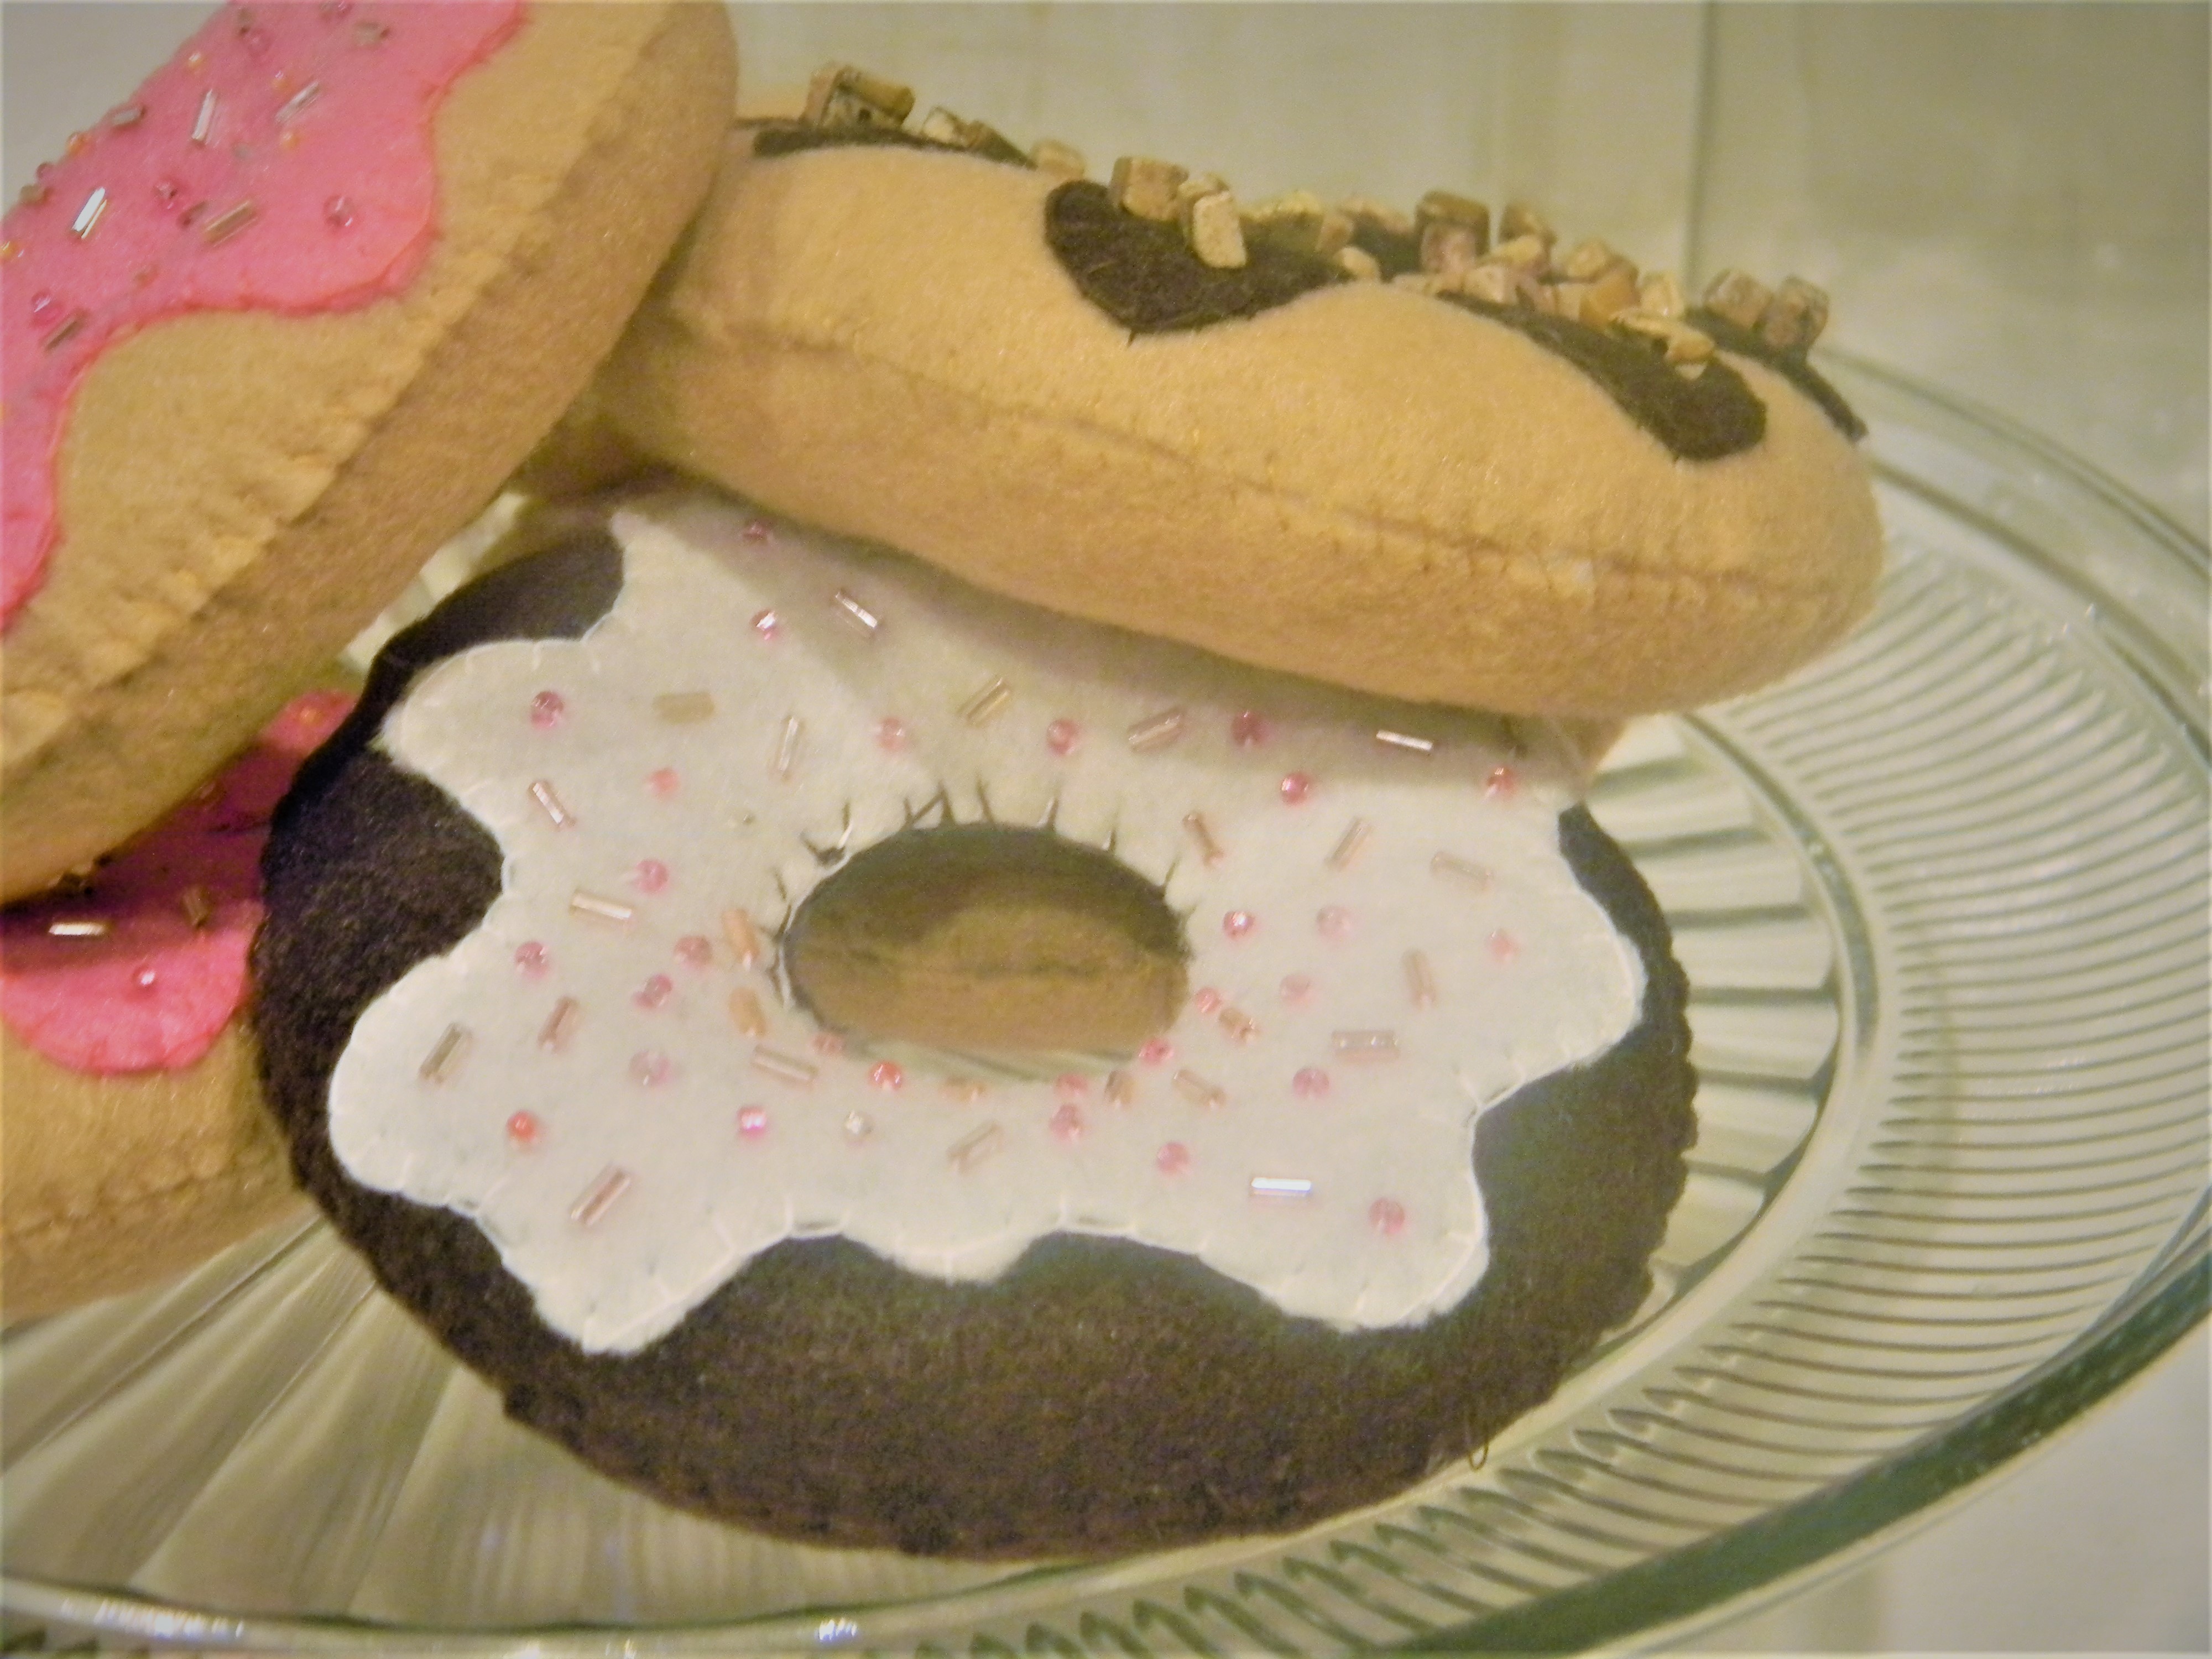
The cupcake rattles was a DIY that I had seen different versions of online. One rattle was vanilla and the other chocolate. I hand frost these the most basic way (with a butter knife) and then arranged them on the board. After that, I placed some white vanilla icing in a zip-lock bag, cut the tip, and used it just like a piping bag to draw the rattles on the tops of the cupcakes. I found some ribbon from my stash and made a bow and placed it right on the base of the circle.
For party favors, we colored some Hershey bars pink and blue and arranged them in a bowl next to the cupcakes for everyone to take.
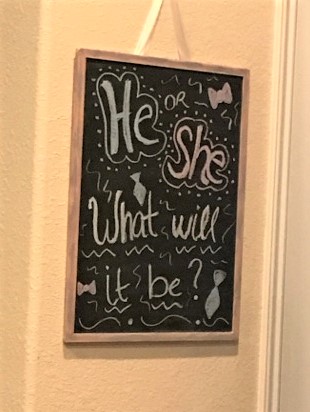
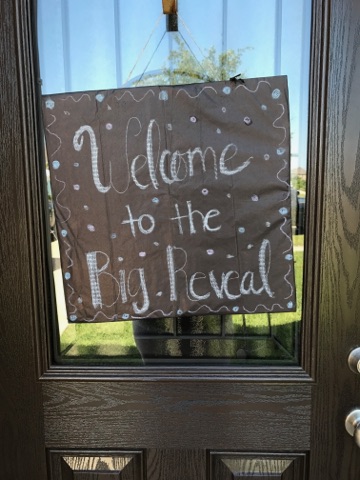
A little fun chalkboard art!
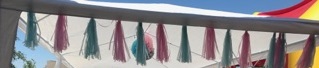
For the outside area I had a white tent set up and we made a tissue pom-pom “chandelier” that we hung in the center. Both sides had the cutest pink and blue tissue tassel banner swag.
We used white table covers and mason jars filled with colored crinkle paper and straw picks.
We had a lot of kiddos at the party…moonwalk for the win!
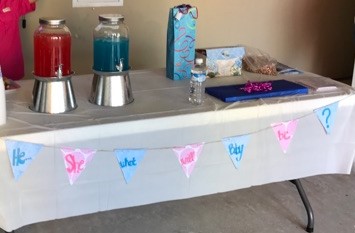
drink station and game/prize area
A friend of mine found the cutest pink and blue chevron “baby bingo” and “is the price right” cards for games. Be sure to check these sites out for your party needs, they have the cutest stuff!
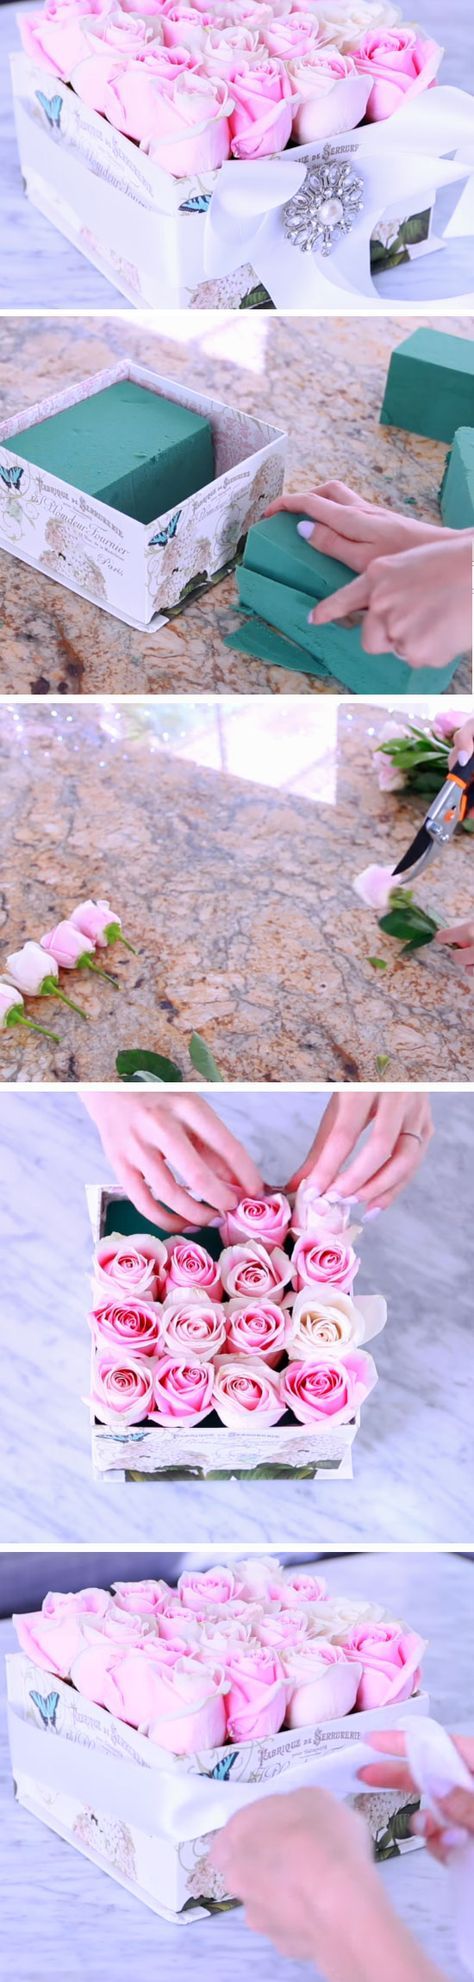
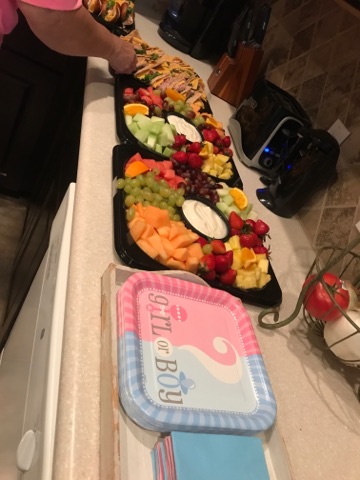
Reveal Box
It’s a Girl!
So, we’ll be welcoming another baby girl into the family later this year and we couldn’t be more happy or excited!
Hey guys…happy Friday! I just wanted to share some of the cutest Mother’s Day gift DIYs I have found this week on the web. If you’re still searching for the perfect gift, check these out and give one a try!
Spring is right around the corner and I am sharing this cute birdcage décor DIY. It’s so simple and really easy. All you need is a cage of your choice (use one that has smaller spacing between the bars so your potpourri doesn’t fall thru), and some potpourri vase filler. That’s it!
To assemble: open your cage, fill with the potpourri of your choice, (if you like, you can mix in some decorative balls/pod fillers too) and close the lid. Now you can display your birdcage wherever you like!
I’ve linked some cute cages I found and some potpourri and ball/pod fillers for you too!
*I used a medium-sized cage, 1 bag of ball/pod fillers, and 1 bag of potpourri (keep in mind the larger the cage, the more filler you will need)
Have fun putting yours together and send me a pic if you decide to make one. I’d love to see how you style yours! You can find me on Instagram and Pinterest @thedimestoregypsy.
Hello! Today I wanted to share my self-laminated Valentine card embellishments with you. They’re fun to make and with a few craft supplies, you can customize these to your liking.
All you need is some scrap craft paper, glitter glue, stickers, etc. and some self-laminating sheets. I happened to score 2 packs of the 5 x 7 size from the Dollar Tree but you can find these at any store that carries laminating products.
The self-laminating sheets are easy to use and will make your embellishments last a long time. You just center your project on the hard side and the back is peel and stick. It comes with instructions and shows you exactly how to seal your craft.
For the love tag, I started with a cream 4 x 7 piece of cardstock for my background. I then cut a piece of pink scrap paper smaller than the background and added a couple of stickers to the center. After, I went around the edges making hearts with my mini heart puncher and affixed it the background piece.
The cupcake card was actually a card so I just cut it in half and decorated it. I added glitter glue and the pink hearts from the previous punched card. You could create a cupcake with a few scraps of paper if you like this one.
For the larger card I used a page out of a dictionary. I love using dictionary pages in my crafts and decor! You can find them just about anywhere. I found mine at my local library. They sell books for like .50 cents so I’m always there getting old books. It’s just something about those old, worn out pages that I love. Just add a little glittered heart cut out or punch and you have a cute little card.
There are so many possibilities on how you can use these. Punch a hole at the top and add some twine and you have a cute little ornament for your Valentine tree! You could also use these in your planner…add some sequins to the front before sealing and you have a shaker dash-board. Also, these would be fun as a gift tag, or a love note for your special someone. Leave one on the night stand for your love to find or even drop one in your kids lunch to find at school.
My cards are hanging right next to my tree. I display extra Valentine cards here too during the holiday and it makes a pretty festive display.
Feel free to use these if you’d like. I’d love to see how yours come out. You can find me on Instagram @thedimestoregypsy for home decor inspiration and more.
First post of the New Year! I hope everyone enjoyed the holidays. We recently celebrated my daughter’s 1st birthday and I’m so excited to share all the details and decor. I love planning and hosting so naturally I had to go all out!
For invitations we used Vistaprint.com. They have a great selection of invitations that can be printed from your home or printed and mailed to you. I chose to have them printed and mailed and they did a really great job! Everyone loved them. I’ve linked them below.
Here’s the style I used. There are 3 different color options and I chose the pink. You are able to edit the wording, pictures, etc. however you like. I took the photo insert off so I could have one large snowflake and we edited the wording under Winter Wonderland to say: Oh what fun! Our little snowflake is turning One! They came with white envelopes for free or the option of matching envelopes for an additional cost. I found a coupon code online and ended up paying around $.60 cents per invite with free shipping.
I created all the decorations using the Recollections Strawberry Cream cardstock value pack from Michaels craft store. It has 5 different shades, comes with 50 sheets total, and It’s priced at an everyday value at $2.00! I’ve linked it here for you.
Recollections Strawberry Crème-Michaels.com
*I found a 25 pack of snowflake cutouts also from Michaels but these were seasonal and are no longer available.
Check back a few posts to see how you can make these magical snow globes I used in my table centerpiece!
I always decorate my kitchen with gingerbread during Christmas and this was just so cute with all the other decorations.
For this backdrop I used the cardstock to create some paper fans and glued them to a white back drop from Dollar Tree.
In keeping with the theme I chose a white cake with white butter cream icing and some edible snowflake accents. I ordered from our Wal-Mart bakery and it was so moist! The cake topper was a clear ornament filled with faux snow and a dye cut snowflake from some of the leftovers I had. You can wipe the bottom off and it becomes a keepsake ornament. Just add the birth details with a sharpie and hang it on your tree with some pretty ribbon!
I saved the tutu from our cake smash photo session and used it as the high chair skirt.
I put together these dainty little sitting table centerpieces with the Recollections silver glittered die cut snowflakes and clear rhinestones I found at Michaels. They were 12 in a pack, with a mix of large and small. I’ve linked the exact ones below.
Michaels.com
I wanted a deli style lunch so we had a mixture of catered and homemade goodies. From the Kroger deli I ordered mini chicken salad croissants, assorted ham and turkey tea sandwiches, a fruit tray, a veggie tray, and a spinach and artichoke dip bread bowl.
I ordered a couple of gallons of the Zuppa Tuscono soup from Olive Garden for something warm and I have to give many thanks to my stepmother for bringing one of her friends awesome cheese balls (this is so good everyone is literally asking for it at every party I’ve had), cranberry chili meatballs, and these delicious salads!
We had cake for dessert along with strawberry wafer cookies and donut holes.
For the drink station I used my cute little mason jar drink dispensers that I found this summer at a discount shop. They really came in handy for the sweet tea and cucumber lemon water I served.
I used an old chippy tray to hold all the napkins and serving ware right next to the food.
For our party guests I put together these goodie bags with Grab n Go Play Packs, a few pieces of chocolate candy, and a snowflake bubble wand. The play packs are really handy and they come with an activity book, a sticker sheet, and a small set of crayons. You can find these at Wal-Mart, Target, etc. in a variety of characters. They’re relatively inexpensive at $1.00 each. I just lined a basket with some tissue and arranged the goody bags here for the kids to grab.
Iced gingerbread men all wrapped up as a party favor for everyone!
I used the Little Debbie gingerbread snacks as party favors. All you need is some loot bags and decorative ribbon and you have a cute, in-expensive favor. Arrange them in a basket and put them near the door so when your guest leave they can take one with them.
Christmas tree with birthday gifts by the fireplace.
For the fireplace I used the Wal-Mart Creative Cuts 2 yd. piece of burlap as an overlay. I then added baby photos, pinecones, DIY poster board tree cones, and a name banner pinned with flower ribbon brooches.
A few fun game ideas we used that you can play too!
We are so thankful for this little blessing and couldn’t be happier! Thanks for reading along and I hope this gives you some inspiration for your next party.
On my last post I shared one of my gift baskets I made for our “White Elephant” gift exchange. Today I’m sharing the other. I loved them both but I really had fun putting this one together!
All you need is a little rustic crate, beer of your choice, and then fill it with goodies to snack on. I’ve had this crate for a while now so I wanted to find some fun things to fill it with to give as a gift. You can get a plain crate from any craft store and decorate it to your liking. Also check your discount stores for crates. (Ross, Marshalls, etc.) You could use stain or paint or even use a stencil to create a design/picture on the outside. Here’s a few I’ve linked:
While I was there to get snacks I spotted these fun scrabble tile beer coasters at $9.99/set. I also found this matching bottle opener at $4.99 so I got them both!
I just added another layer of paper fill over the tops of the bottles and laid these two items on top. I used a shrink-wrap bag and bow I found at Dollar Tree to finish it off and a fun tag that said, “Eat, Drink, and Be Merry”.
This crate was a hit and everyone loved it. I hope this inspires you to create a gift basket of your own for your next occasion!
If you have any questions or comment just drop me a line and I’ll get back to ya!
Hello! Hope you enjoyed your holiday! I wanted to share my gift “baskets” I made for our family Christmas party. We always do the White Elephant gift exchange each year for the adults so I thought I’d share these fun gift ideas. Not only are they fun for the gift exchange, but these gifts can be made and used for any occasion; Mother’s Day, Father’s Day, Birthdays, etc.
I went to Marshalls with a plan to find gourmet nuts and such to put in the beer crate I was putting together. I went down the other aisles 1st to get an idea for a ladies gift and came across this gorgeous white leather planner and it was only $4.99! I dropped it in the basket because it was definitely going home with me.
As I moved further down the aisle, I spotted the cute wooden mail sorter at $9.99 and the gold polka dot clipboard with notepad at $3.99. This gave me the idea for the stationary gift basket.
I ended up stopping at Michael’s and Dollar Tree and was able to find a sassy 2 pack of blank cards, a pocket notebook, a cut writing pen, some paper fill, and a shrink-wrap bag with a bow.
Went I got home I checked my stash and found some glass magnets I had made for a craft fair a while back. I had a few clear and gold glass buttons in my sewing supplies so I used those to make a few fancy paper clips. I bagged these up nicely with some pink cardstock from my scrapbook paper supply.
*(The paper clips, glass pebbles, and magnets can be found at Dollar Tree. For the magnets, just find some small cute images from a magazine, cut them out, and adhere them with some Modge Podge to the pebble. Glue your magnets with some E6000 the back and voila!)
I arranged all the items together in the mail sorter and put a little paper fill in each slot. I bagged it up with the shrink-wrap and added the bow and a fun little Christmas tag.
My sis n law ended up stealing the gift and is super excited to use it on her desk at work!
I hope this gives you an idea on how you can make your own fabulous gift basket that won’t break the bank. Check back soon for my DIY Beer Crate!
Happy Holidays! I’m sharing this whimsical mason jar snow globe DIY. They are so beautiful in the light! I made quit a few and grouped them together around my home. Read on for details on how to make your own.
Supplies:
If you don’t happen to have any jars saved, you can find them at Michael’s craft store. The smaller ones are everyday value at $1.00 and the larger are $2.99 regular price. I found my smaller ones at Dollar Tree and I saved a few Atlas pasta sauce jars for the larger size.
Next you’ll need the mini trees. You can find a variety of these at the craft store in all kinds of colors and sizes. I picked a few shades of green for myself. Here are a few options from Michael’s. (mini 6 pack on the left/$2.99 and medium 3 pack on the right/$3.19)
Here are a few different options for the base. I always grab these when I find them on sale because I know I’ll be using them for different projects. (I don’t pay over a dollar or two for each.) I was lucky to find a few of the middle ones at Dollar Tree. I like to group the finished jars together so it looks great when you have different sizes and shapes. You can find these at most craft/home stores.
And of course, you’ll need snow and craft glue. All of these products can be found at your local craft store. I found my snow spray and filler at Dollar Tree and the craft glue at Michael’s. Be sure to grab the clear craft glue. I have seen it come in white and black. (Make sure to use industrial strength adhesive for your base, you don’t want your jar coming off the base.)
Instructions:
Hold your mason jar in one hand and with the other take your snow can and hold it about 4 to 5 inches above the opening. Spray a small short burst into the bottom of the jar to add some snow and texture to your jars. (This is a little messy and may get on your hand. Use gloves and wash if you get any on your skin.) Let sit for about and hour to dry.
Once dry, add about 1/4 jar of snow fill.
Next, glue your tree down to the inside piece of the lid. (I used hot glue here to speed up the process.) Once it’s dry, place it in the jar and screw the lid on.
All you have to do now is put a little bit of craft glue around the rim of your base, center it on the lid, and let dry. Once it’s dry you can flip it right side up and start decorating!
These are on my kitchen hutch with my gingerbread tree. Don’t they look great!
This is by far my favorite time of the year. I love when the time changes and the nights get longer, the weather gets cooler, and you can find pumpkin flavor in just about everything!
So, I have to share this story with you guys. I’m starting to decorate my home for Halloween and I’m not too impressed with my wreath for my front door. It was something I just threw together when I was younger and I’ve had it for years. I never got around to updating it.
The Dimestore Gypsy
It’s not too bad but I had my heart set on a wreath I came across last year on Pinterest.
After seeing my little plain one, I thought, “I’m just going to buy the one I really want and be done with it”.
grandinroad.com
So here it is and OMG!! I about had a heart attack! While it is gorgeous, I can’t even imagine spending that much on a wreath. I was kind of bummed because I just fell in love with this one. I’m all about creating something fab, so I set out on a mission to find supplies to make my own and as low-cost as possible.
I was at Dollar Tree a few days ago looking at their Halloween decor and was super excited to find these plastic skulls and glow in the dark skeleton arms! I got 2 arms and a skull to use for the skeleton.
Next, I found these feathered boas in the kids costume aisle. I bought 3 black, and 2 orange/black to alternate around the wreath like the feathered one.
dollartree.com
They happened to have some Halloween wired ribbon so I got 1 of the orange sheer fall prints, 1 sheer orange/black dot, and I roll of the orange/metallic deco mesh to use as the collar around the skull.
dollartree.com
They also had some cute decorative wooden signs so I picked one that had orange, black, and yellow to match the rest of the wreath for the skeleton to “hold”.
dollartree.com
I was so excited and came straight home and got started. It was a labor of love and so rewarding to see the finished product. I only spent $13 dollars on supplies to makeover the one I already had. If you wanted to make one and you don’t have a wreath, you can get one at any craft store. I used the 18″ grapevine wreath from Hobby Lobby (5.99) and used my 40% off coupon. With the wreath and supplies It will put you right under $20.00. Not a bad deal at all!
This slideshow requires JavaScript.
I’m really happy with my new wreath and will enjoy it for years to come. I hope this inspires you to get out and see what you can do. You don’t have to spend a lot to make something fabulous!
Here’s a link to a cute, inexpensive Halloween wreath project from Dollar Tree using their products. Click on the Halloween look book and it will have the supply list and instructions.
Dollar Tree Deco Mesh Wreath DIY
I’d love to see your fabulous projects! Leave a message or comment and I’ll get back to ya. You can find me on Instagram at dimestoregypsygal.
So we all have to pay bills each month and if you’re like me, you still get paper statements in the mail. My spouse pays the bills and then leaves the paperwork on my desk for me to file or shred. I had a cheap little home bill organizer from a discount store but it just wasn’t holding up. The paper pockets were starting to tear, receipts were slipping out, and the band to help it stay close was starting to bend the pockets. I thought, “I really need to re-organize this”.
One day while I was out school shopping I saw this cute mini binder and I got the idea to use this for my bill receipts. It’s 9 x 7 and the perfect size. I got this one from Wal-Mart for $3.88! You can also find these at the Target dollar spot for $3.00 in cute patterns as well.
I went down the office supply aisle to find some mini page protectors. Here are the ones I used and they were $2.49 for this 15 pack. These will be used to hold receipts for each month.
I wanted to have a divider for each month and I found this 8 pack with tabs at the Dollar Tree. I cut these down to fit my binder.
To cut these down, I placed one of the mini page protectors under the divider and lined the edges of the tab and page protector together. Then I just marked my length and width and trimmed it up to get the divider the size of the mini page protector. On the edge where my hole punches would be, I just trimmed a straight line down to make it easier. Then I marked/punched the holes.
I put the binder together with the month and a mini page protector behind it. After December, I made one extra divider and labeled it “Important”. Each month I keep a receipt or pay stub with important info. like the date, amount paid, and total for each bill. At the beginning of the new year, I take all the receipts out for each month and I shred them. The “Important” tab is for receipts/paperwork that I need to keep longer and those will be filed in my bigger filing system that’s stored away.
After I organized all my receipts, I took a piece of scrap elastic tape and measured around the binder leaving a little room so the binder wouldn’t bend when full. I sewed the piece together and slipped it over the side to hold it closed. Another great idea is to use one of those elastic headbands. You could get really creative and embellish yours or find one at a discount store. I think I may just go back and do that for my mine!
This is a simple receipt organization system and can be modified for any organizational system you need. I hope you enjoyed this little inexpensive diy project. Don’t forget, you can find me on Instagram @dimestoregypsygal! If you have any questions or comments feel free to msg. me.