Spring is here! After the cold and all the winter white, I’m anxious to get my Spring/Easter decor up. I love all the pastel colors that come with Easter and it just makes my home so cheery and bright.
I made this fun carrot “wreath” for my front door last year. Let me tell ya, it was a lot of work but so worth it! It’s so whimsical and such a statement piece.
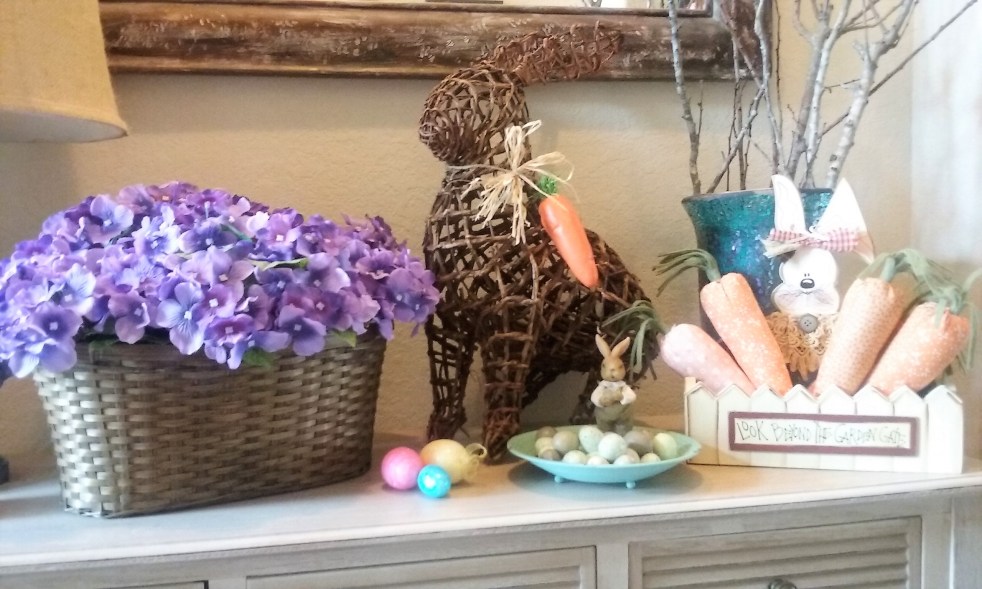
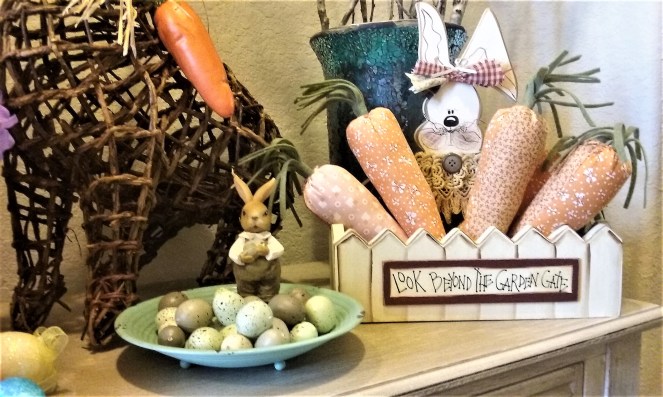
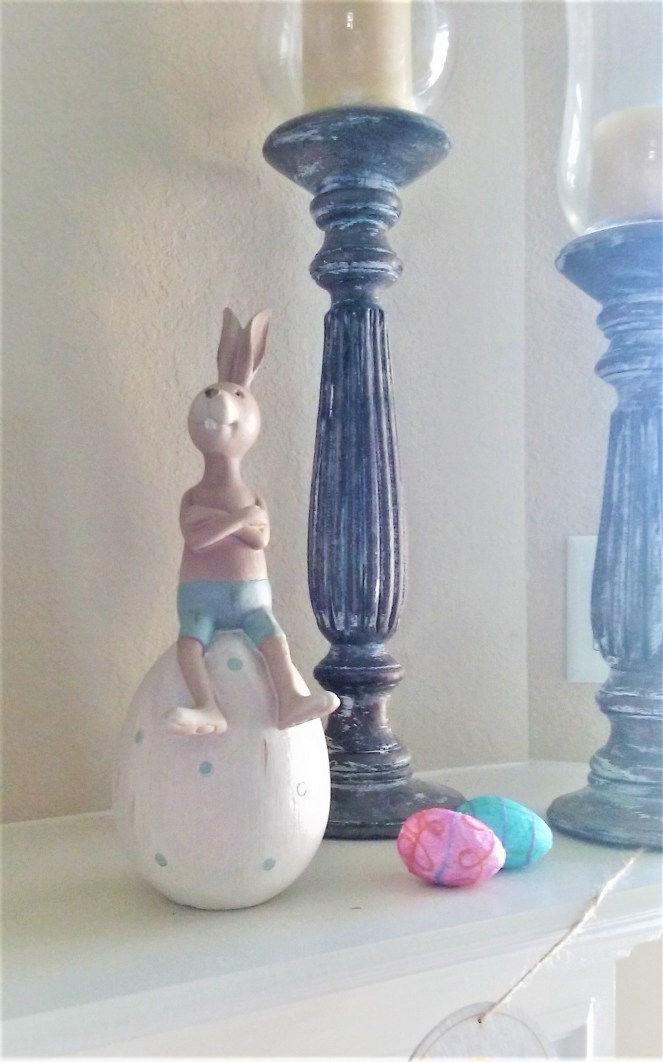
This large grapevine bunny has to be one of my fave thrift store decor finds!
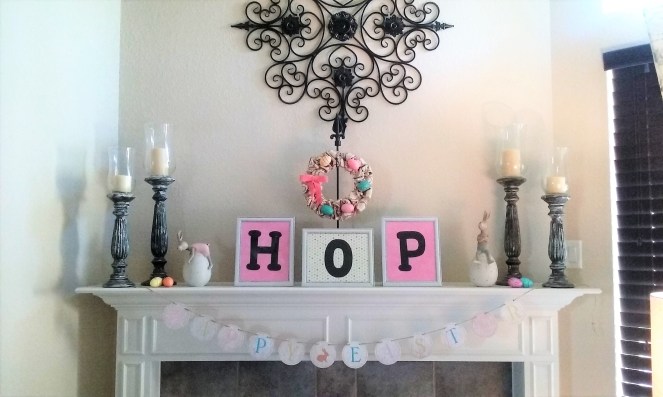
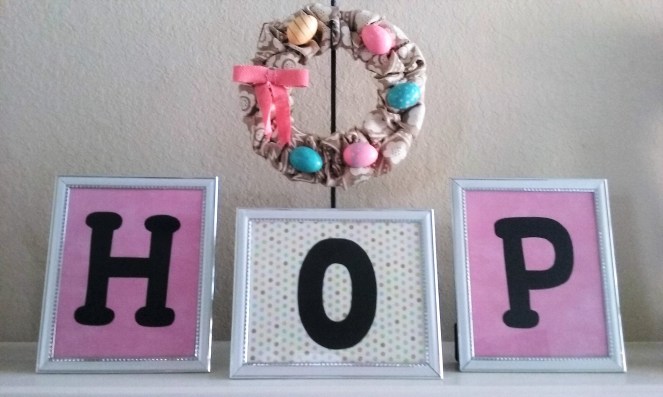
This “HOP” sign is a great little inexpensive DIY I put together with scrapbook paper and Dollar Tree frames.
A simple cake stand and some raffia make a cute little nest for this bunny!
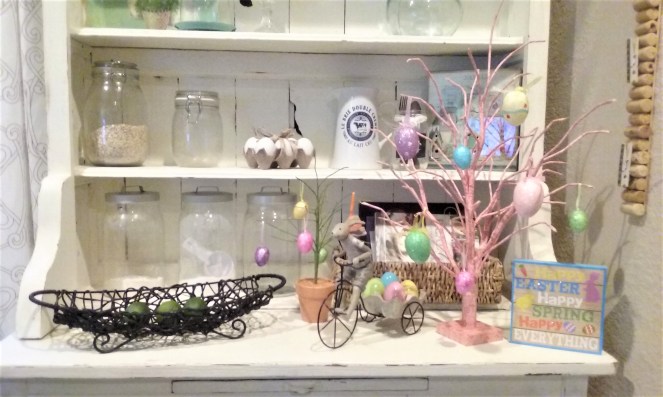
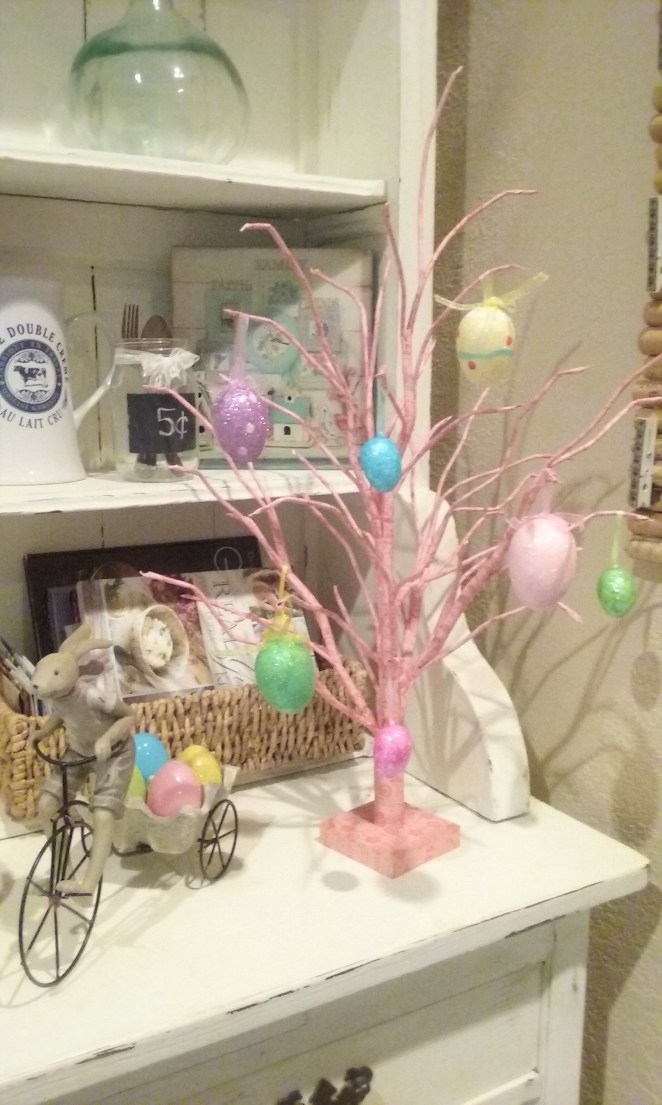
I love mixing high/low-end to decorate my home. I put together this vignette and you would never guess some of the items are from Dollar General and 99 cent only store! Don’t be afraid to check out some of these stores, you can find really cute items for next to nothing.
Thanks for checking out my Easter/Spring décor. Stay tuned, I’ll be sharing more Easter themed projects and recipes.
Happy St. Patrick’s Day! Are you wearing your green? I am!
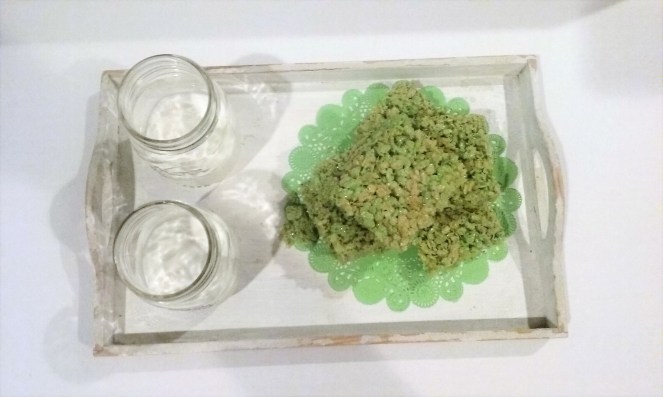
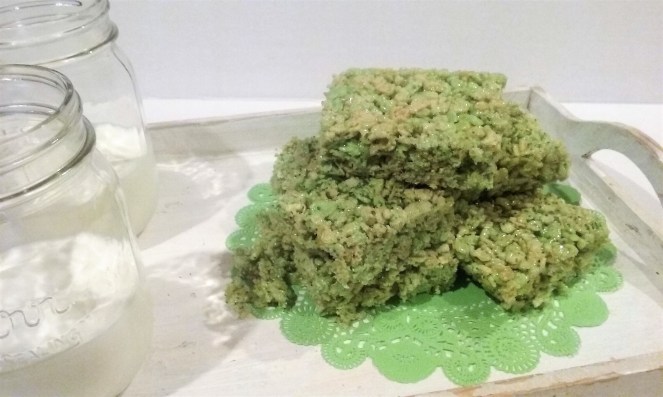
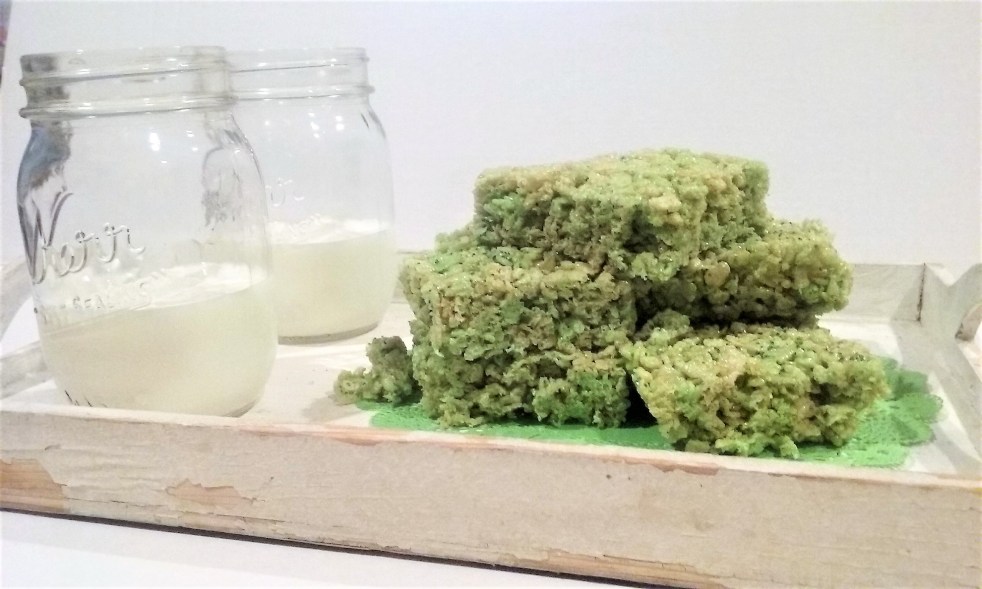
I don’t really decorate for this holiday but I love to make a green dish or treat in honor of St. Patrick’s Day. This year I made green rice crispy treats! They’re super fun, easy to make, and a hit with the kids.
What makes these so fun is the green color you get from adding food coloring to the mix! Here’s the classic “Rice Crispy Treat” recipe I used. After the marshmallows are melted, add a few drops of green food coloring to the mix (you can use the liquid or the gel coloring). Be sure to stir it well, then continue with the rest of the instructions. After I smoothed the mix out in my 13 x 9 , I sprinkled a little green colored sprinkles on the top for some sparkle!
Last night I was totally stumped on what to cook for dinner. Does that ever happen to you? Well if it does, you should definitely try this recipe out! It comes together in about 10 minutes and tastes so good. It’s perfect for those late nights when you don’t have a lot of time to spend in the kitchen or just needing a quick fix.
For this recipe, you’ll need:
1 green bell pepper (sliced in 1/4 strips)
1/2 white onion (sliced in 1/4 strips)
1 half bag of fully cooked, frozen diced chicken breast
8 tortillas
(seasonings of your choice)
*serves 4
Kroger.com
kroger.com
kroger.com
kroger.com
Cooking Directions:
Place about half the bag of chicken and 1 tbsp. of water in a microwave safe dish. Cover and heat for 3-4 minutes.
While the chicken is warming, slice your veggies and add to a large frying pan with 1-2 tbsp. of olive oil.
Stir-fry the veggies on high heat until the onion is opaque, about 5 min.
Now add your chicken right to the pan and season with what you like. ( I used a sprinkling of each: salt, pepper, garlic powder, chili powder, and cumin)
Stir-fry the chicken for just a few minutes to brown, about 2-3 min.
There you go…just warm your tortillas and serve! Add a side of rice for a complete meal.
I hope you enjoy this recipe as much as I did. Let me know if you decide to try it. I’d love to hear from you.
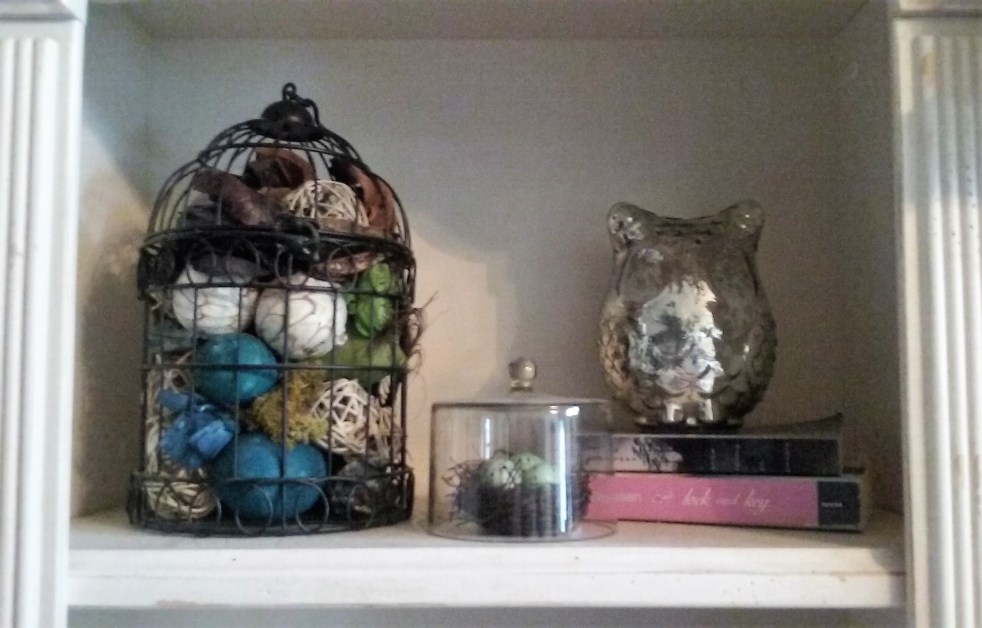
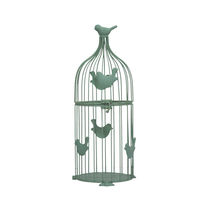
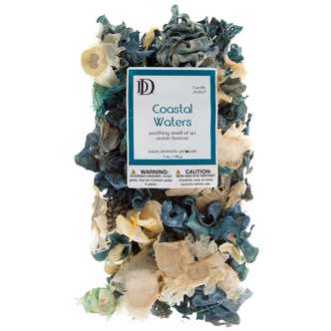
Spring is right around the corner and I am sharing this cute birdcage décor DIY. It’s so simple and really easy. All you need is a cage of your choice (use one that has smaller spacing between the bars so your potpourri doesn’t fall thru), and some potpourri vase filler. That’s it!
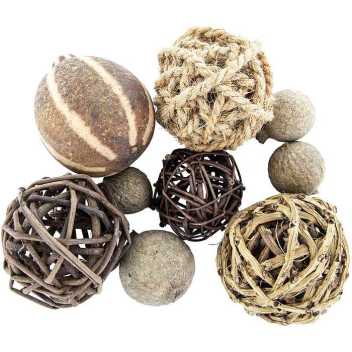
To assemble: open your cage, fill with the potpourri of your choice, (if you like, you can mix in some decorative balls/pod fillers too) and close the lid. Now you can display your birdcage wherever you like!
I’ve linked some cute cages I found and some potpourri and ball/pod fillers for you too!
*I used a medium-sized cage, 1 bag of ball/pod fillers, and 1 bag of potpourri (keep in mind the larger the cage, the more filler you will need)
Have fun putting yours together and send me a pic if you decide to make one. I’d love to see how you style yours! You can find me on Instagram and Pinterest @thedimestoregypsy.
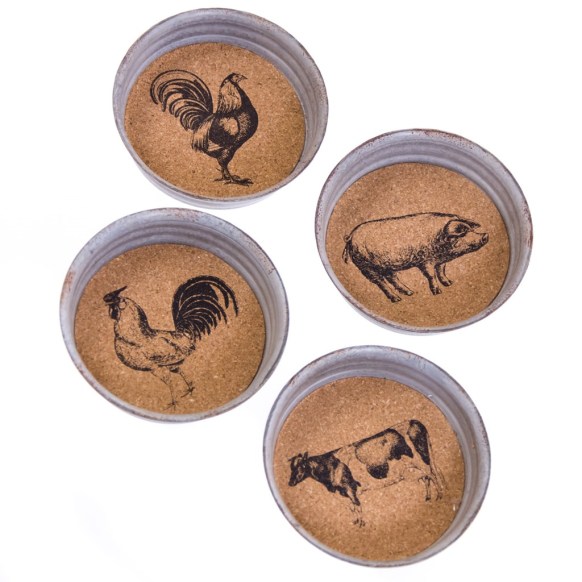
How cute are these? I was visiting my parents one day and I noticed these cute coasters they had. They’re a really good size (can hold a large cup) and have a good weight. I just loved them and wanted to get some for myself. I never got a chance to go look for some and she surprised me with my own set last week from Cracker Barrel! They go so well with my home decor and I’m loving them.
I found them for you and they’re on sale for 5.99/set! I’ve linked them down below. Happy shopping!
Just wanted to write a little update for you guys and let you know why I haven’t done much posting.
I lost my Grandmother the end of January. She was 94 years old, had 11 children, 25+ grandchildren, and 60+ great-grandchildren! She was loved by so many and the head of our family. We were close and it didn’t really sink in until a few days after her funeral. She has lived a long, full life and I can only hope for the same.
I was prepared given that she was already in her 90’s but you just never want to hear those words. I really didn’t have any motivation to do any crafting or blogging so I just put it all aside. A few nights ago I got the urge to paint so I did. It’s always been something I love to do and I can just get lost painting for hours. I am starting to feel like myself again and I’m looking forward to blogging again.
I will always cherish the time I had with her and I will celebrate her life.
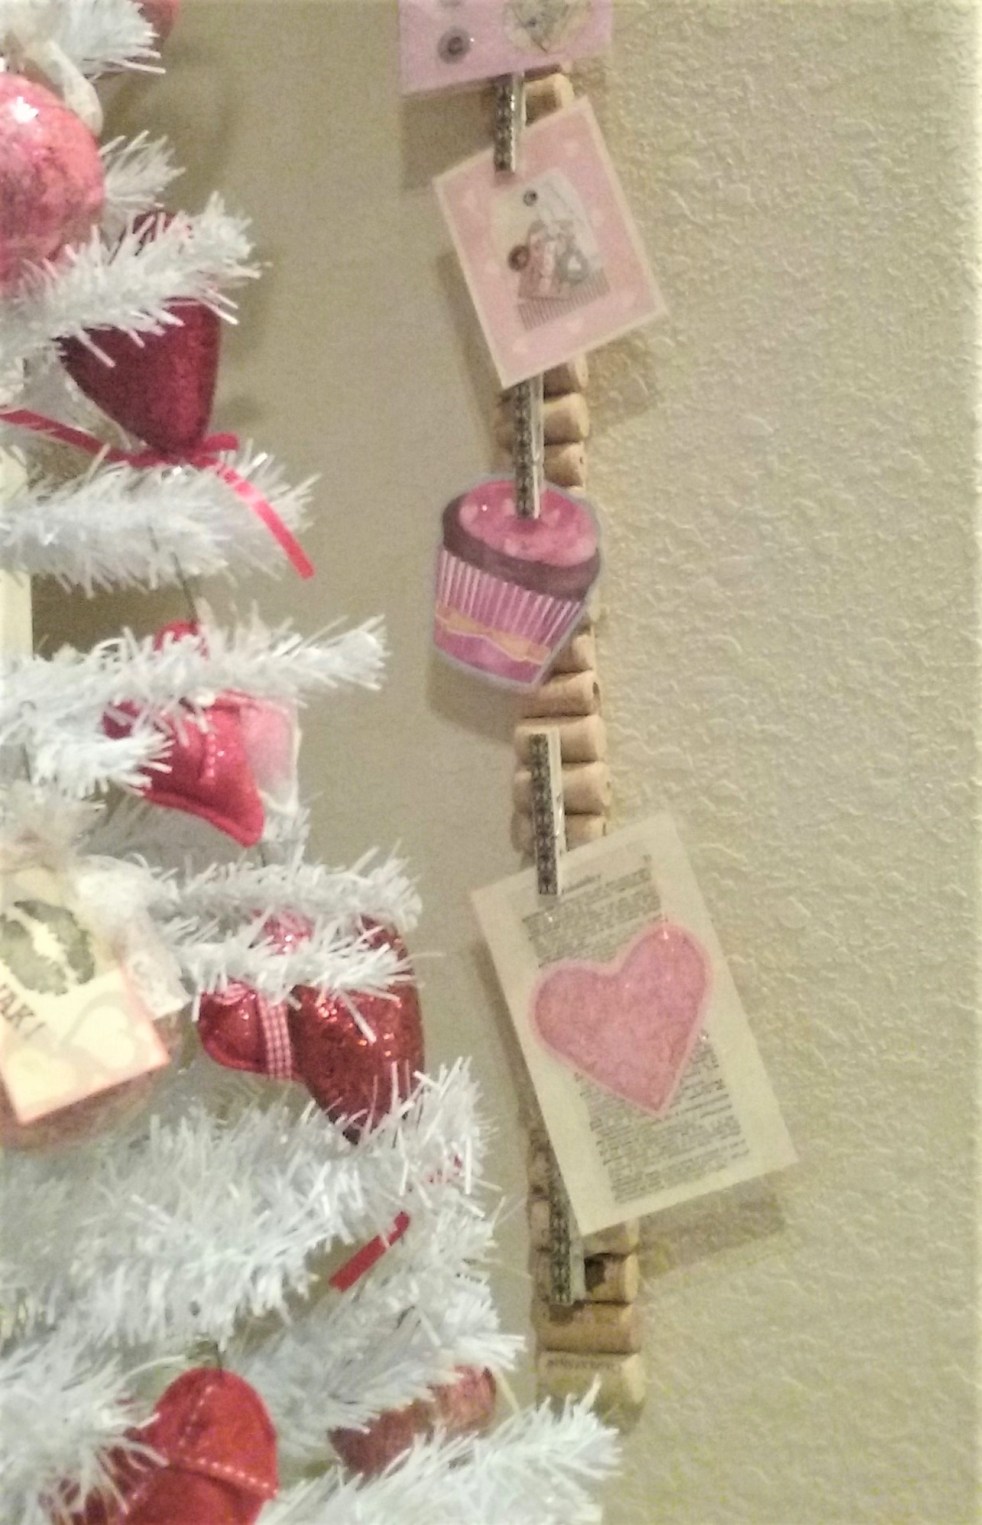
Hello! Today I wanted to share my self-laminated Valentine card embellishments with you. They’re fun to make and with a few craft supplies, you can customize these to your liking.
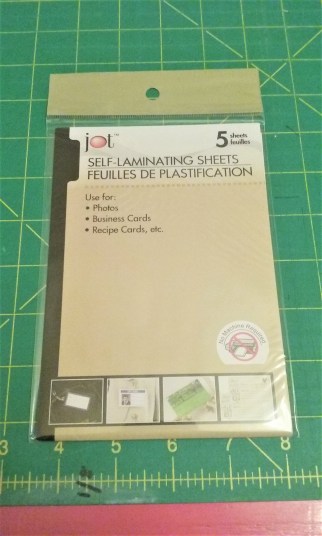
All you need is some scrap craft paper, glitter glue, stickers, etc. and some self-laminating sheets. I happened to score 2 packs of the 5 x 7 size from the Dollar Tree but you can find these at any store that carries laminating products.
The self-laminating sheets are easy to use and will make your embellishments last a long time. You just center your project on the hard side and the back is peel and stick. It comes with instructions and shows you exactly how to seal your craft.
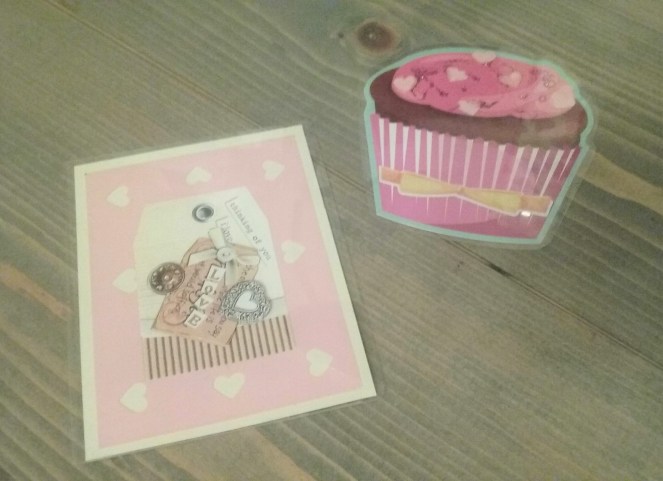
For the love tag, I started with a cream 4 x 7 piece of cardstock for my background. I then cut a piece of pink scrap paper smaller than the background and added a couple of stickers to the center. After, I went around the edges making hearts with my mini heart puncher and affixed it the background piece.
The cupcake card was actually a card so I just cut it in half and decorated it. I added glitter glue and the pink hearts from the previous punched card. You could create a cupcake with a few scraps of paper if you like this one.
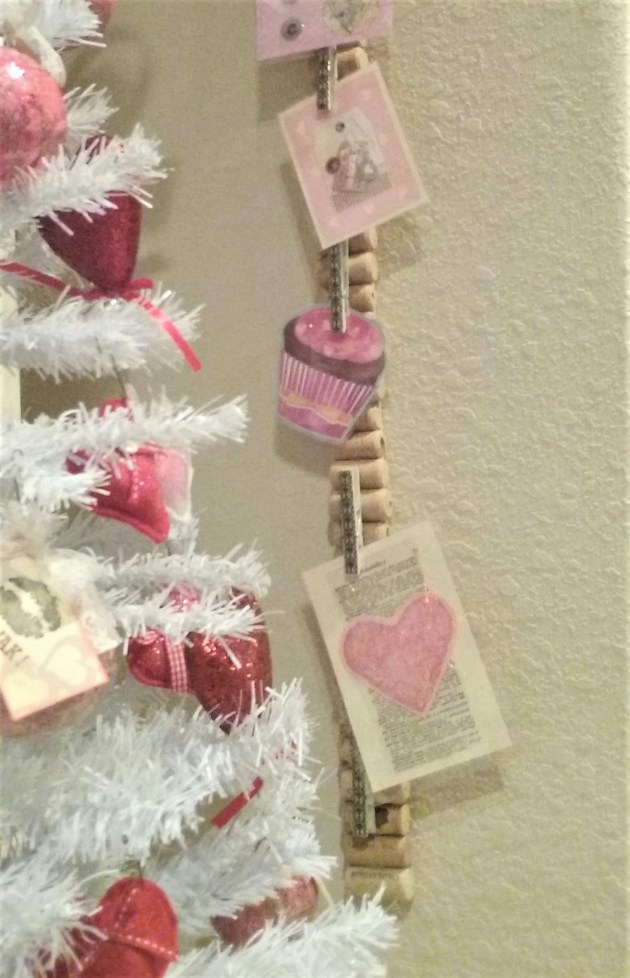
For the larger card I used a page out of a dictionary. I love using dictionary pages in my crafts and decor! You can find them just about anywhere. I found mine at my local library. They sell books for like .50 cents so I’m always there getting old books. It’s just something about those old, worn out pages that I love. Just add a little glittered heart cut out or punch and you have a cute little card.
There are so many possibilities on how you can use these. Punch a hole at the top and add some twine and you have a cute little ornament for your Valentine tree! You could also use these in your planner…add some sequins to the front before sealing and you have a shaker dash-board. Also, these would be fun as a gift tag, or a love note for your special someone. Leave one on the night stand for your love to find or even drop one in your kids lunch to find at school.
My cards are hanging right next to my tree. I display extra Valentine cards here too during the holiday and it makes a pretty festive display.
Feel free to use these if you’d like. I’d love to see how yours come out. You can find me on Instagram @thedimestoregypsy for home decor inspiration and more.
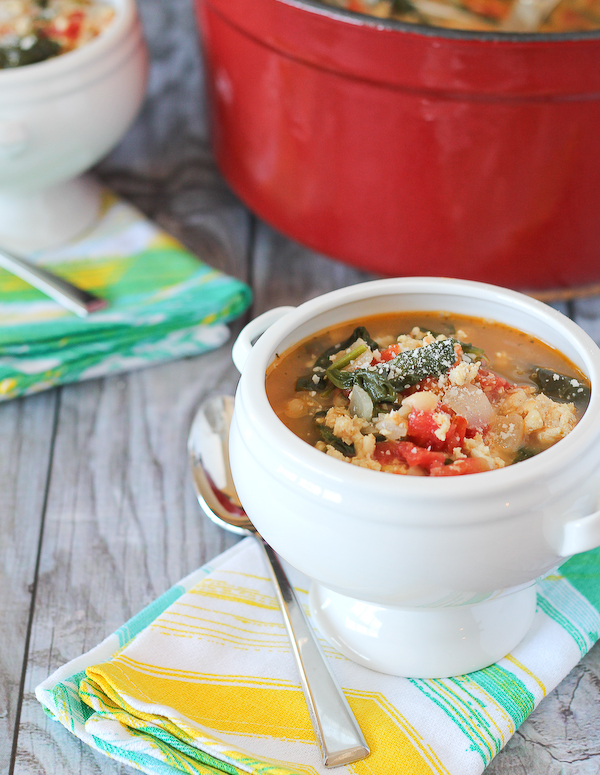
Oh my goodness! I just have to quickly share this turkey, white bean, and spinach soup from rachelcooks.com. It is safe to say this has become a family favorite and one that will be on repeat in our home. I made a big pot Sunday night thinking I would have leftovers and it is completely gone! It’s a 20 min. recipe and healthy too! Perfect for those nights when you need to put together something quickly.
For the soup I used 90% lean turkey and organic broth, tomatoes, beans and spinach. I only had Italian seasoning on hand so I used a sprinkling in place of the 1 tsp. oregano & 1/2 tsp. of basil. I seasoned the meat with Italian seasoning, garlic powder, salt & pepper while browning, and then again after I added my stock.
This is a great little recipe and I highly recommend you try it out. Head over to her site for more pics and other great recipes!
I hope you’re staying warm where you are. Here in Texas it’s probably the coldest it’s been in a long time!
Today I’m sharing this double-cheese chili from kraft.com. It’s perfect for these cold winter nights. I tweaked a few things to our liking and it was really good.
I used 90% lean ground beef and seasoned it to my liking. After adding the remaining ingredients, I added a quarter cup of pace mild picante sauce (for extra flavor and veggies), a dash of garlic powder, cumin, salt, pepper, and hot sauce.
To serve, I added the cheese like so in the bottom and ladled a nice hot spoonful of chili on top. I also added a dollop of sour cream and a sprinkle of chopped green onion. Add some Jiffy homemade cornbread and this meal is complete!
If you try this recipe let me know what worked for you!
First post of the New Year! I hope everyone enjoyed the holidays. We recently celebrated my daughter’s 1st birthday and I’m so excited to share all the details and decor. I love planning and hosting so naturally I had to go all out!
For invitations we used Vistaprint.com. They have a great selection of invitations that can be printed from your home or printed and mailed to you. I chose to have them printed and mailed and they did a really great job! Everyone loved them. I’ve linked them below.
Here’s the style I used. There are 3 different color options and I chose the pink. You are able to edit the wording, pictures, etc. however you like. I took the photo insert off so I could have one large snowflake and we edited the wording under Winter Wonderland to say: Oh what fun! Our little snowflake is turning One! They came with white envelopes for free or the option of matching envelopes for an additional cost. I found a coupon code online and ended up paying around $.60 cents per invite with free shipping.
I created all the decorations using the Recollections Strawberry Cream cardstock value pack from Michaels craft store. It has 5 different shades, comes with 50 sheets total, and It’s priced at an everyday value at $2.00! I’ve linked it here for you.
Recollections Strawberry Crème-Michaels.com
*I found a 25 pack of snowflake cutouts also from Michaels but these were seasonal and are no longer available.
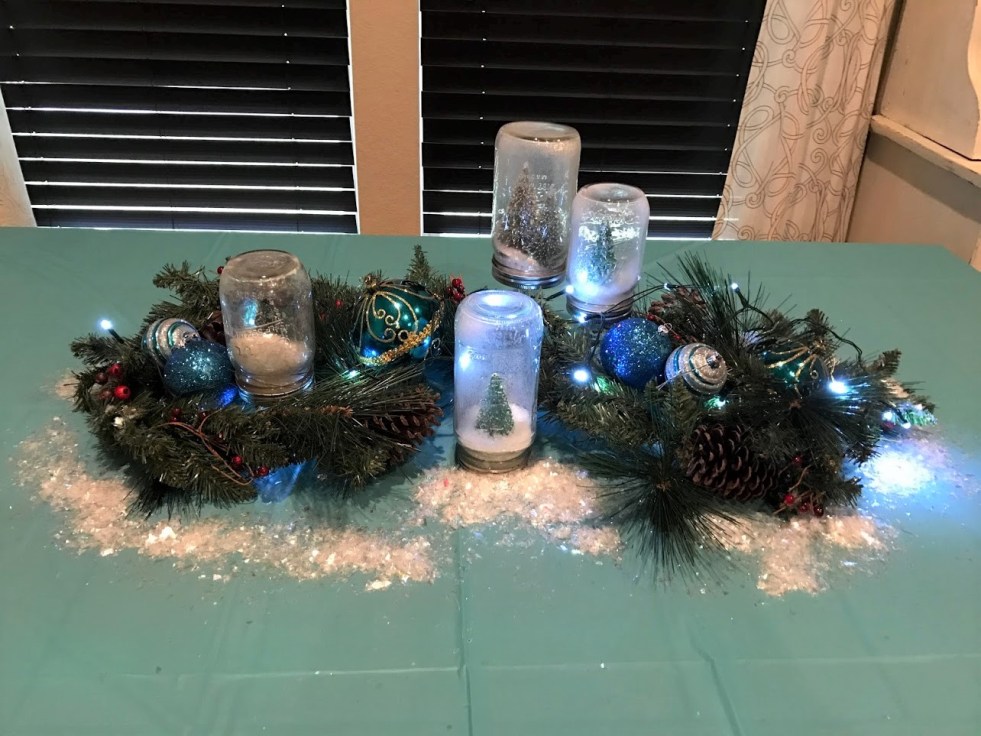
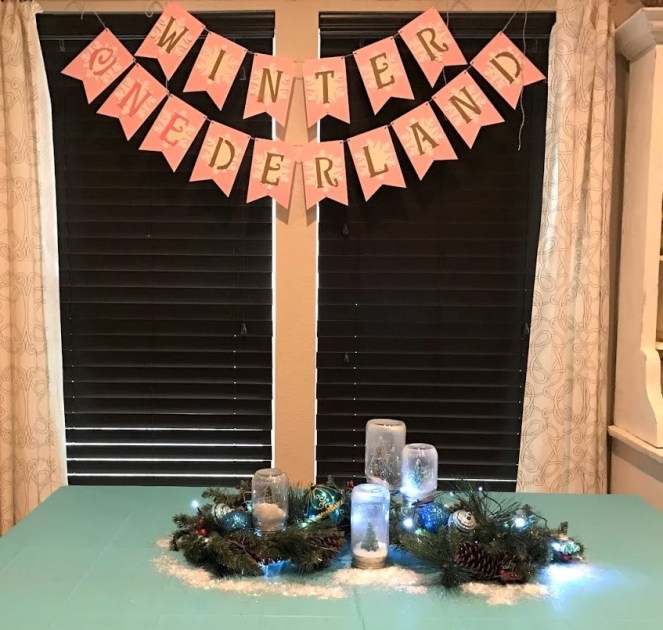
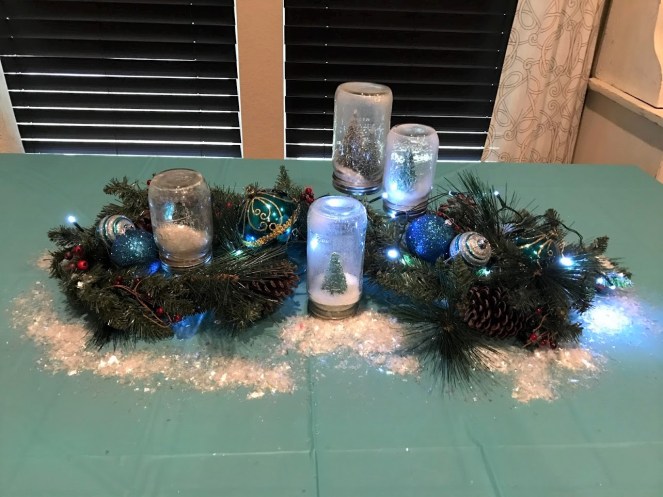
Check back a few posts to see how you can make these magical snow globes I used in my table centerpiece!
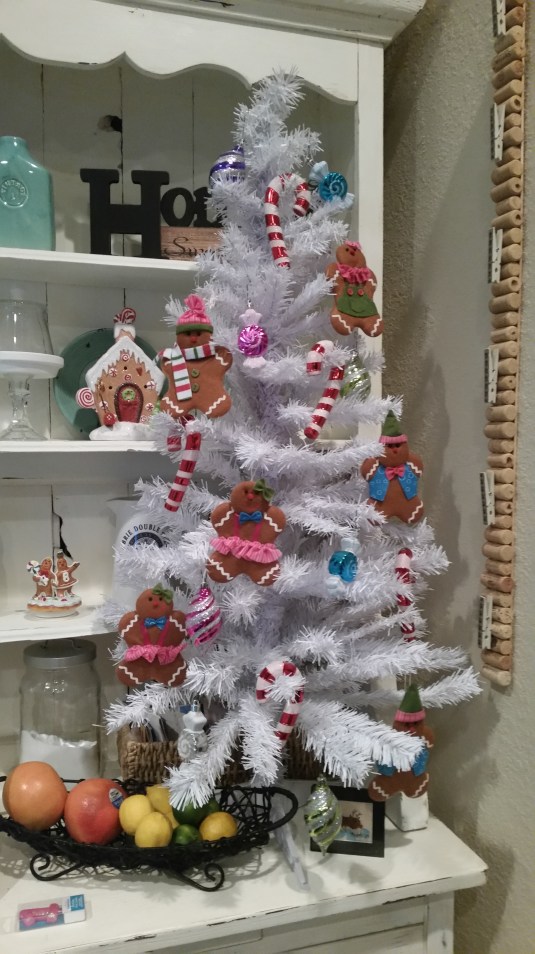
I always decorate my kitchen with gingerbread during Christmas and this was just so cute with all the other decorations.
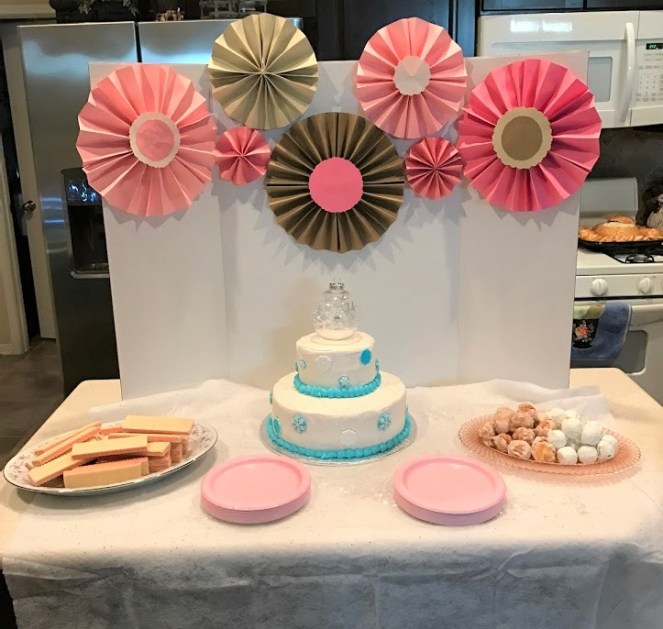
For this backdrop I used the cardstock to create some paper fans and glued them to a white back drop from Dollar Tree.
In keeping with the theme I chose a white cake with white butter cream icing and some edible snowflake accents. I ordered from our Wal-Mart bakery and it was so moist! The cake topper was a clear ornament filled with faux snow and a dye cut snowflake from some of the leftovers I had. You can wipe the bottom off and it becomes a keepsake ornament. Just add the birth details with a sharpie and hang it on your tree with some pretty ribbon!
I saved the tutu from our cake smash photo session and used it as the high chair skirt.
I put together these dainty little sitting table centerpieces with the Recollections silver glittered die cut snowflakes and clear rhinestones I found at Michaels. They were 12 in a pack, with a mix of large and small. I’ve linked the exact ones below.
Michaels.com
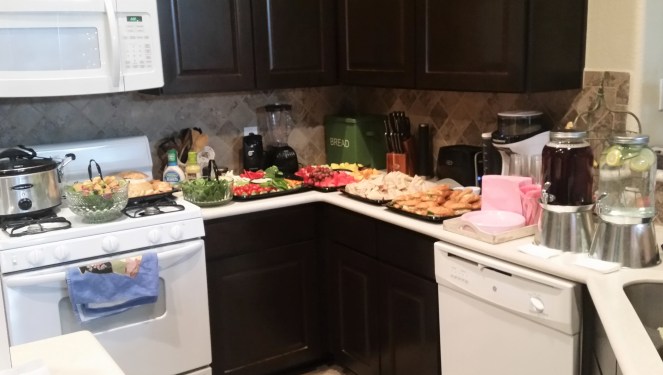
I wanted a deli style lunch so we had a mixture of catered and homemade goodies. From the Kroger deli I ordered mini chicken salad croissants, assorted ham and turkey tea sandwiches, a fruit tray, a veggie tray, and a spinach and artichoke dip bread bowl.
I ordered a couple of gallons of the Zuppa Tuscono soup from Olive Garden for something warm and I have to give many thanks to my stepmother for bringing one of her friends awesome cheese balls (this is so good everyone is literally asking for it at every party I’ve had), cranberry chili meatballs, and these delicious salads!
We had cake for dessert along with strawberry wafer cookies and donut holes.
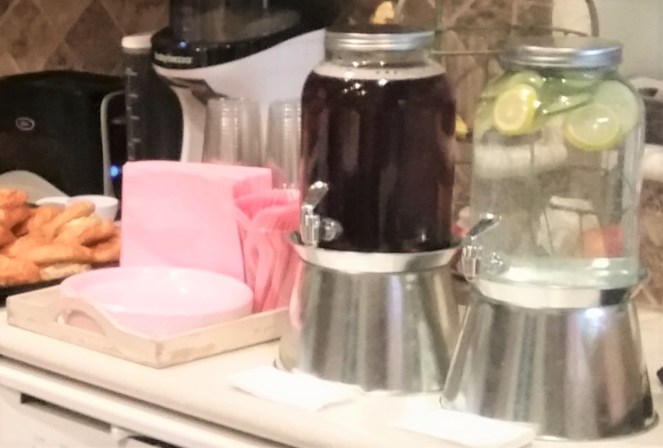
For the drink station I used my cute little mason jar drink dispensers that I found this summer at a discount shop. They really came in handy for the sweet tea and cucumber lemon water I served.
I used an old chippy tray to hold all the napkins and serving ware right next to the food.
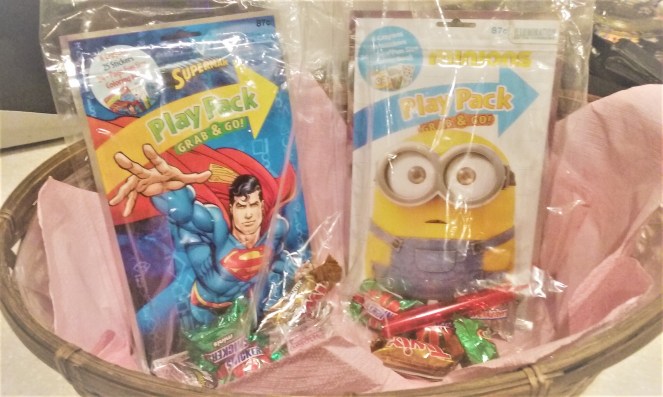
For our party guests I put together these goodie bags with Grab n Go Play Packs, a few pieces of chocolate candy, and a snowflake bubble wand. The play packs are really handy and they come with an activity book, a sticker sheet, and a small set of crayons. You can find these at Wal-Mart, Target, etc. in a variety of characters. They’re relatively inexpensive at $1.00 each. I just lined a basket with some tissue and arranged the goody bags here for the kids to grab.
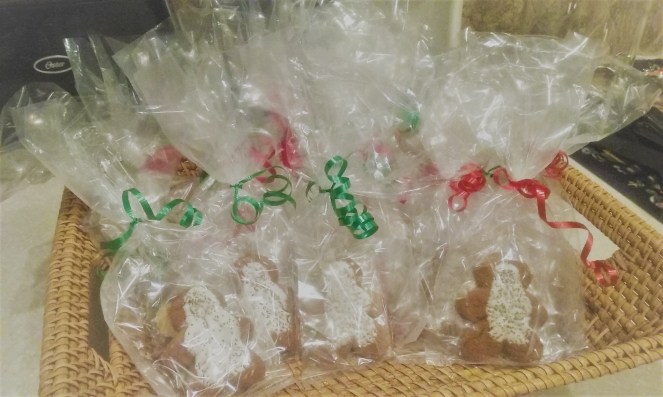
Iced gingerbread men all wrapped up as a party favor for everyone!
I used the Little Debbie gingerbread snacks as party favors. All you need is some loot bags and decorative ribbon and you have a cute, in-expensive favor. Arrange them in a basket and put them near the door so when your guest leave they can take one with them.
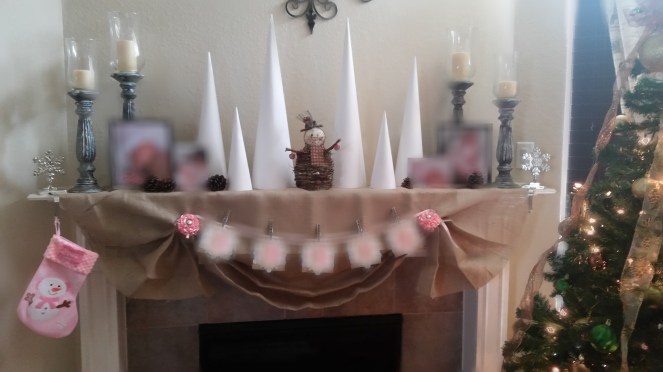
Christmas tree with birthday gifts by the fireplace.
For the fireplace I used the Wal-Mart Creative Cuts 2 yd. piece of burlap as an overlay. I then added baby photos, pinecones, DIY poster board tree cones, and a name banner pinned with flower ribbon brooches.
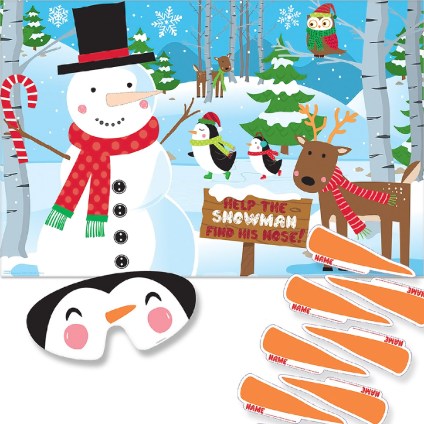
A few fun game ideas we used that you can play too!
We are so thankful for this little blessing and couldn’t be happier! Thanks for reading along and I hope this gives you some inspiration for your next party.







 Happy St. Patrick’s Day! Are you wearing your green? I am!