Hello and welcome back! Thanks for all the love and support! I was looking forward to posting this past week but time got away from me and I wasn’t able to. I am happy to finally be able to share this project with you.
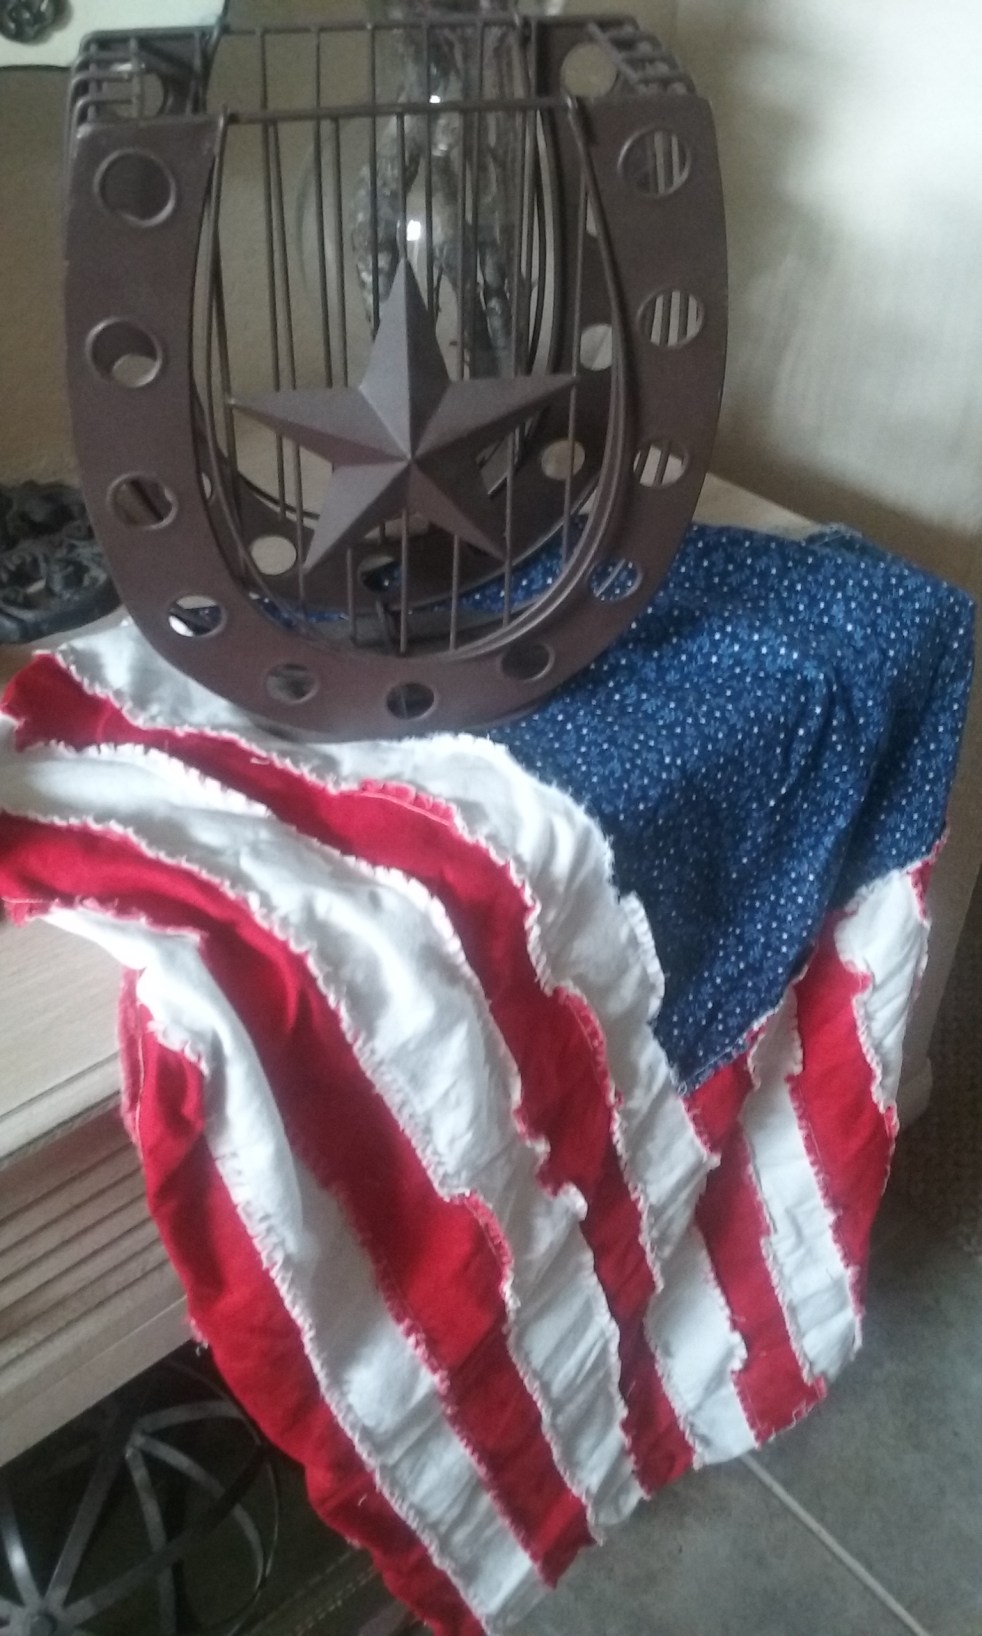
So this week I designed a patriotic table runner for you. It’s got a vintage, country western vibe. You could also use some more traditional colored fabric if you like and it would be just as nice. This is an advanced project because it requires some applique/quilting experience. You can complete your project by having it quilted or quilting it yourself.
To get started here’s few supplies you’ll need:
red fabric-1 fat quarter
white fabric-1 fat quarter
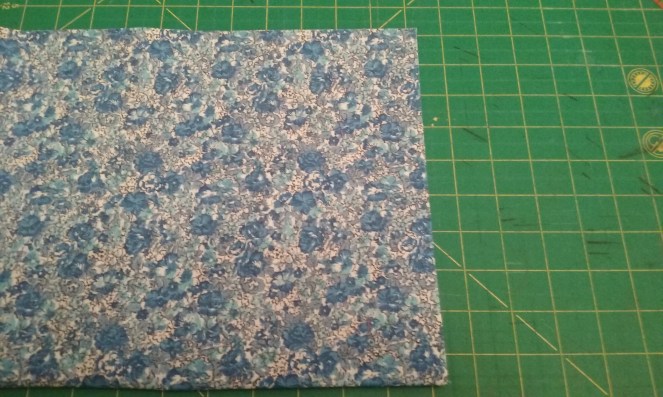
blue border/stars/binding-1 yd. (I always like to included extra)
backing fabric-1 yd.
double-sided fusible web for star applique (I buy the Heat n Bond roll from Hobby Lobby)
basic sewing/quilting supplies (scissors, rotary cutter, cutting mat, sewing machine, etc.)
iron for pressing seams
Sewing Instructions:
First you’ll need to cut your red and white strips.
red-cut 7 strips at 2.5W x 10L
white-cut 6 strips at 2.5W x 10L

Next, you’ll sew your strips alternating red and white. Start with a red strip and align your edges wrong sides together. Pin in place and sew a 1/4 in seam.


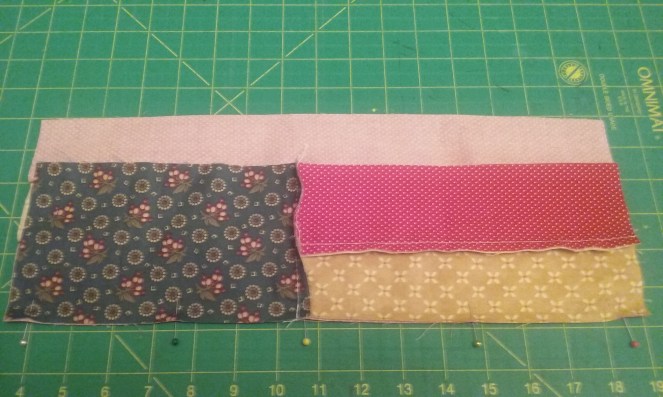
You should have something like this when finished. (I like to sew my strips in pairs and then sew the pairs into larger groupings instead of adding on one strip at a time.) Take this to your iron and press your seam. (When pressing you’ll want to lay both pieces of the seam to one side and press.)

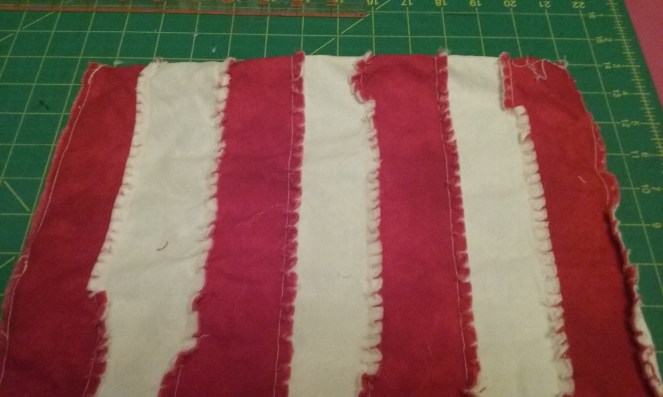
Continue alternating your strips (wrong sides together, edges matching) sewing a 1/4 in seam. Your set of stripes should start with a red strip and end with a red strip. Don’t forget to press your seams as you go.


Now you will cut your borders from the blue fabric. Cut 2 strips at 2.5W x 24.5L. (Cut your strips at 2.5W x the length of the fabric 1st, and then cut your strips down to your length of 24.5.)
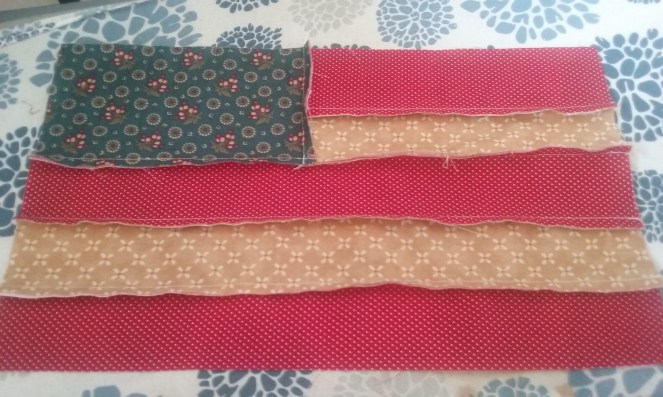
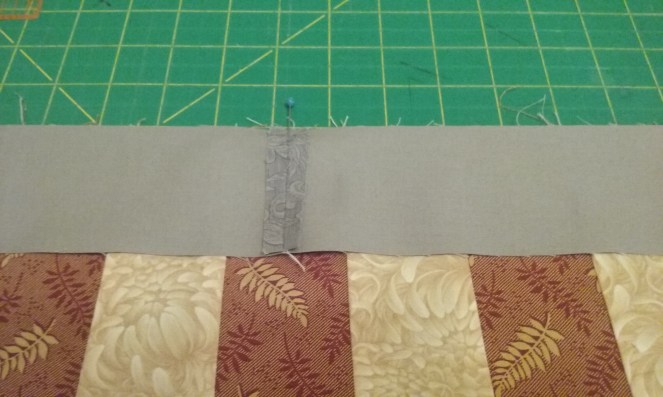
Align 1 of your border strips to the top of your center piece wrong sides together and pin in place. Sew a 1/4 in seam.*In the photo my border has been pieced so don’t mind the seam. Yours will not have this middle seam.
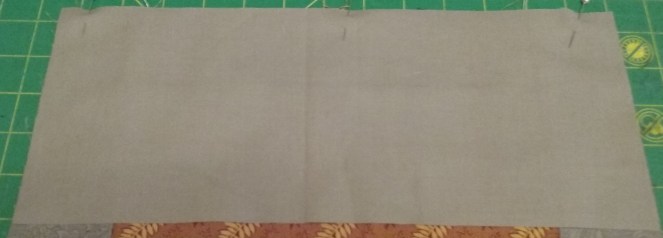
Take your 2nd border strip and align it to the bottom of your center piece wrong sides together and pin in place. Sew a 1/4 in seam. Iron and press both of those seams down. When your finished you’ll having something like this

For your side borders you’ll need to cut 2 pieces at 5.5W x 13.75L. Take one of those border pieces and align it to the side of your centerpiece wrong sides together and pin in place. Sew a 1/4 in seam. Repeat this step for the other side.
Now you will need your fusible web and the star template. Take your template and lay it under the rough side of your fusible web. You’re going to trace three stars. Do not cut these out yet, but be sure to leave room in between the stars to cut them out. After you have traced your stars, lay the fusible web sheet you just traced on top of your fabric. Trim your fabric around the sheet of fusible web leaving about 1/2 in extra of fabric all around, this way you won’t get any glue on your iron or ironing board. Take your fabric to your ironing board and lay it down with the wrong side up. Now you will lay your fusible web rough side down on top of your fabric. Press the fusible web until all of the web has adhered to the fabric. Now you can cut out your three star pieces. *(I was a little short on fusible web so I just pieced the fusible web on my last star.)

After cutting, remove the white protective paper. Arrange the stars on your center stripes with the shiny side down. Now you can press these into place until the star and points are adhered. You are now ready to applique them down. My machine doesn’t have a button stitch so I just used a small zigzag all the way around the star.

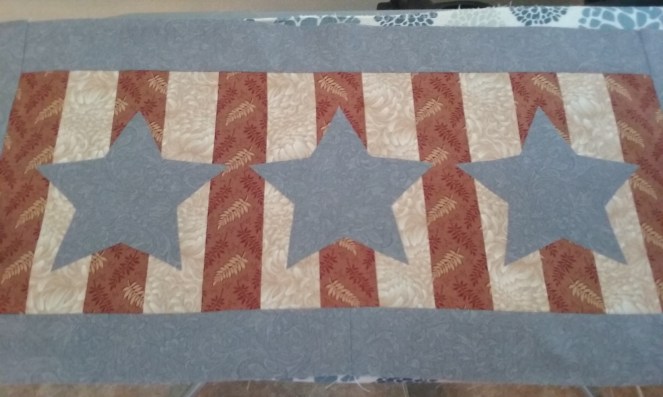
Here’s the completed top! You’re now ready for quilting and binding. I’ve been practicing free motion quilting on my sewing machine so I decided to try it out myself. I’m happy with the result and it was fun trying it out!

I hope you enjoy this project as much as I did and I’ll be posting again soon! Feel free to message me with any questions and don’t forget you can find me at #dimestoregypsygal on Instagram. Thanks for reading!
~The Dimestore Gypsy