Home Decor

Thrift Store Haul

Hello friends, and welcome back!

I scored lots of goodies on my latest thrifting adventure, so I thought I’d share them here with you all!

I have a bunch of stickers for scrapbooking/card making and the black card catalog is perfect storage for them. I love decorating with pumpkins in the Fall and was happy to find this cute set to add to my collection. Can we talk about this brown suede fringed bag? So cute! It was in mint condition so I had to have it! I picked up a few old linens to use for table runners/covers. They are worn in and so soft. I have a thing for baskets/trays and wood pieces!! I can’t help it, they bring so much texture & warmth into your decor. It’s currently being used as a bed tray now. I loved the look & texture of the last piece, so I think I may hang it in my bedroom gallery wall or our travel trailer. I haven’t decided yet!
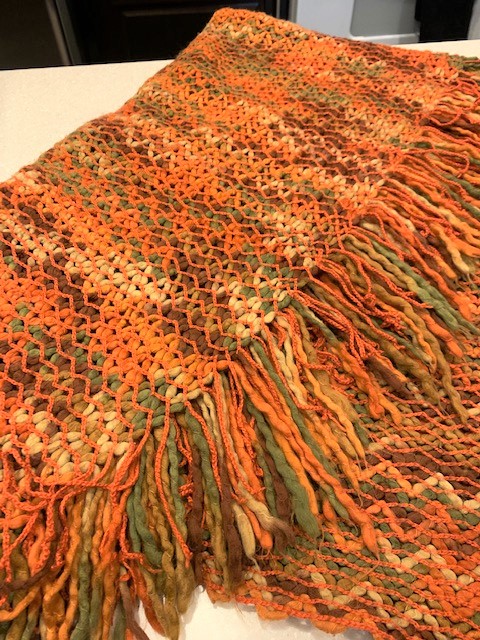
I found this awesome throw for our travel trailer for $3. I’m decorating in a Southwest/Boho theme and thought this was perfect!

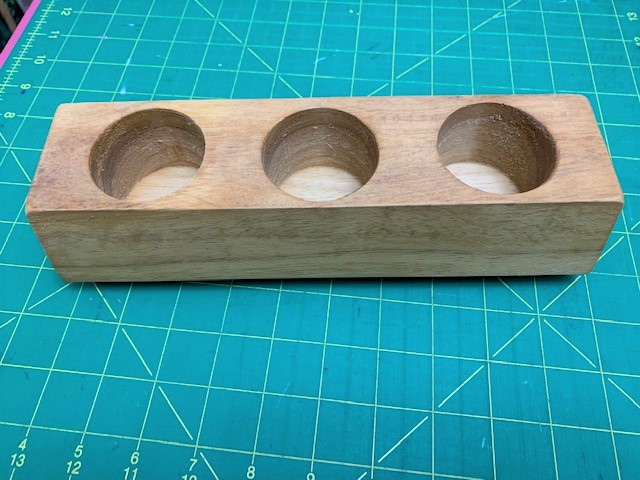
I picked this up because it reminded me of those antique sugar molds. It was only .99 cents and I was able to keep the plant for something else!
I got it all cleaned up and washed! Now it’s ready to be styled!!

I hope you enjoyed this little haul. I love thrifting and finding things I can re-purpose or re-style! Don’t be afraid to get out and shop your thrift shops. You can find some really fun & unique pieces for next to nothing. Follow me on Instagram to get more home decor ideas or to see how I use my thrift store finds in my decor!

Thanks for stopping by,

DIY

Thrifted Sewing Chair Make-Over

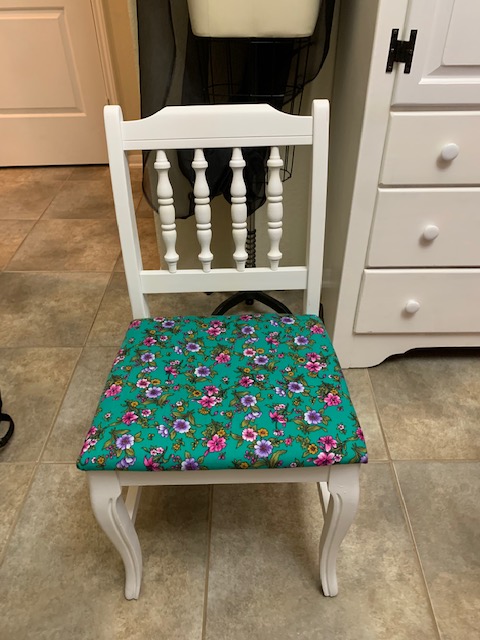
Hello & Welcome Back! Can we just talk about this chair make-over for a minute??? I mean…I just love the finished project!! I have my great, great grandmother’s Singer sewing machine that I made over a few years ago when I first received it. I didn’t have a chair to go with it and have been searching for the perfect piece…I finally found it!

If you follow me on Instagram, then you know how much I love thrifting!! I cam across this chair at the Goodwill and although the seat was hideous, the bones were great! At only $9.99, I knew I had to have it.

I started by removing the legs & seat cover, then I gave the frame a good cleaning with soap & water. After it was completely dry, I added a coat of white chalk paint & a matte sealer to help keep scuffs & nicks away. I had this gorgeous 1 yard cut of material stashed away in my cabinet that I thought would be so perfect.

I cut away the dirty fabric & since my cushion was in good shape still, all I had to do was wrap my material around and staple it down. See the final piece below. Such a transformation!

I hope you love this piece as much as I do! Don’t be scared to shop the thrift stores, you just might find exactly what you’re looking for.

Thanks for stopping by,
DIY

Metal Scrap Bucket DIY

Hi friends! Hope you had a wonderful Christmas & a Happy New Year! Over the holidays I worked on a few small projects which I’ll be sharing here. First thing i needed was a new scrap bucket for my craft room. Check out below for my supplies & pics! This is a super easy & quick project that anyone can do!

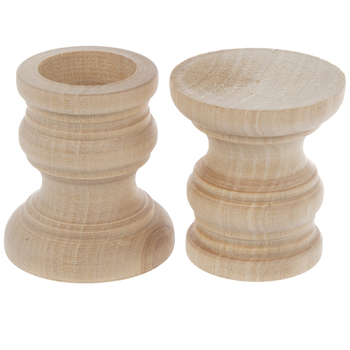
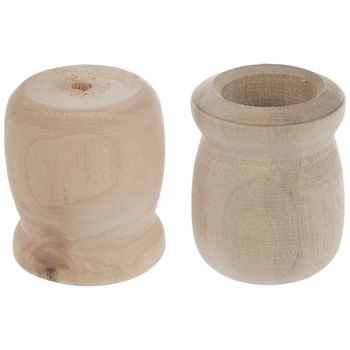
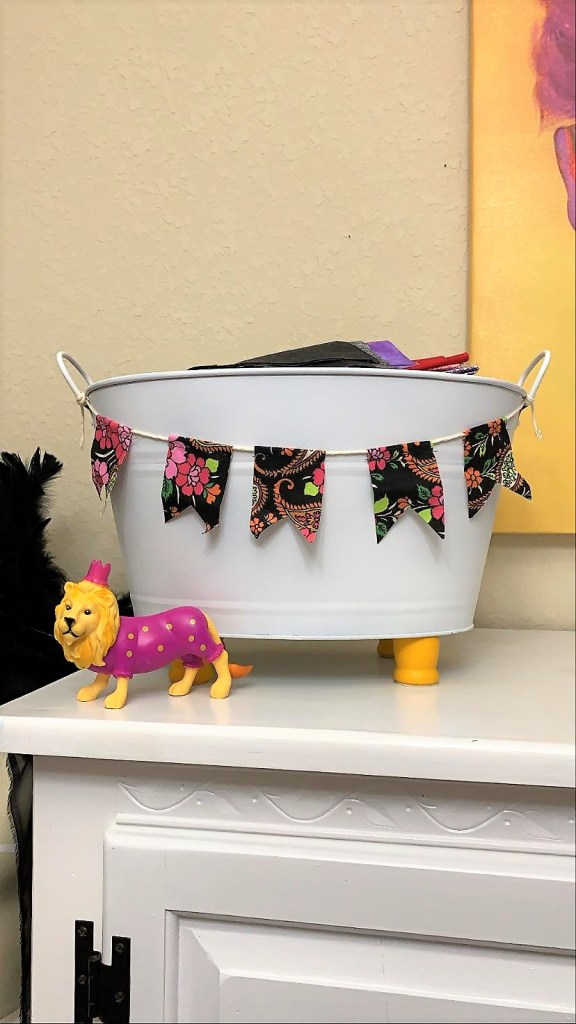
I was in Hobby Lobby shopping for Fall decor and came across some cute little galvanized buckets. I grabbed one then headed to the unfinished wood for some pieces that would work for legs. I’ve linked a few here that would work great with this project.

I spray painted my bucket with a can of white chalk paint and used yellow craft paint for the legs.

After it all dried, I attached the legs with E6000, & made a little mini bunting to hang across the front.

All done & super cute!

Thanks for stopping by to check out this super quick & easy project! Let me know what you think.

Home Decor

Fall Tray Vignette

Hi friends! I’m holding off on putting up the Christmas trees until Thanksgiving…that’s our thing. Eat all the turkey we can then everyone zones out on the couch while Mama works on the trees lol!

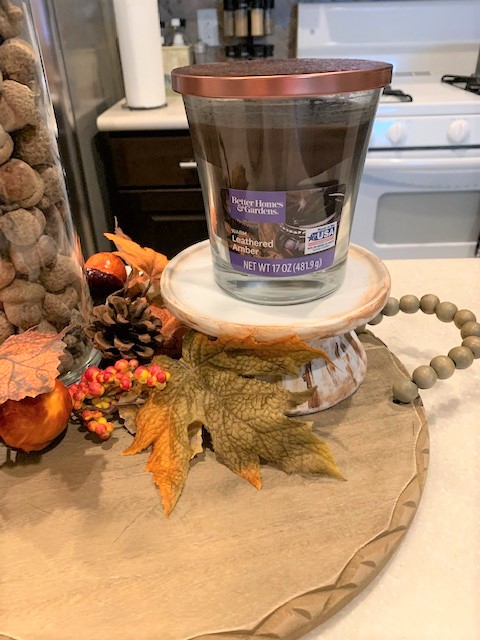
If you’re still enjoying the pumpkins, then check out my styled tray below.

Here’s all the items I used for the tray.

Quick & easy right?

I hope this leaves you with some Fall decor inspo. Just a few decor pieces can come together to make a great vignette! Thanks for stopping by.

Recipes

My Family Favorites: Mini Biscuit Pizzas

Hello Friends! How are ya? Are you hanging in there?

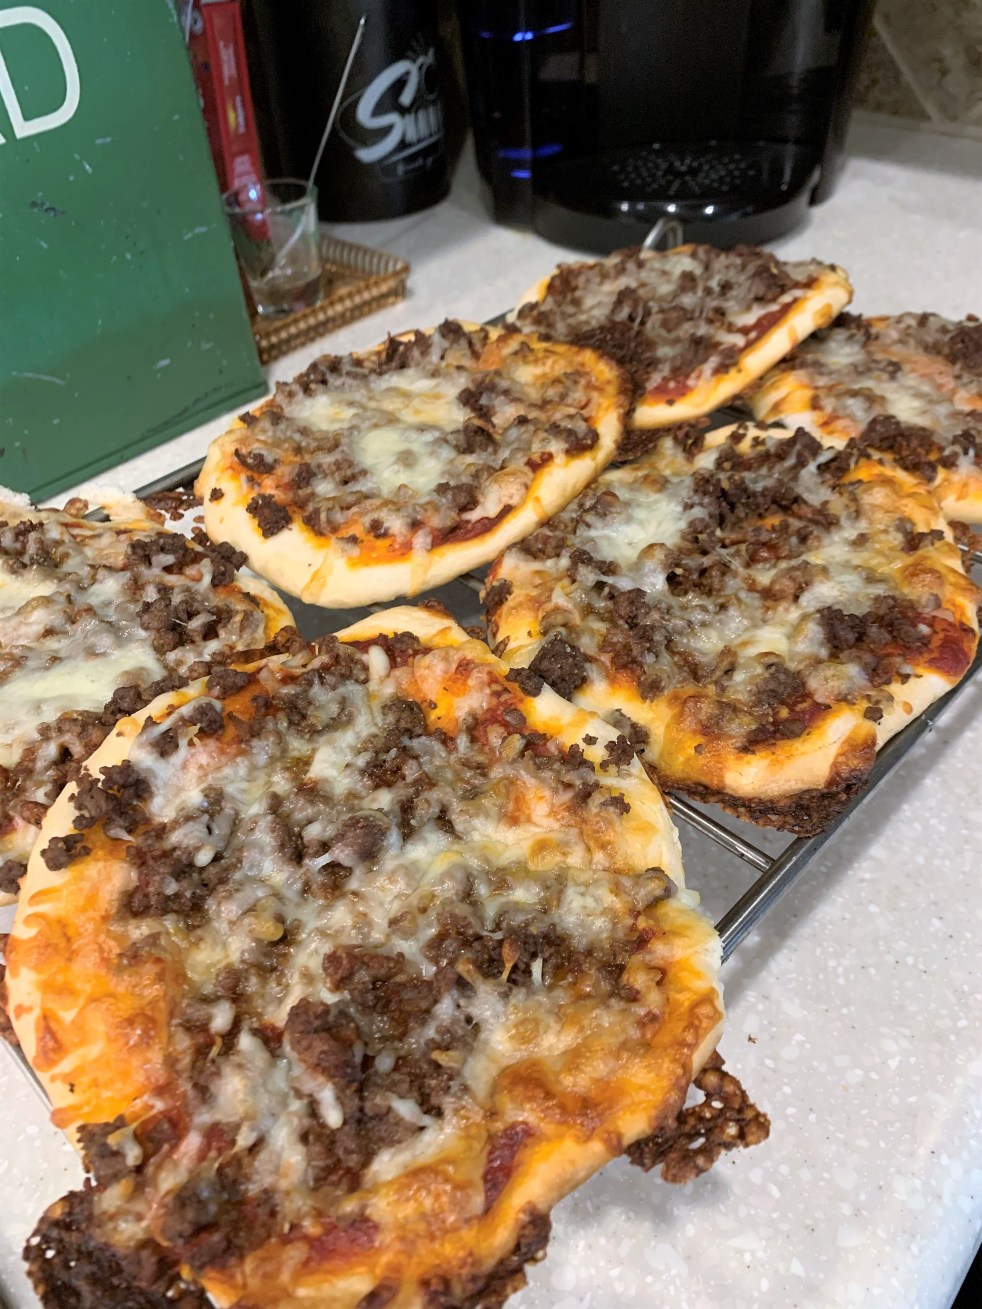
I know election week has been crazy and emotions are high, so I thought I would share one of our family favorite comfort foods…Mini Biscuit Pizzas!

They’re so fast, super easy to make, & fun for the kiddos too! My 4 yr. old helped with the sauce & cheese…It’s that easy. Scroll on down for the recipe and instructions. I guarantee your family will love them!

adc619d0d2cf5679c641115797c81d7d

I hope you guys enjoy this recipe!

Signature

Holidays

Whimsical Witch Themed Halloween Mantel

It’s just a bunch of Hocus Pocus!

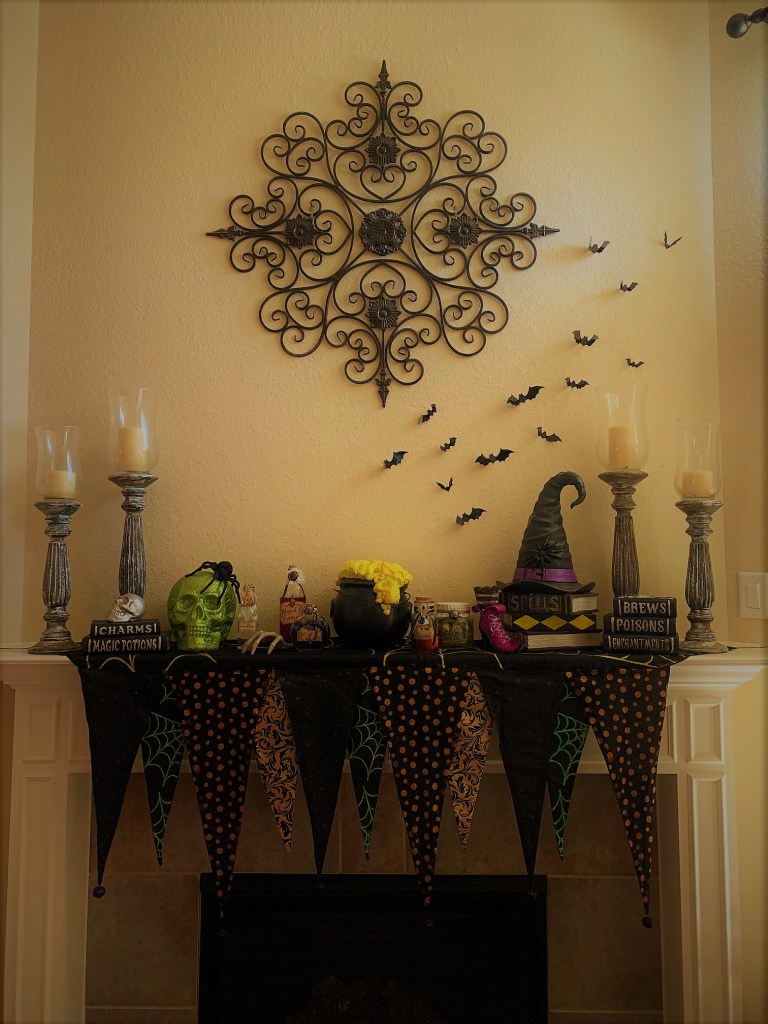
Hey friends! Halloween is almost here and I can’t help but share my whimsical Witch themed mantel this year. I’ve added a couple of new decor pieces & I’m dying to walk you thru my spooky little set up!

I’ve been eyeing a similar mantel scarf for almost a year now from a retailer that was way too pricey for me. I was almost about to give in and make my own when I came across this one online. It’s way more affordable, but I was not a fan of the gold glitter. It is almost yellow! So I made a few changes to match the one I originally wanted.

First, I went over the gold glitter with some neon green puffy paint, then I added purple glitter glue dots all over the black pendants. After they were all set and dry, I sewed a few dollar store black glittered bells to each of the larger points on the pendants.
I am just loving the way this came out! It’s so fun and I’ll be able to style this for years to come.

Next, I arranged my decor pieces I already had.

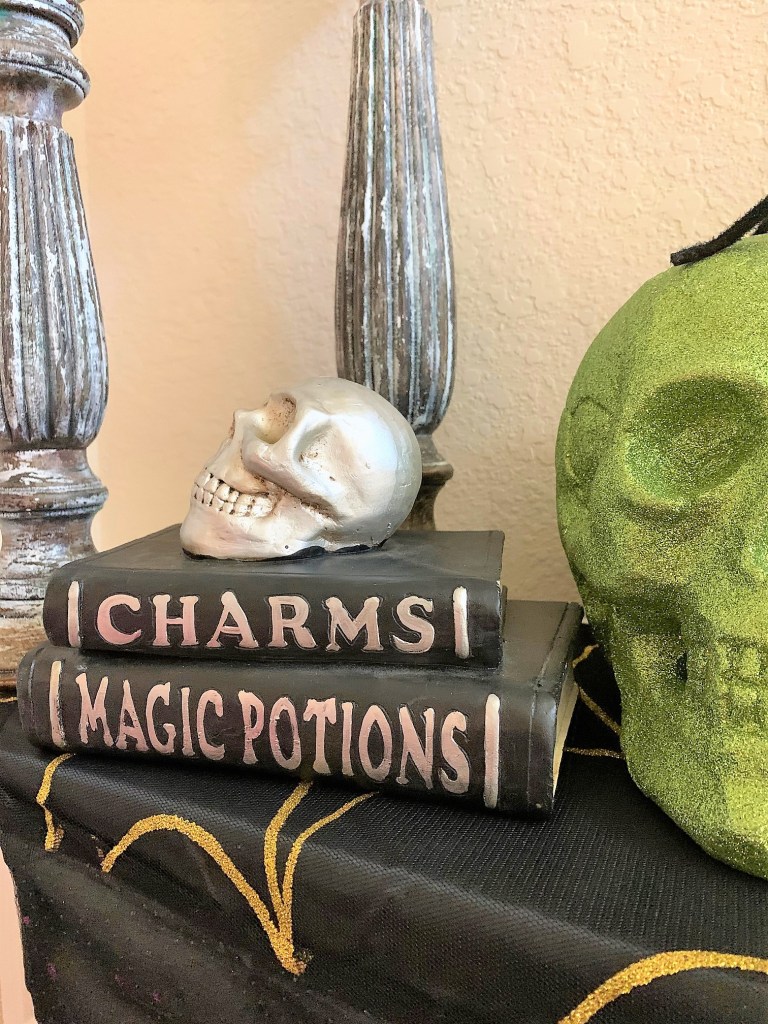
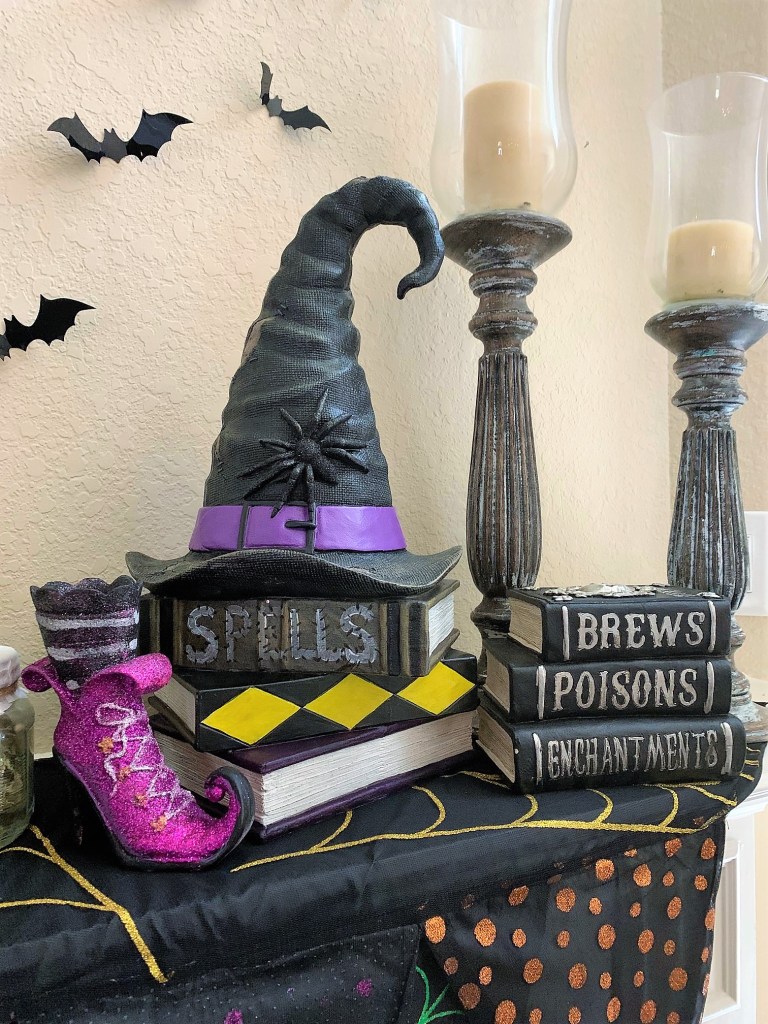
I found this cute little resin spell book stack & witches hat at the At Home store. I painted the bottom book purple, added some yellow-green paint to the diamonds, & the word “Spells” to the top book.

And to complete the look, my spooky trail of bats making their way up the wall!

I hope you enjoyed this post and I hope it gives you some inspo for your next spooky mantel!

If you want to learn how I made my spooky potions, check out a really great simple tutorial by LunarFoxCrafting on You Tube. Here’s the link :https://www.youtube.com/watch?v=IqwvAx9FzOY. I printed my own labels I found online and skipped the tea step. Other than that, I followed the video and they came out great. Using the soap works really well!

Thanks for stopping by. Happy Spooky Season!

DIY · Holidays

Dollar General Treat Bucket Hack

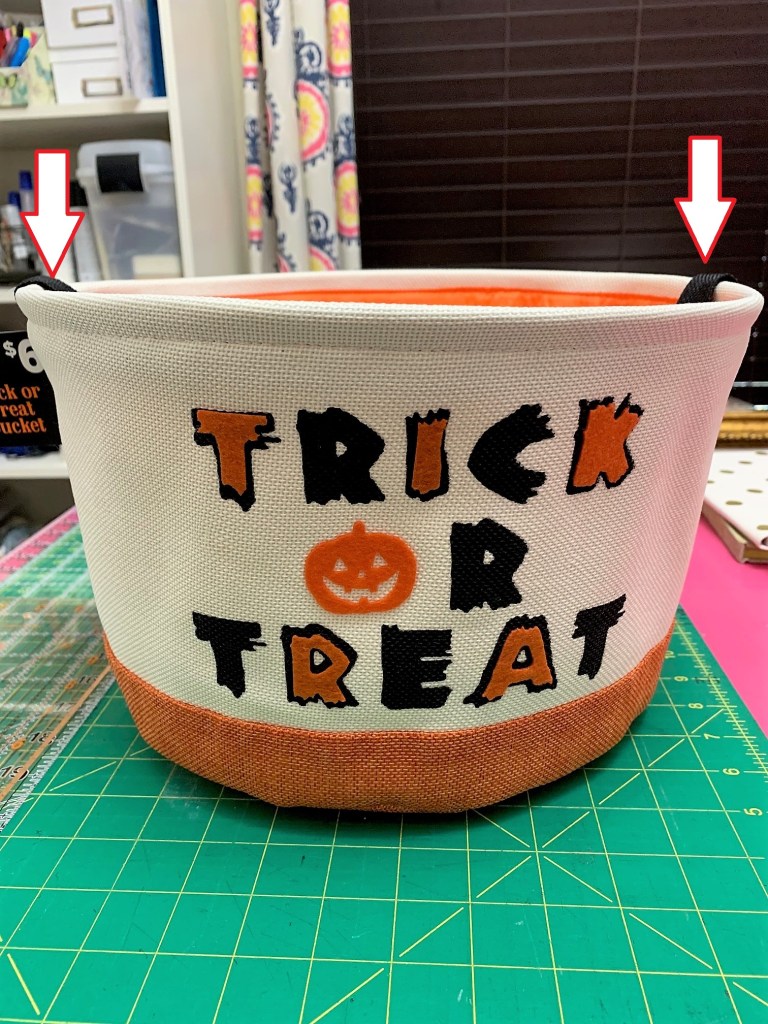
Hey Friends! Spooky Season is here!! Today I’m sharing this quick little DIY with a treat bucket I found at Dollar General. I always throw my candy in a random bowl to pass out on Halloween. I’ve been wanting something more decorative and when I saw this cute fabric bucket for $6.00 at Dollar General, I knew i had to have it! Check out down below to see how I made this quick & easy modification to the handle to create bucket handles.

Here’s the bucket & if you look at the top you can see a black strap. That is one long continuous strap from side to side.

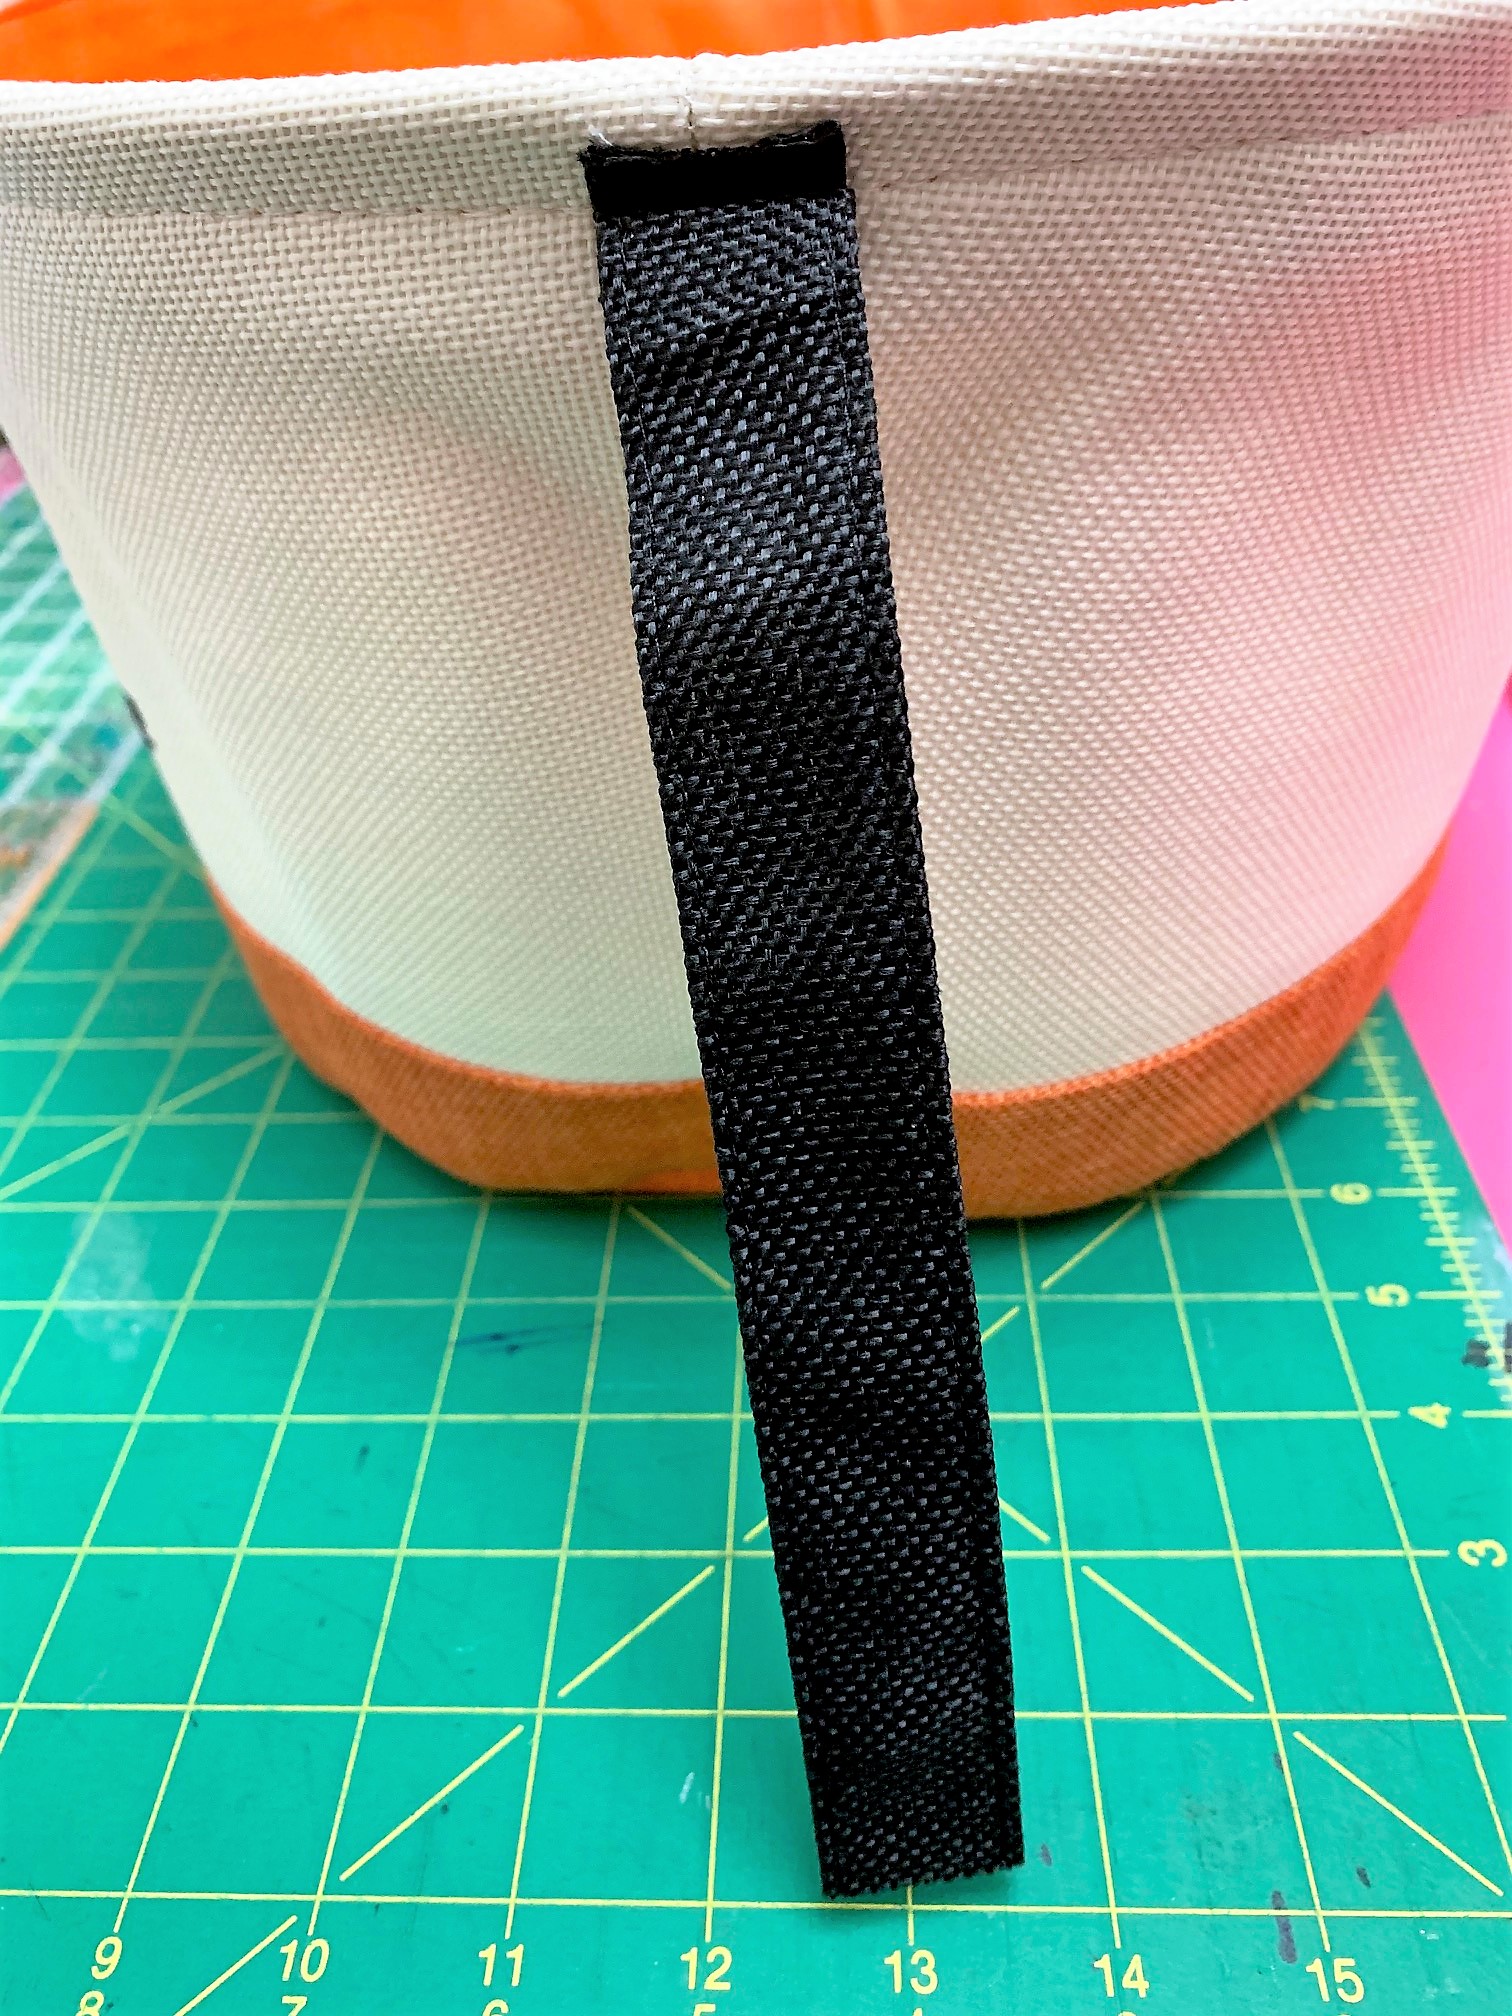
I cut the strap in half down the middle and then flipped the edge over about half an inch twice. I pinned in place to hold it down while i figured out my placement.

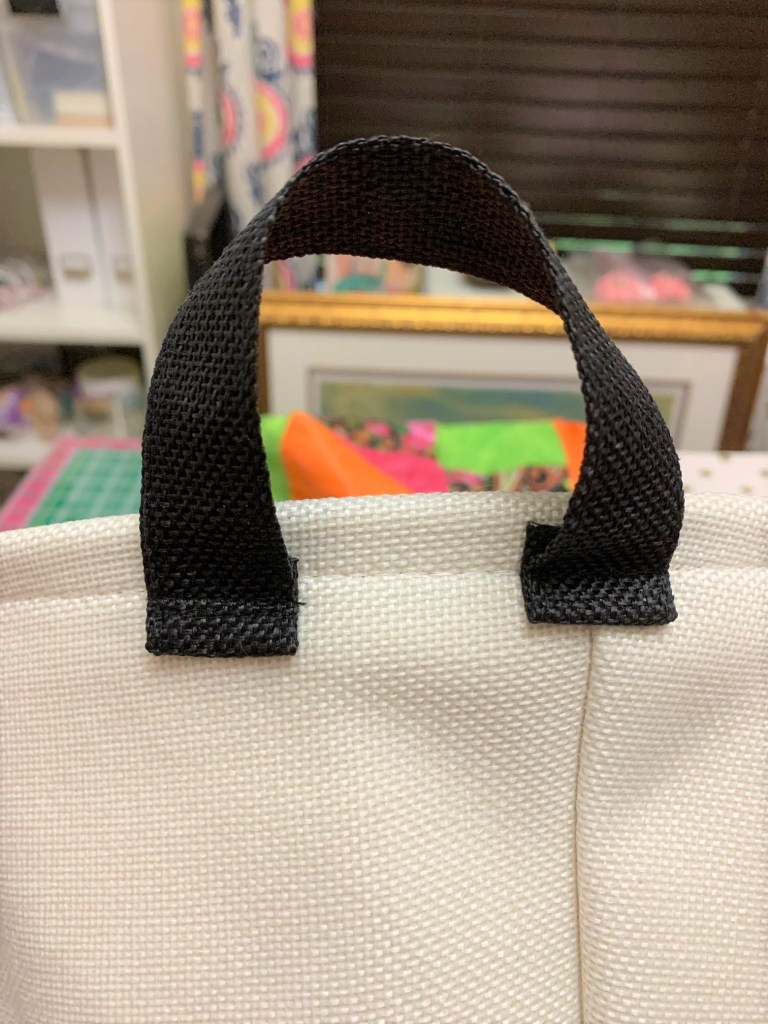
Once I found the length I wanted, I just sewed that side down to create the handle. I repeated this on the other side as well.

Here it is all done & ready to be filled with candy!

I hope you enjoyed this quick little hack with this fabric bucket. Check out your local store and grab one. They are super cute & I love that i can just flatten the bucket down and store it for next year!

Happy Haunting,

Home Decor

New Simple Things Tabletop Collection by Kirkland’s

Oh my goodness!!! Can we talk about the new tabletop collection from Kirkland’s?? I’m so excited, can you tell?

The new collection named “Simple Things” consists of stoneware dinner plates, salad plates, bowls, mugs, glassware, flatware, & table linens.  These pieces are so clean & simple,  yet stylish…and with prices ranging from $3-$24, it’s super affordable and chic!

Scroll down to see my favorites!


205946_1
White & Grey Dinner Plate set of 4-$24

205949_1

205928
Large Serving Platter $24


205936_Spotlight02
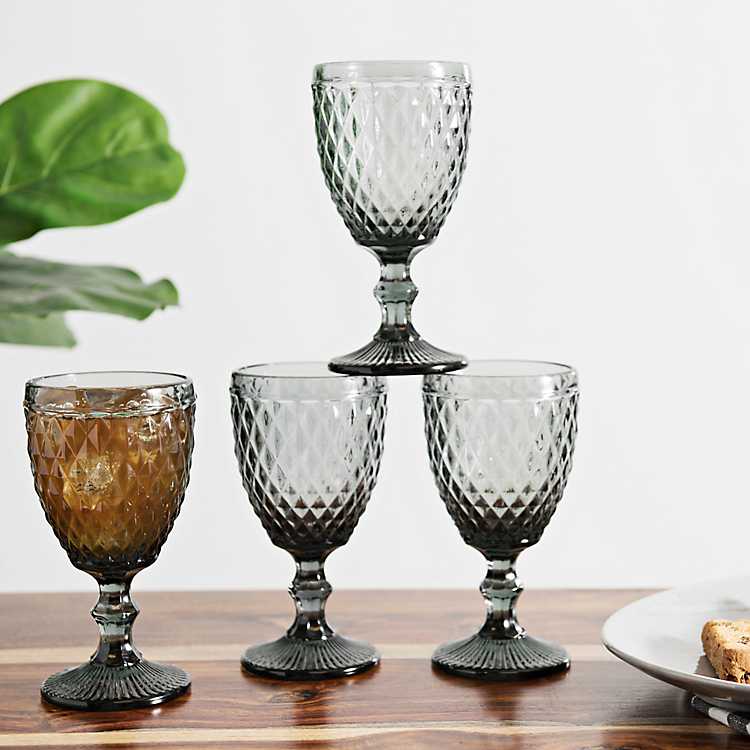
Glassware Assortment $4-$6 ea.

I’m digging the new glassware. Check out these embossed wine glasses!
205958_1


205931_spotlight01
Flatware 5 piece set $10


205277_Spotlight03
Solid Black Napkins w/White Stitching set 4-$16 Black & White Buffalo Check Napkins set 4-$16 

205448_1
Charcoal Plaid Columbia Napkin set of 4-$16

205279_1
Ivory & Rust Stripe Table Runner $20.00

How pretty is this table runner  for Fall?


I hope you’re as excited about this new affordable collection as I am. Be sure to head over to your local Kirkland’s to see the entire collection and snag your favorite pieces!

Signature Insert


Home Decor

Hall Bath Mini Makeover

Happy Friday friends!

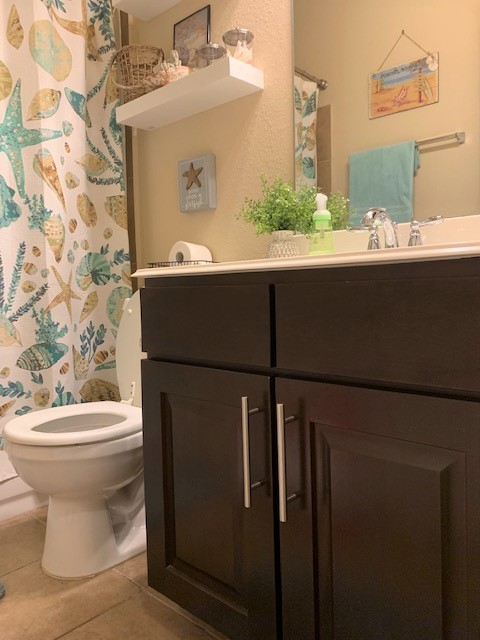
I’ve finally finished up my guest bath mini makeover & I’m super excited to share it with you! My guest bath had been needing some major TLC so I finally got it together. I wanted to show you how a few simple décor changes and the addition of a light fixture/cabinet hardware, really brightened & livened up this space!

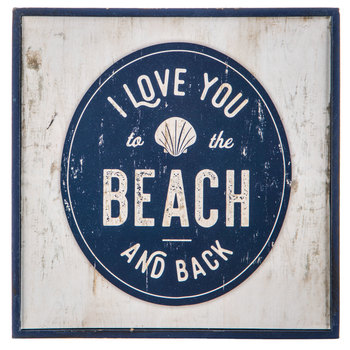
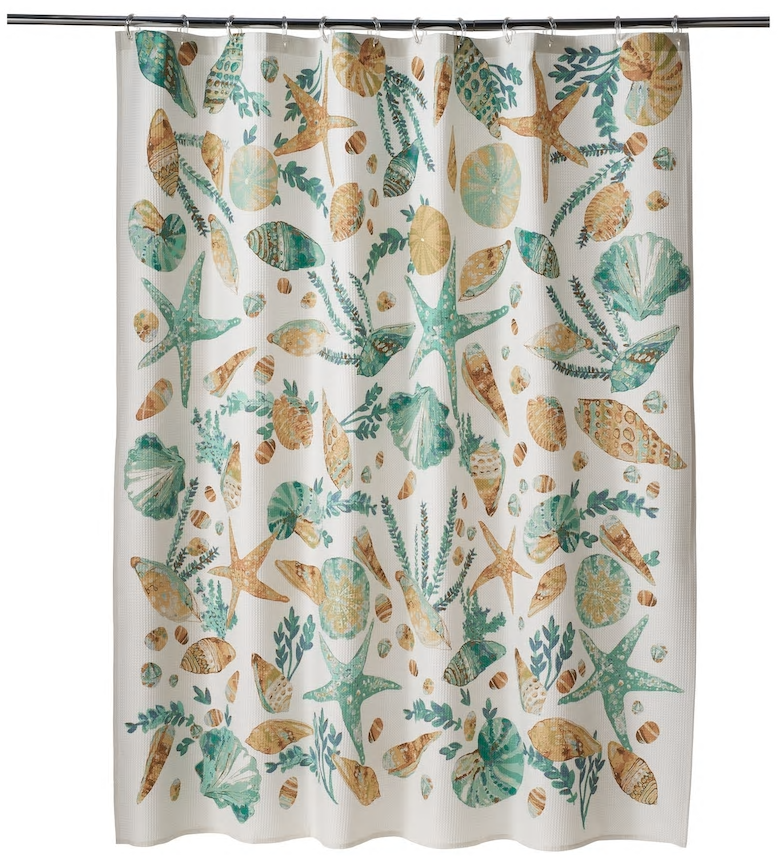
I started to make a few changes and then I thought I’d take a few photos of some of the décor I had before. Below you’ll see just a small jar of shells atop of the toilet, a shower curtain I bought in a rush and threw up with some shower hooks a few years back, and the piece of wall art with starfish that was hanging above the toilet. There’s even a couple of aqua bath rugs in there. Now looking back, nothing in here went together. LOL!
There was a cheap light globe light fixture that I was dying to get rid of too!


Scroll down to see the after!


IMG_1208 (2)


IMG_1204 (2)

IMG_1200 (2)

IMG_1202 (2)

IMG_1198 (2)

IMG_1205 (2)

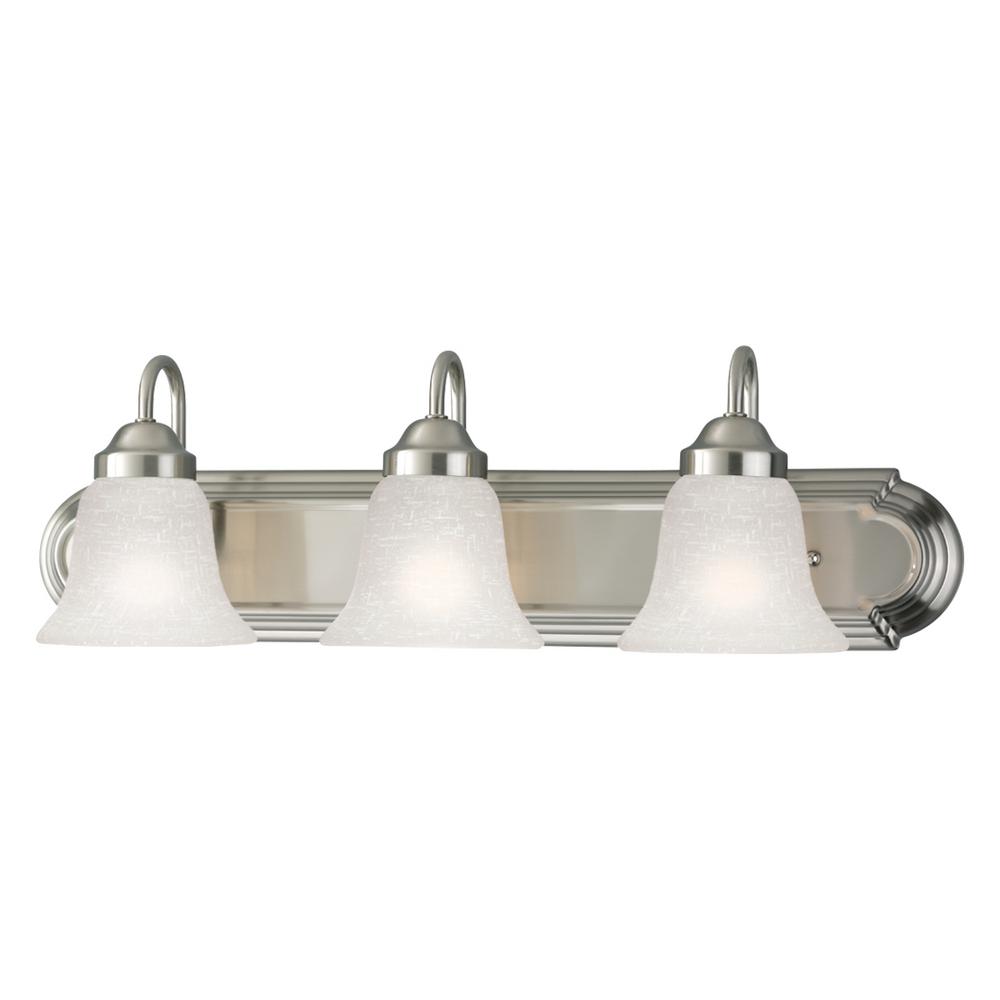
I added a new shower curtain, wall shelves & décor, a new light fixture, & hardware to the cabinets. All together it totaled about $150.00. I’m super happy with the outcome and it feels like a brand new space!

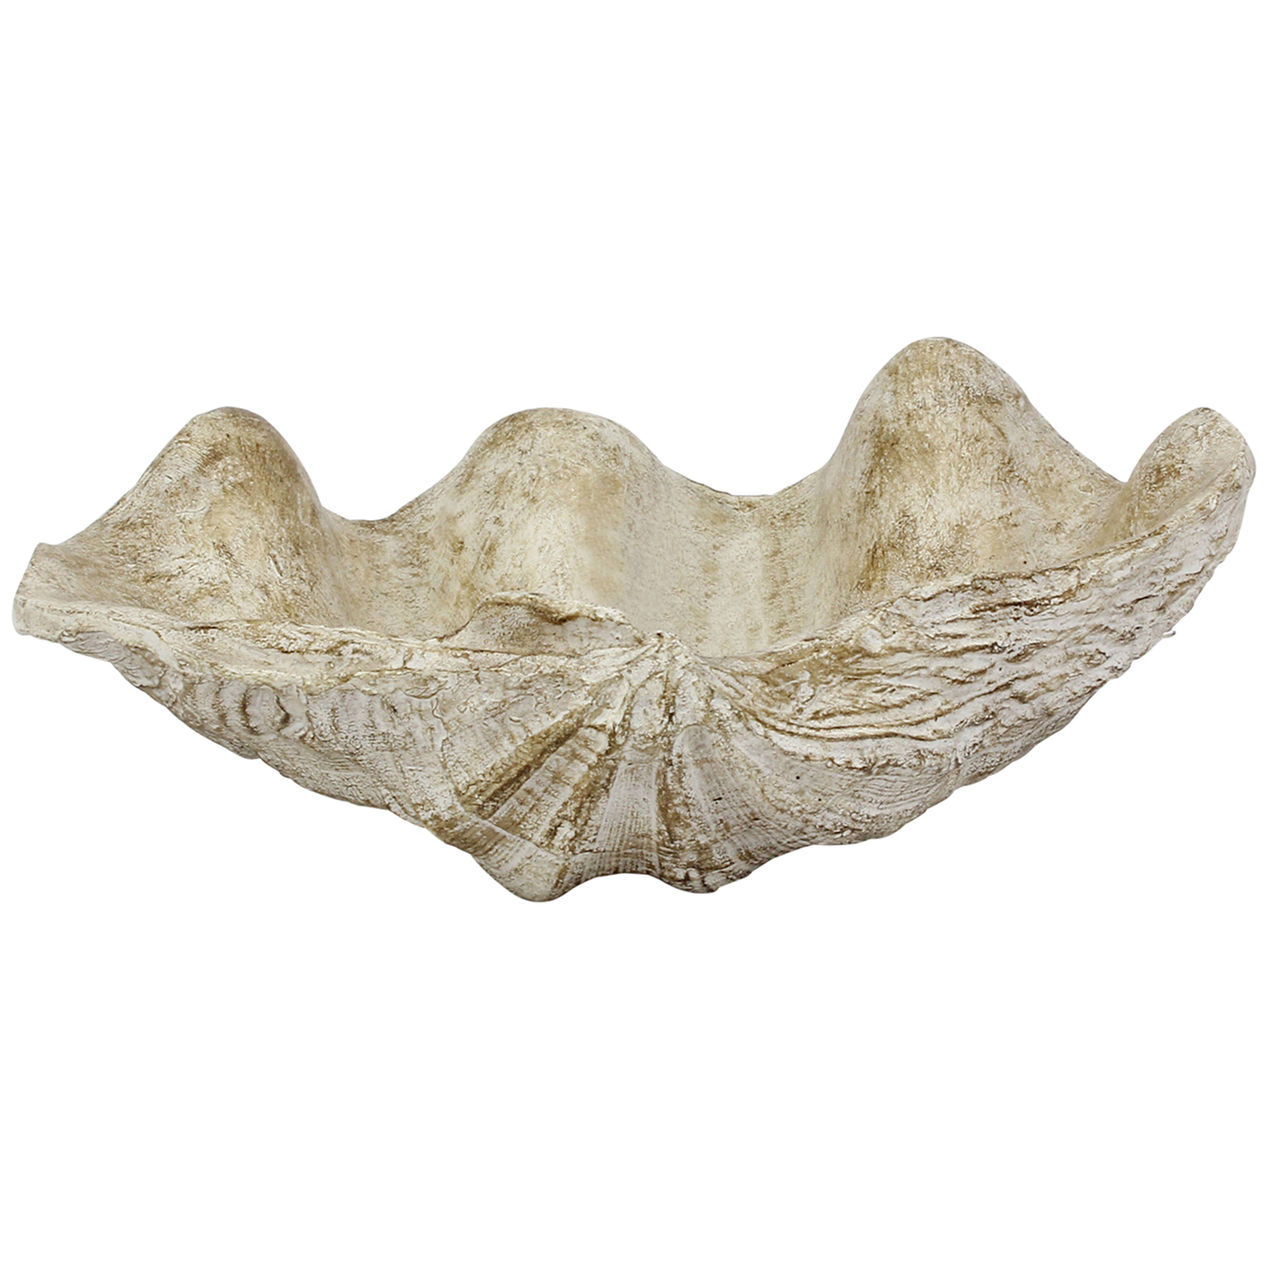
If your feeling inspired and loving the décor, I’ve linked most of the pieces  below! The only pieces i couldn’t link are the nautical basket & starfish wood sign. They were Ross store finds. I did link similar pieces in place of these that would look just as great too!

Signature Insert

brushed-nickel-progress-lighting-vanity-lighting-p300074-009-c3_1000liberty-drawer-pulls-p01246c-ss-c-64_10001799709-0619-px1220177-03191242297881651942-a-061851FCYggyCrL20a5b508-4f56-43d3-bdfa-c1dabc2b5485_1.eeb5e32aba278eedfd26988e0d0b56941242219881644475-06181643527-09181643378-0618


UntitledUntitled 1


Recipes

Chicken Alfredo Penne Loaded with Colorful Veggies!

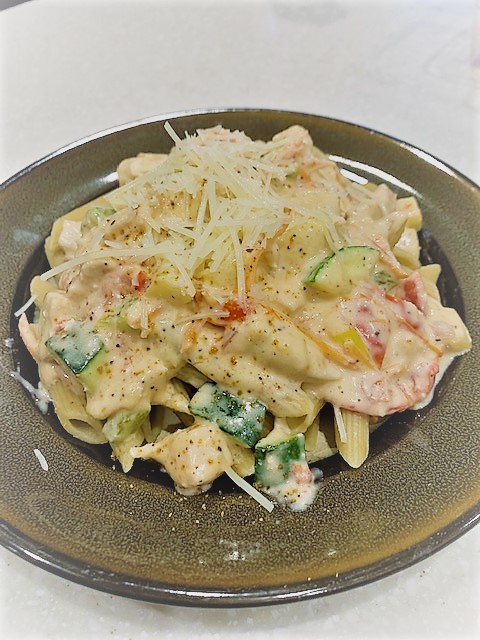
Hi friends! Doesn’t this dish look delicious! Let me tell you…it was soo good and is one of our family favorites. Seriously, we never have any leftovers when this is on the menu.

This dish takes a little more prep time, but you can certainly quicken the process by pre-chopping veggies & having cooked chicken available on hand to add to your week night meals. I lightened it up with lots of colorful veggies, chicken breast, light alfredo sauce, and whole wheat penne. Read on for the recipe and instructions.


Chicken Alfredo Penne with Colorful Veggies

Makes 4 servings

Ingredients:
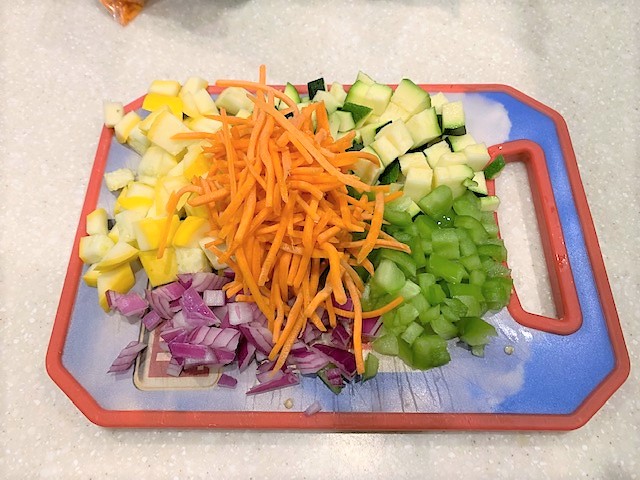
1 small zucchini, chopped
1 small squash, chopped
¼ purple onion, chopped
½ small bell pepper, chopped
1 cup shredded carrot sticks

3 chicken breasts, chopped

1 jar light alfredo sauce

½ box of whole wheat penne pasta (can sub regular penne pasta)


IMG_0944

First I chopped up some fresh veggies. Here i used zucchini, squash, bell pepper, purple onion, and shredded carrot sticks.


IMG_0945

Get all those good veggies in the pan and sauté them with a few tablespoons of oil and salt & pepper. You will notice they are ready to be pulled off the heat when your onions are slightly opaque.


IMG_0946

Take your pan off the heat and chop up some tomatoes and add them to the pan. I didn’t want the tomatoes to cook  and get soggy, I just wanted them to warm with the heat of the other veggies.


Transfer your veggies to a bowl and sauté your seasoned chicken in the same pan so you get all the flavors of the oil and veggies you just cooked. Once  your chicken is cooked, drain the excess juice and add the chicken back to the pan.

While my chicken is cooking, I boil my pasta so it’s ready as soon as the sauce comes together. Drain the pasta, but don’t rinse it. You want that starch to stay on the pasta. It helps your pasta sauce “stick” to the pasta.


IMG_0954

With your chicken back in the pan, add all those good veggies you just sauteed and 1 jar of light alfredo sauce. Season to taste. Gently stir so all the flavors melt together and your tomatoes stay intact. Heat through, and your sauce is done!


IMG_0955

To serve it up, add a cup of penne to your plate and place a spoonful of that yummy sauce right on top. I sprinkled a little bit of Cajun seasoning on mine, and a nice little sprinkle of shredded parmesian cheese!


I hope your family enjoys this recipe as much as we do! Thanks for stopping by today.

Signature Insert