DIY · Home Decor

How I Styled my Kitchen Towel Bar

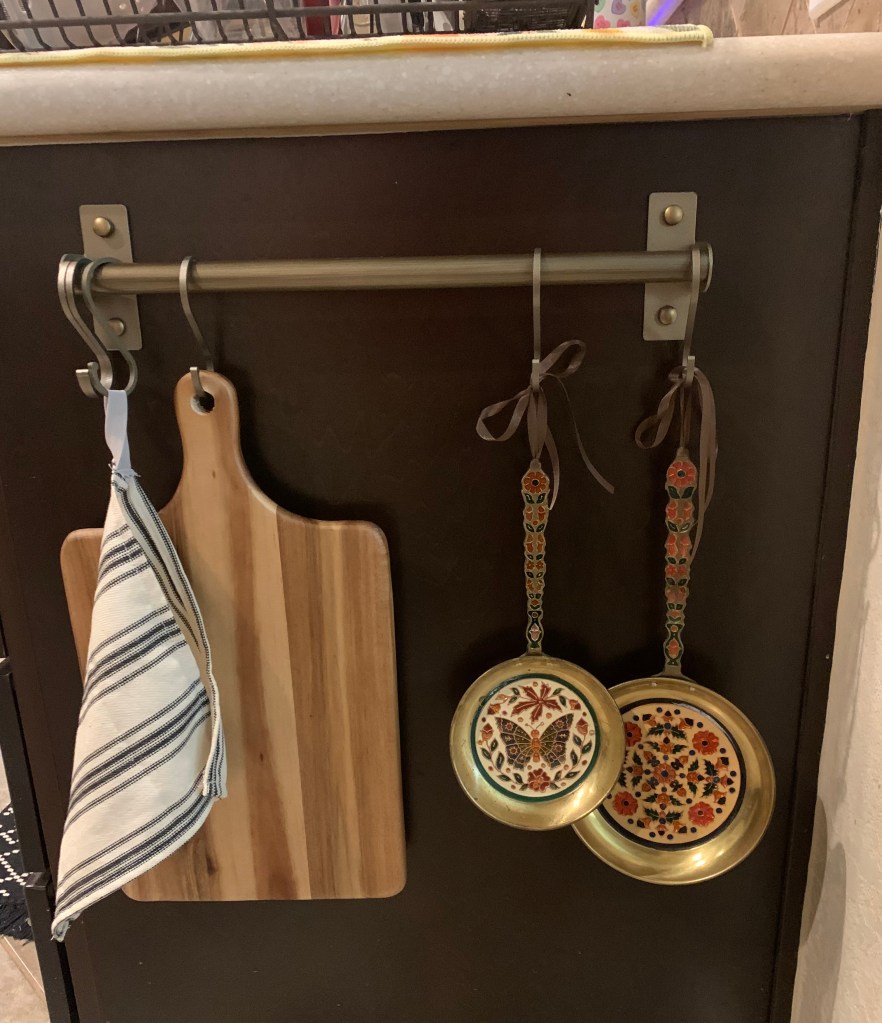
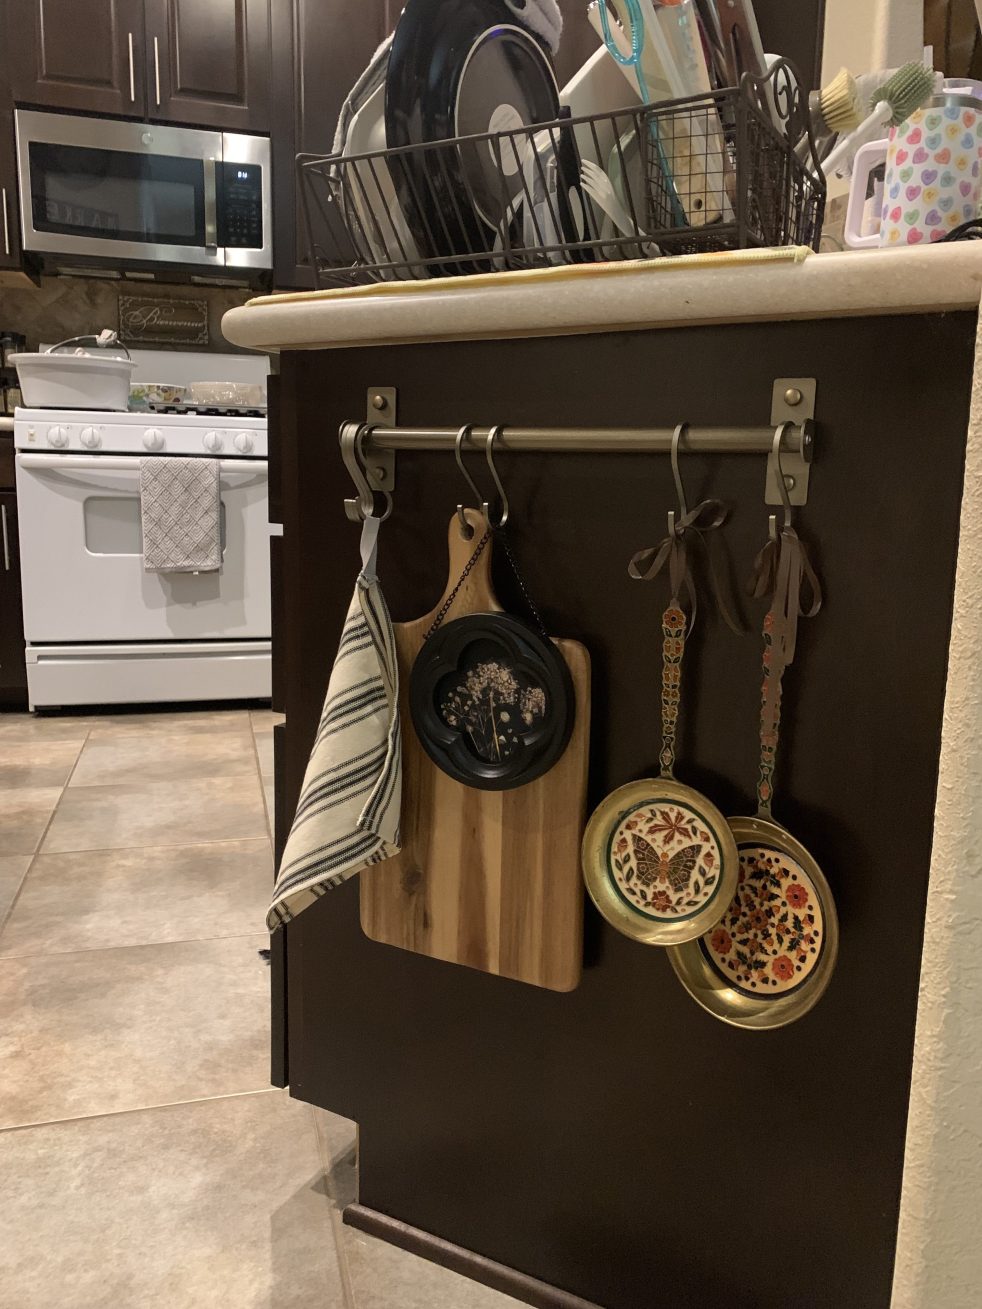
Hello friends. Today I’m sharing how I styled my kitchen towel bar. I have a bare spot on one of my cabinets as you walk into the kitchen and I had been thinking about what I could add to it. I searched online for inspo. and instantly loved the photos of towel bars in the kitchen. I thought this is a perfect spot to hang practical items I can use, along with some decor pieces. Let me show you how I mix new and old items for the perfect Cottage, Vintage look.

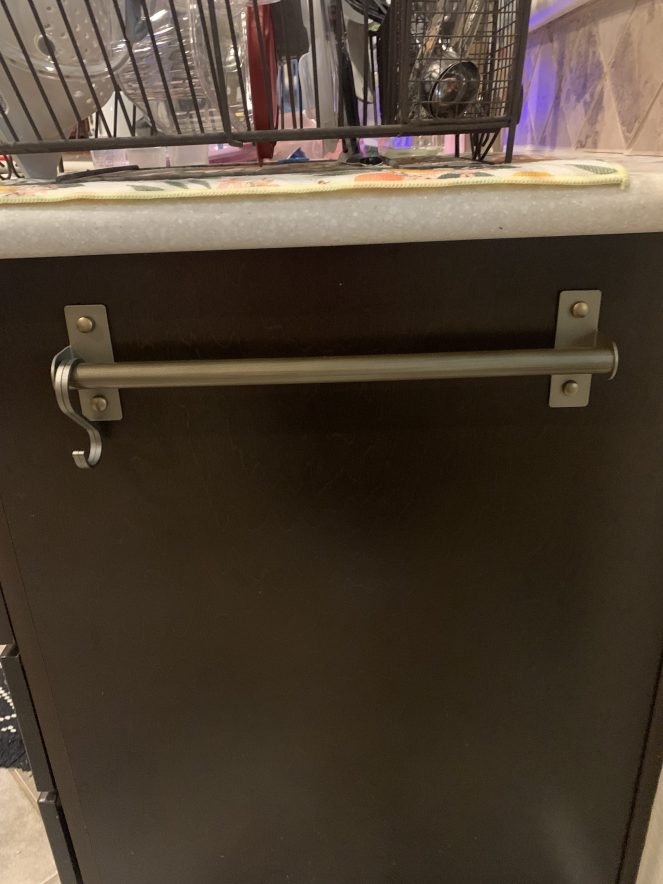
My kitchen is a mix of French, Cottage, & Vintage decor so I searched online for a towel bar that would match well. I found this one with hooks thru Amazon. It is sort of a bronze/golden color. It was easy to install with a few screws, and I liked this one had screw covers.
Now the fun part!
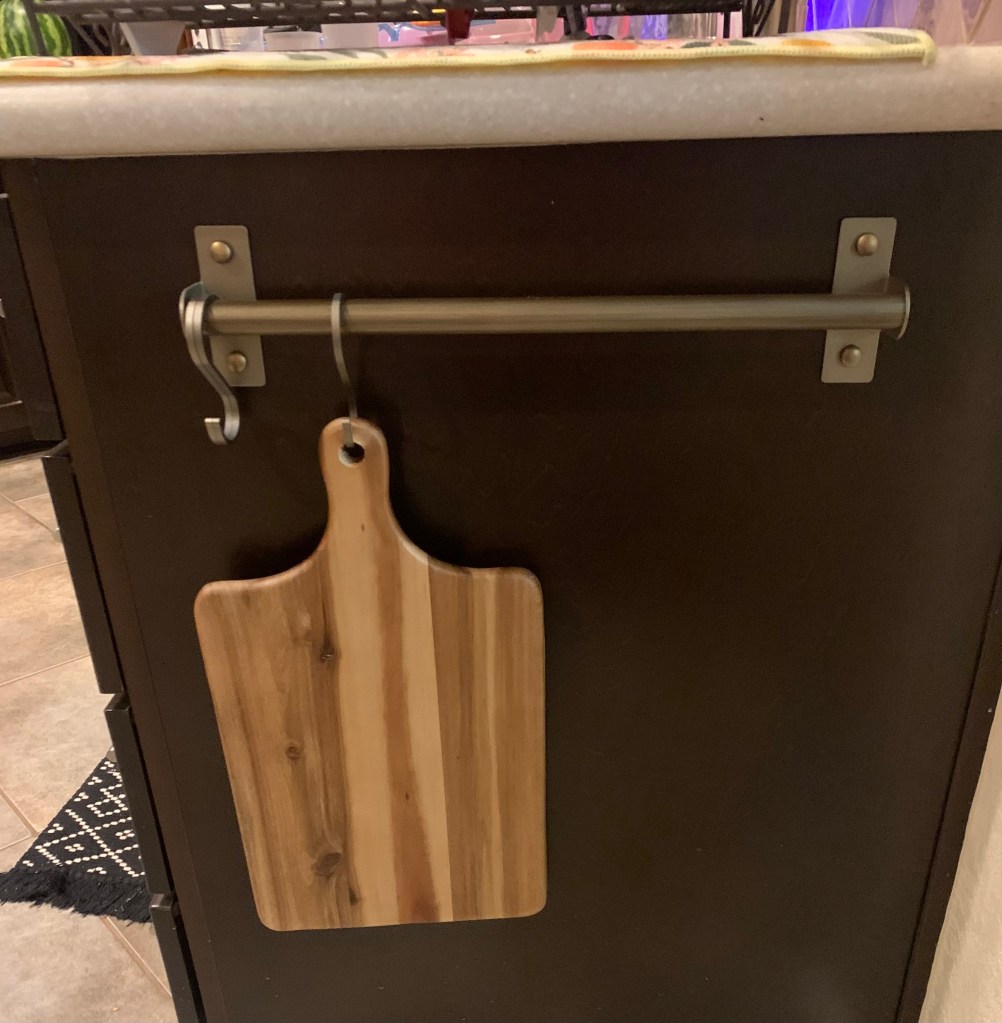
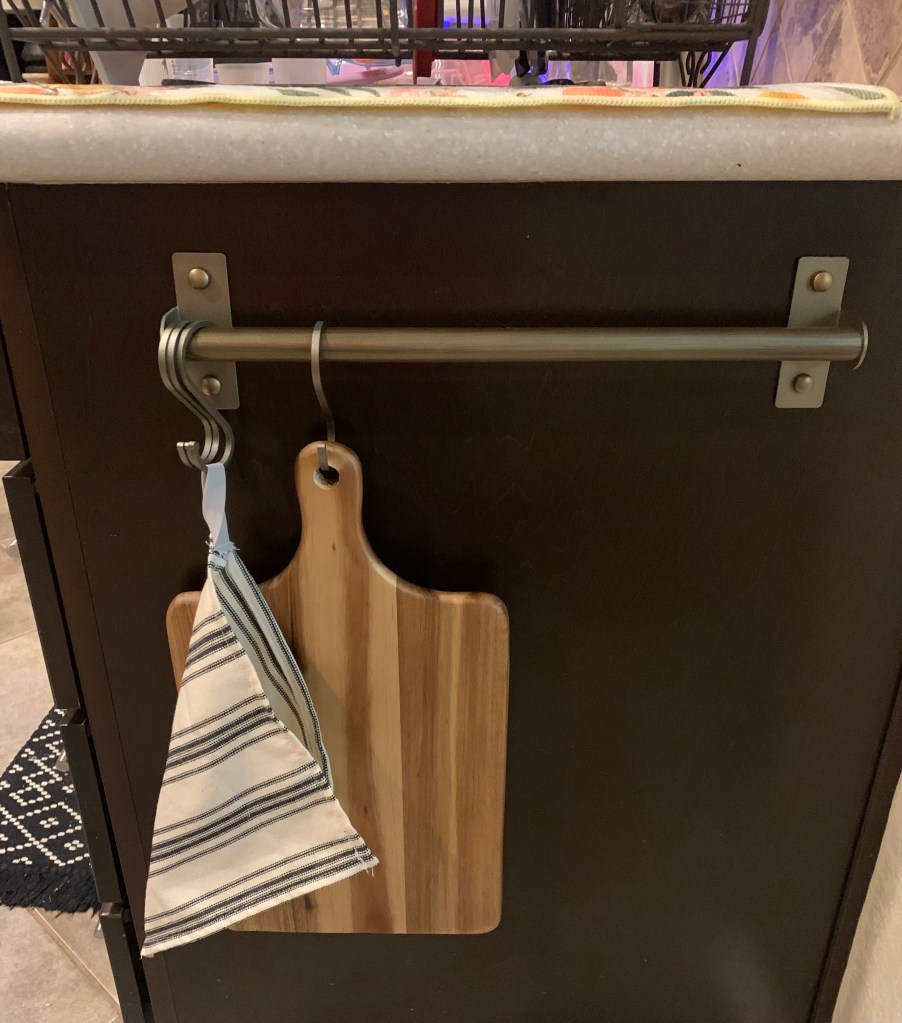
I like to group items in my home by odd numbers. It is more balancing and pleasing to the eye. I started with a cutting board because I can use it when needed but it also doubles as decor by adding warmth & height when stored away. I added a hand towel I made from some scrap fabric. Any towel will do; you can get some really cute ones from your favorite home store and swap them out for any holiday. I found these vintage decorative pans from a thrift shop a few months ago. I didn’t have a plan for them just yet, but I loved the details. They are copper/enamel and handmade from Greece. What a find right? Mixing in the metal with the wood tones here adds texture and gives it a more lived in feel.
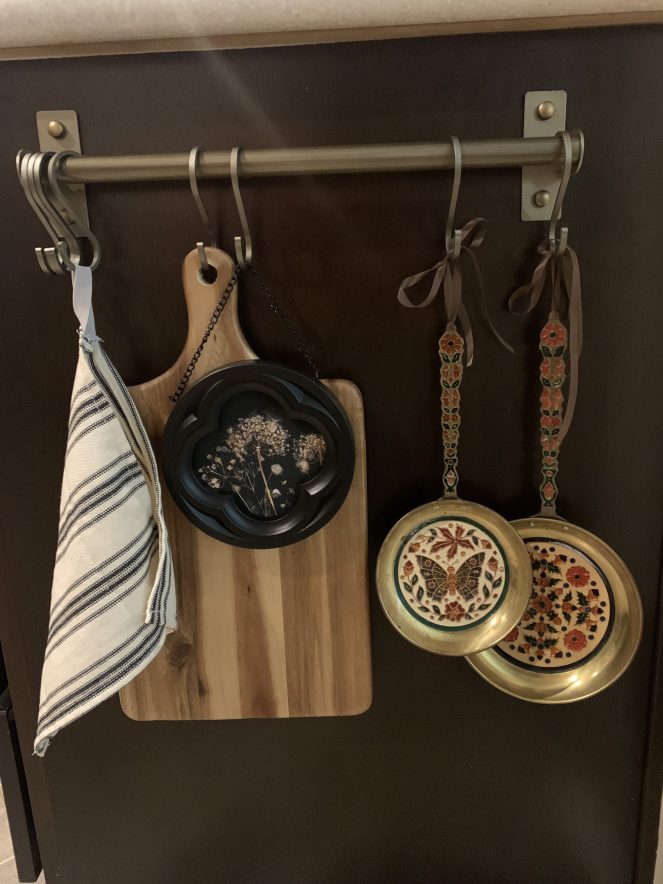
I wanted some kind of dainty art piece, and it needed to be something small to balance out the larger focal point items I already had. I found the prettiest dandelion print framed at Hobby Lobby. They have a good selection of mini framed art right now. I picked this one because it added to the warmth & texture I was already creating. It’s a rich color and also has a metal chain, another texture element. The colors also tie in with other items I already have hanging. You can’t see in the photo due to the lighting, but I added clear glitter glue all over the dandelions, so it sparkles in person and really looks whimsical!

Now when I walk into my kitchen there is so much more character in this spot. I love seeing it!
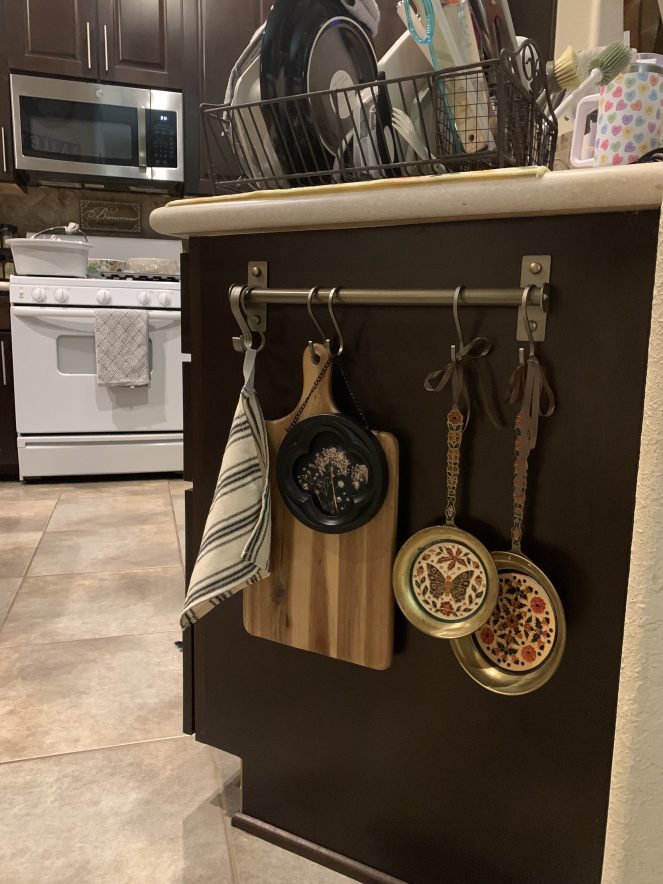
This was a fun mini makeover and relatively easy and inexpensive. I spent about $35.00 for all the items including the bar. I think it looks great now and I’m happy with the way it turned out!

Hope you enjoyed reading,

DIY

DIY Moody Decoupaged Tray

Hello friends! Happy September! Fall is right around the corner, and I’m excited for all the Fall weather and fun activities. I started decorating my home with Fall decor this weekend. I also got rid of a few decor pieces I no longer wanted. I had this silver tray that I had painted with chalk paint displayed on top of my kitchen hutch. I was replacing it with this big, beautiful metal tray I found at the Goodwill.

How pretty, right? I was about to put the little tray I had in the donation pile and then I got an idea. “What if I decoupage an image to the tray and hang it as an art piece somewhere”? I totally got inspired by the larger tray.

First, I started by scrubbing the chalk paint off the small tray. You can find these trays at your local thrift or even a discount store like Dollar Tree, etc.

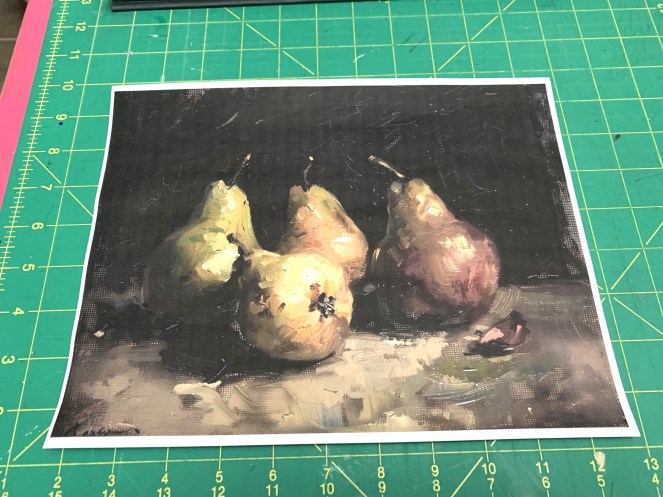
Next, I searched online for a moody, vintage still life art photo I liked. I wanted something classic that would look great in the kitchen year-round. I have a thing for pears, so I selected this one and printed to the size I needed. For the small tray I have, an 8 x 10 full page print was perfect. You can use any type of paper you like. I just used my regular printer paper.

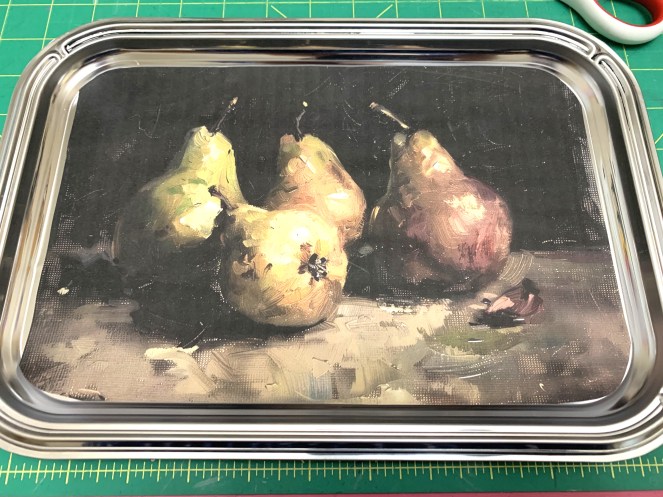
I placed the sheet on top of the tray and marked my rounded corners with a pencil. Using my scissors, I cut the corners I had traced so that my image fit perfectly in the center.

Here is where the fun, messy part comes in. I spread a layer of decoupage glue on the tray. You’ll want to use an old paint brush for applying. I placed the image on top of the glue and ran my fingers over to press out the air bubbles. I then added a layer of decoupage glue on top. You will want to spread it rather quickly and lightly, so you don’t mess up your picture. Some air bubbles and wrinkles will form. That is okay. Just work over them as best as you can. It is part of the vintage charm! Mine did have a few wrinkles in the end.

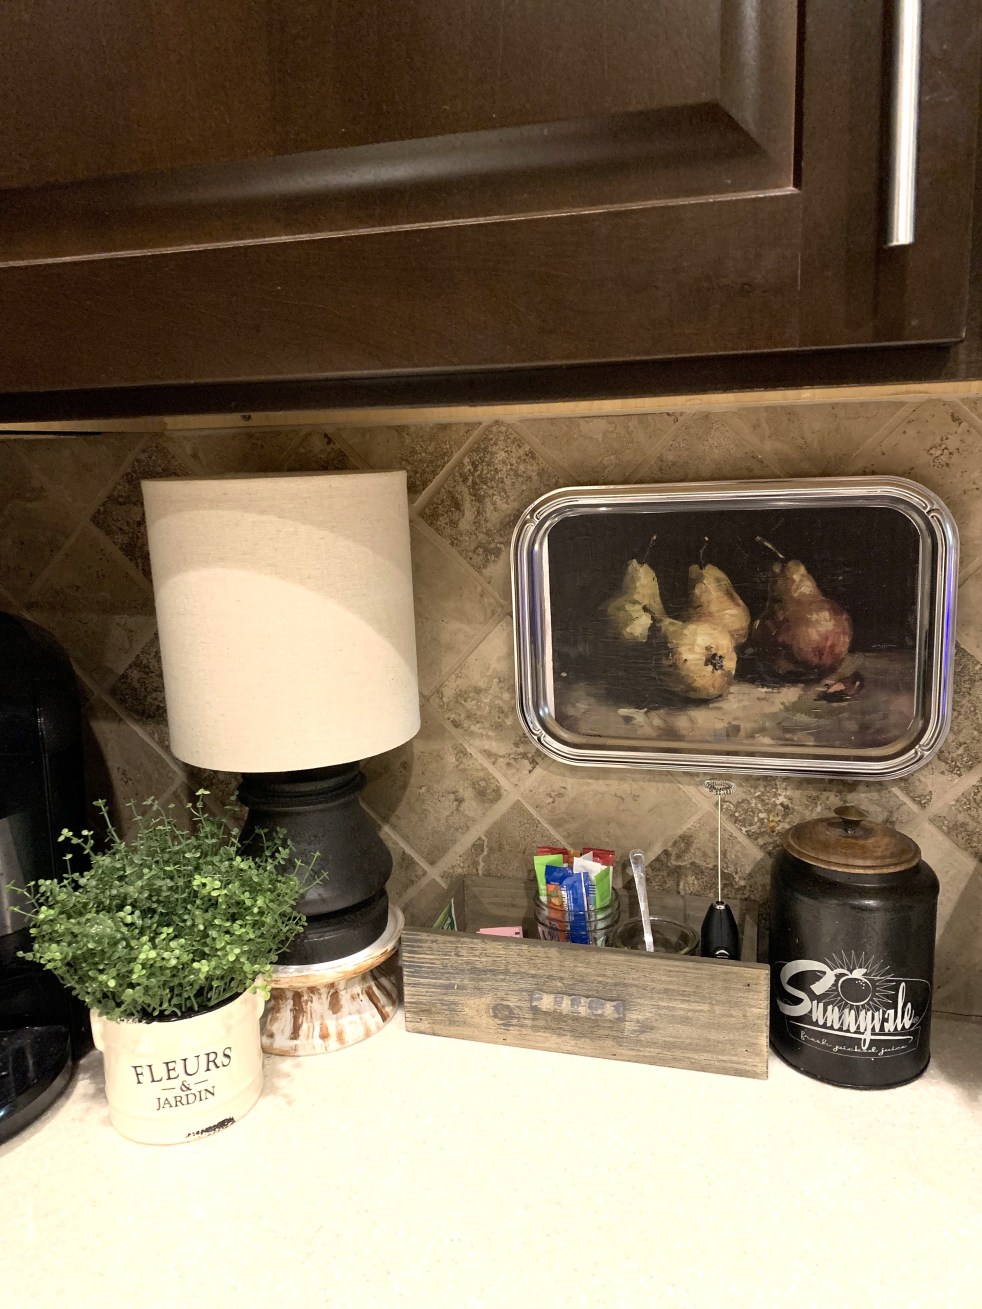
You’ll want to let this completely dry. Once it’s dry, the tray is done! Now you have a new art piece to hang. I used a small pair of command strips to secure it to my kitchen back splash. I think it’s perfect here!

Hope you guys enjoyed this little project and I hope you are inspired to create your own. This would be fun with some spooky images for Halloween, or a photo of just a few pumpkins. The possibilities are endless!

Let me know if you decide to make one. I’d love to see!

Thanks for stopping by,