Hey friends! I hit the thrift jackpot this weekend and I’m so excited to share the goods!! Check it out below.
I saw this large, low profile serving bowl and immediately grabbed it. The colors make me think of Fall and I thought it would be nice to use for cooler weather dishes & sides. The leaf pattern goes around the outside of the bowl as well. I always do a gingerbread/sweet shoppe theme in my kitchen for Christmas and thought this tea towel would be a perfect addition for the hutch.

I’ve been decorating my bathtub area little by little the past few weeks and needed a bath rug. I spotted this one that still had the original tags on it. It’s the same color as my current towels and it’s so soft.
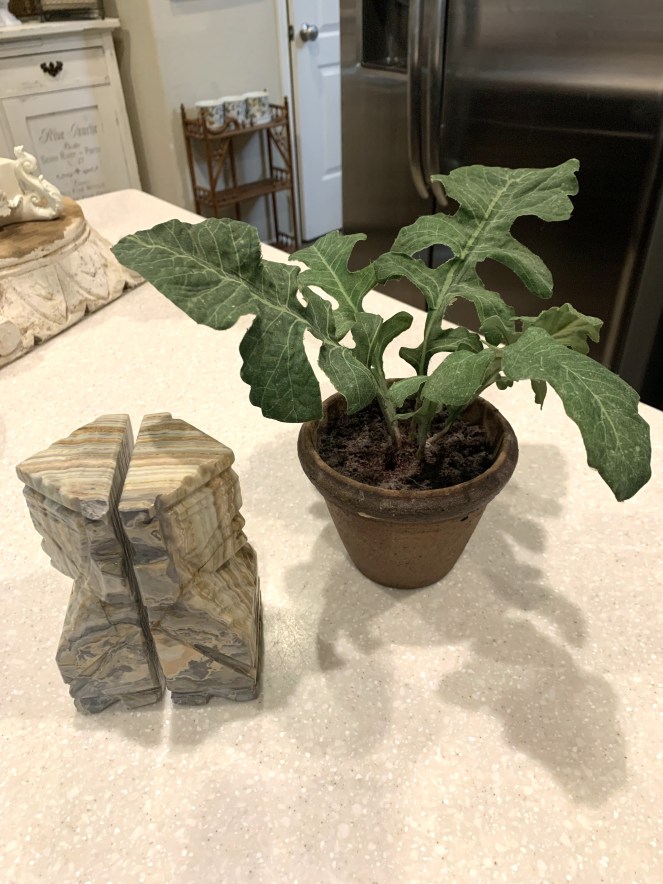
One thing I love finding in the thrift shops is greenery/plants. You can usually find faux plants and stems already potted or in a basket or vase of some sort for pretty cheap. I loved this little potted plant because it reminded me of greens growing in the garden. I thought it would be fun to display in my kitchen. Lord knows I love to grow plants but sometimes I love them too much and end up over/under watering them. lol. I am getting better at it though.
I have been wanting to find a pair of book ends, and it turned out to be my lucky day. I loved the pattern on these stone ones, so I grabbed these.
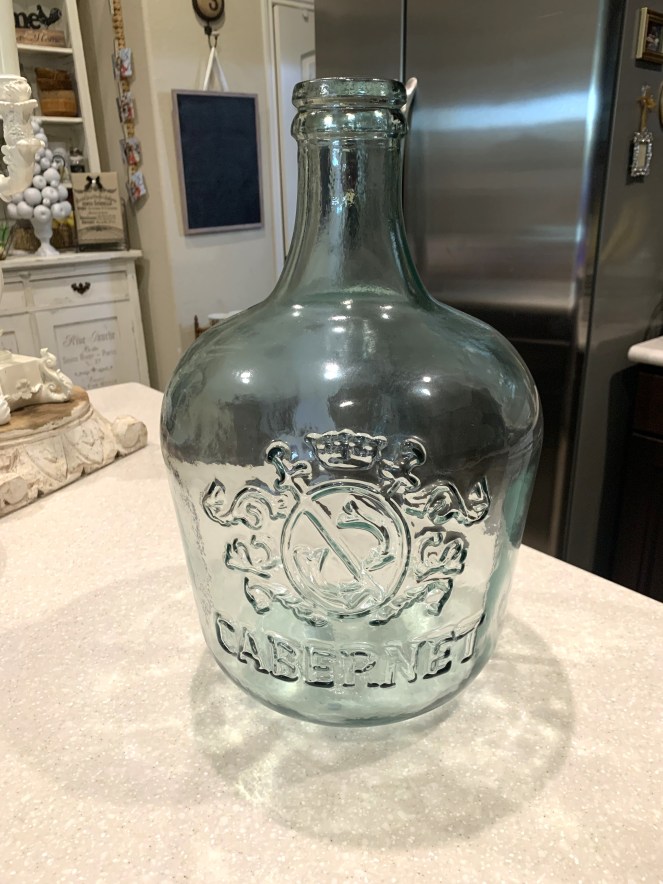
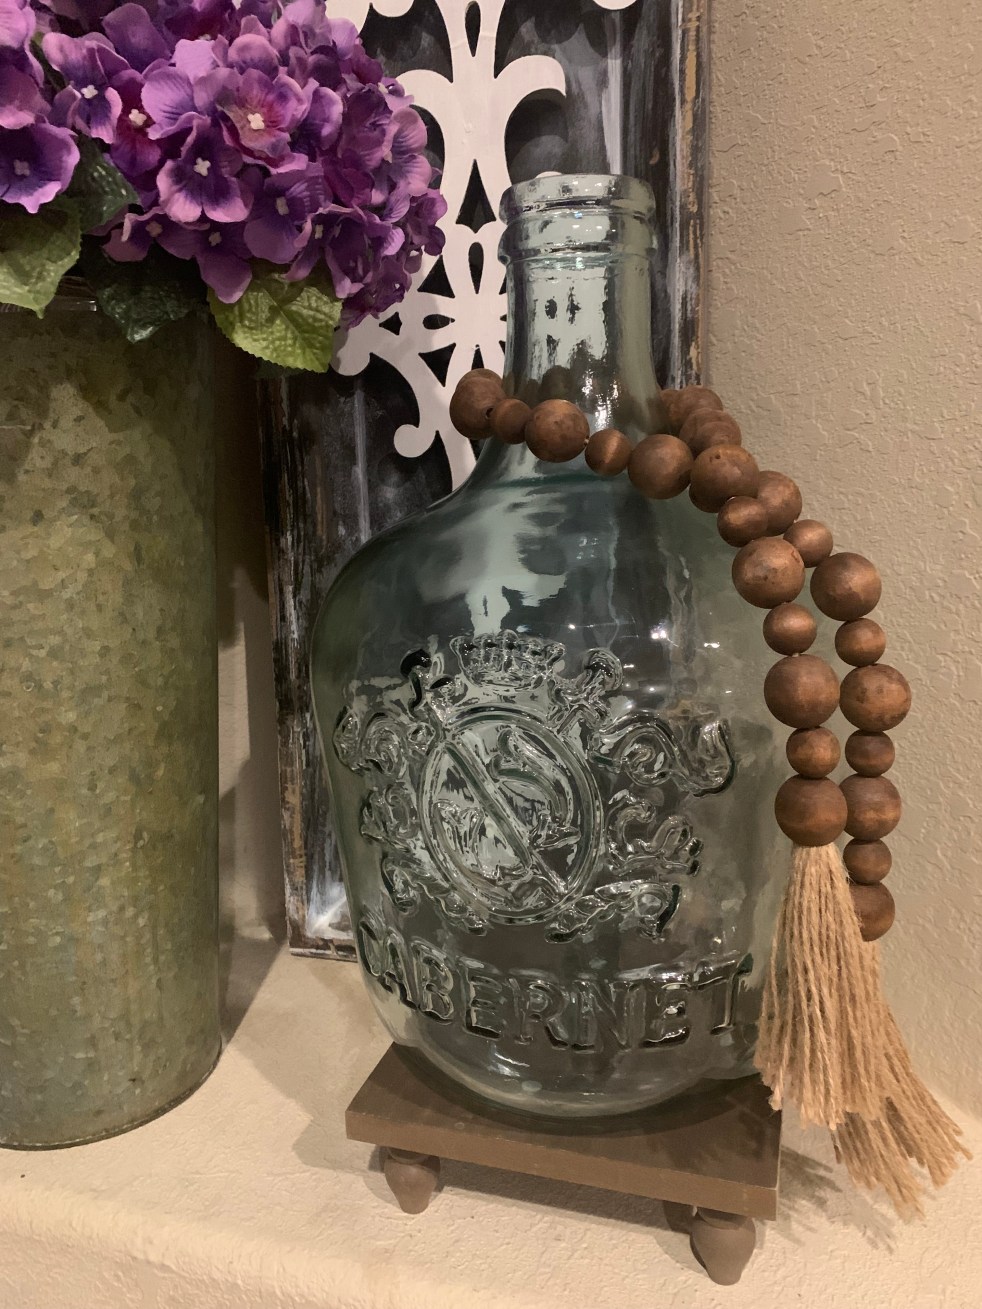
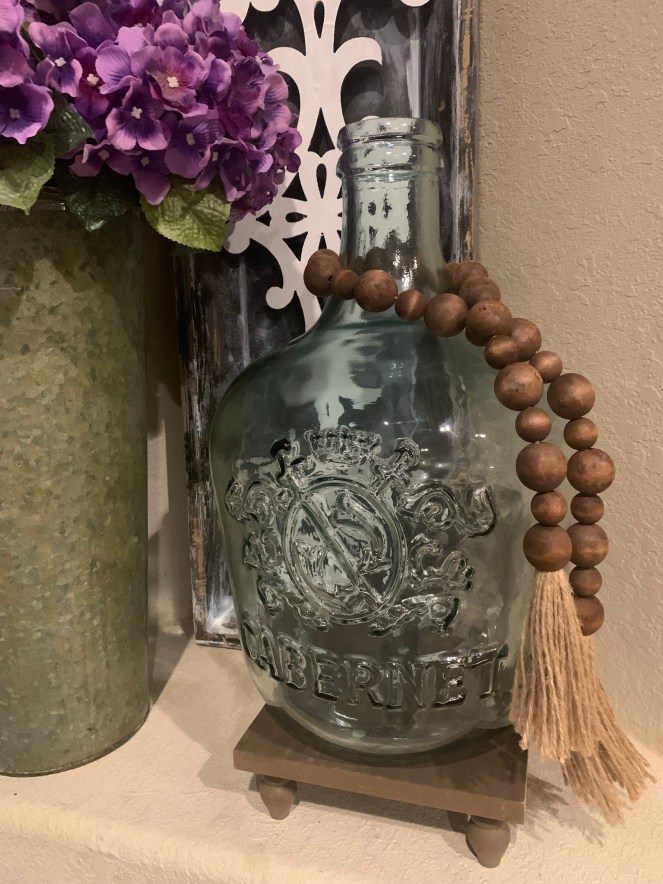
I was pretty happy about this jug here. I have been wanting one of these wine jugs for years! They are quite pricey online so you can imagine how excited I was to see this. And at only $10.00, it was a steal. I’ve already found a spot for it.

I will always buy architectural salvage if it’s at a good price point for me. The detailing is always beautiful and can elevate and add character to your home or furniture pieces. I will probably hang this over a doorway, but it would look really good hung over a bed or on a plain headboard. The possibilities are endless.
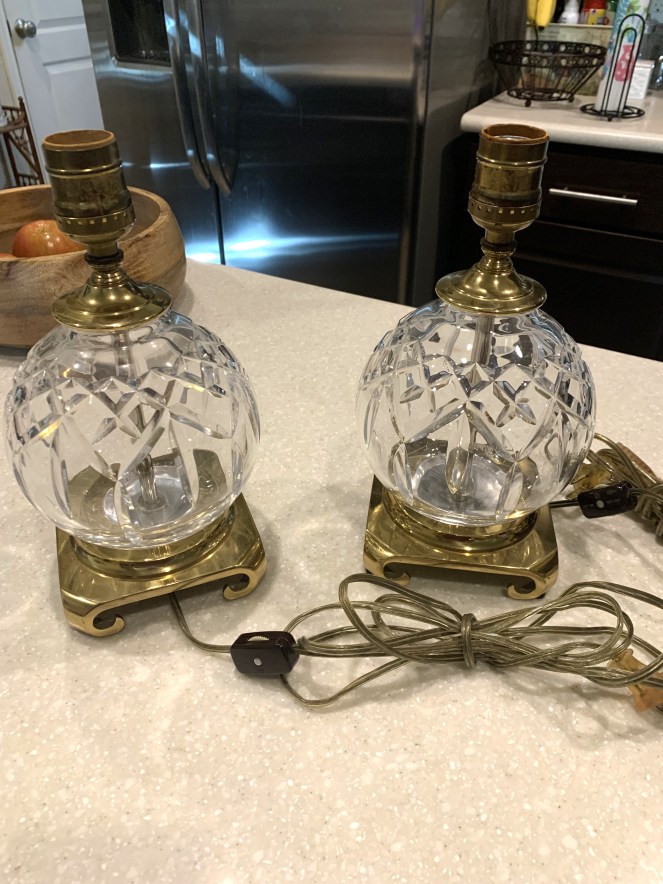
Saved the best for last…
I walked right past these lamp bases at first. I stopped the next aisle over and looked at them again and circled back around. They were only $6.00 each so I bought them because I just loved the antique look. They are so dainty and fancy. After bringing them home and researching I found out these are Waterford Lismore Crystal lamps! I was super shocked but the most excited about this find. I have a lamp shade in mind I think would fit these perfectly, but I need to see if I can find the parts. Looks like I will need a lamp shade base that sits on top of the bulb. I will definitely share a pic when I get it all together.
I hope you enjoyed reading this and seeing my thrifted treasures. I hope your inspired to get out there and visit your local thrift shops. You never know what you’re going to find!
Thanks for stopping by,