Hello friends! Happy September! Fall is right around the corner, and I’m excited for all the Fall weather and fun activities. I started decorating my home with Fall decor this weekend. I also got rid of a few decor pieces I no longer wanted. I had this silver tray that I had painted with chalk paint displayed on top of my kitchen hutch. I was replacing it with this big, beautiful metal tray I found at the Goodwill.

How pretty, right? I was about to put the little tray I had in the donation pile and then I got an idea. “What if I decoupage an image to the tray and hang it as an art piece somewhere”? I totally got inspired by the larger tray.
First, I started by scrubbing the chalk paint off the small tray. You can find these trays at your local thrift or even a discount store like Dollar Tree, etc.

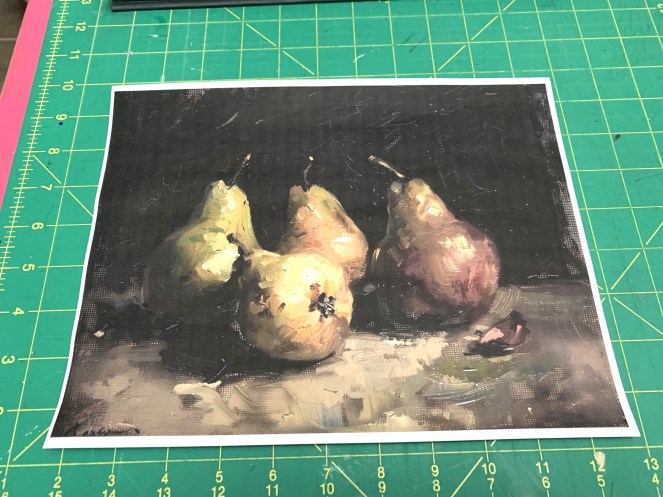
Next, I searched online for a moody, vintage still life art photo I liked. I wanted something classic that would look great in the kitchen year-round. I have a thing for pears, so I selected this one and printed to the size I needed. For the small tray I have, an 8 x 10 full page print was perfect. You can use any type of paper you like. I just used my regular printer paper.
I placed the sheet on top of the tray and marked my rounded corners with a pencil. Using my scissors, I cut the corners I had traced so that my image fit perfectly in the center.
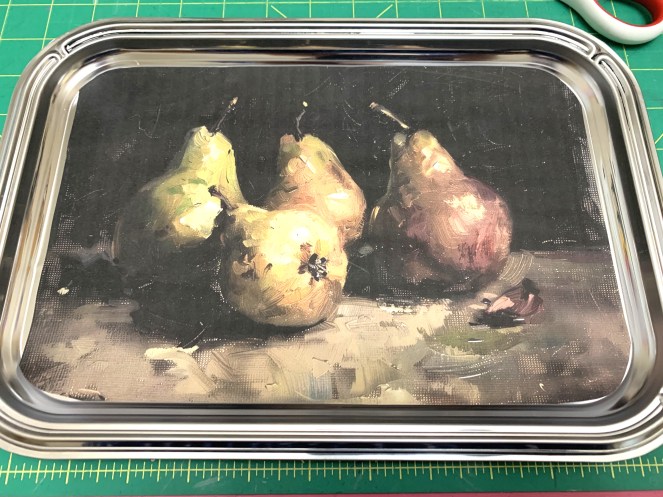
Here is where the fun, messy part comes in. I spread a layer of decoupage glue on the tray. You’ll want to use an old paint brush for applying. I placed the image on top of the glue and ran my fingers over to press out the air bubbles. I then added a layer of decoupage glue on top. You will want to spread it rather quickly and lightly, so you don’t mess up your picture. Some air bubbles and wrinkles will form. That is okay. Just work over them as best as you can. It is part of the vintage charm! Mine did have a few wrinkles in the end.

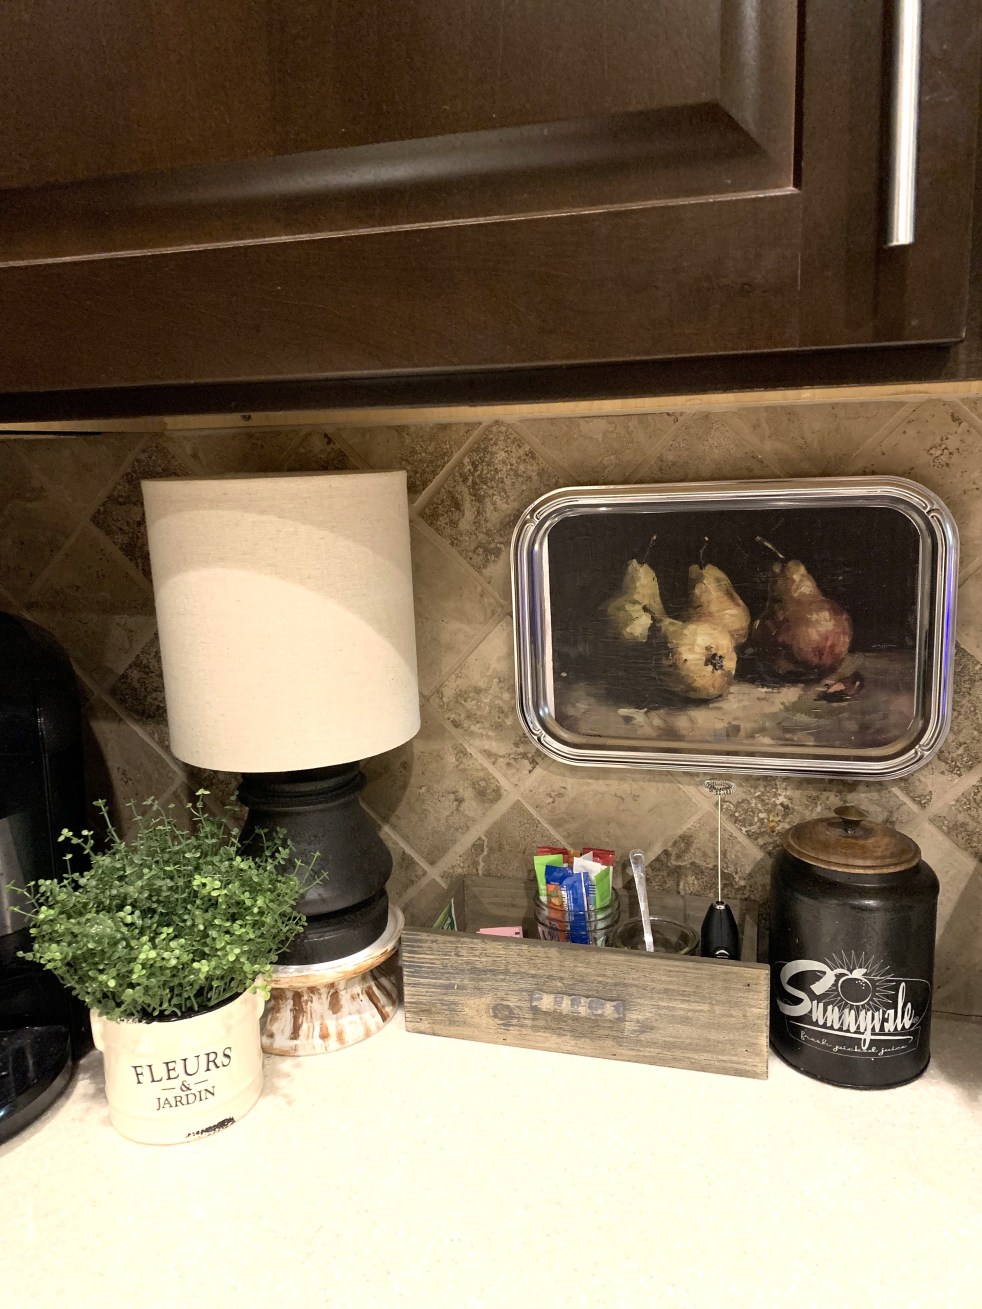
You’ll want to let this completely dry. Once it’s dry, the tray is done! Now you have a new art piece to hang. I used a small pair of command strips to secure it to my kitchen back splash. I think it’s perfect here!


Hope you guys enjoyed this little project and I hope you are inspired to create your own. This would be fun with some spooky images for Halloween, or a photo of just a few pumpkins. The possibilities are endless!
Let me know if you decide to make one. I’d love to see!
Thanks for stopping by,